If you read my blog regularly, then you’ll know that I had my first stamp class in a long while on Monday night. It was SO GOOD to stamp you again! I’ve missed it. I’m glad to be back 🙂
Yesterday I shared one of the two projects we made in my Monday night class. If you missed that post, you can see it here.
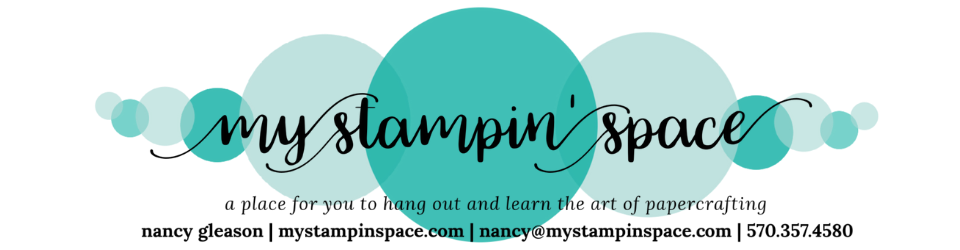
This is the second project we made: 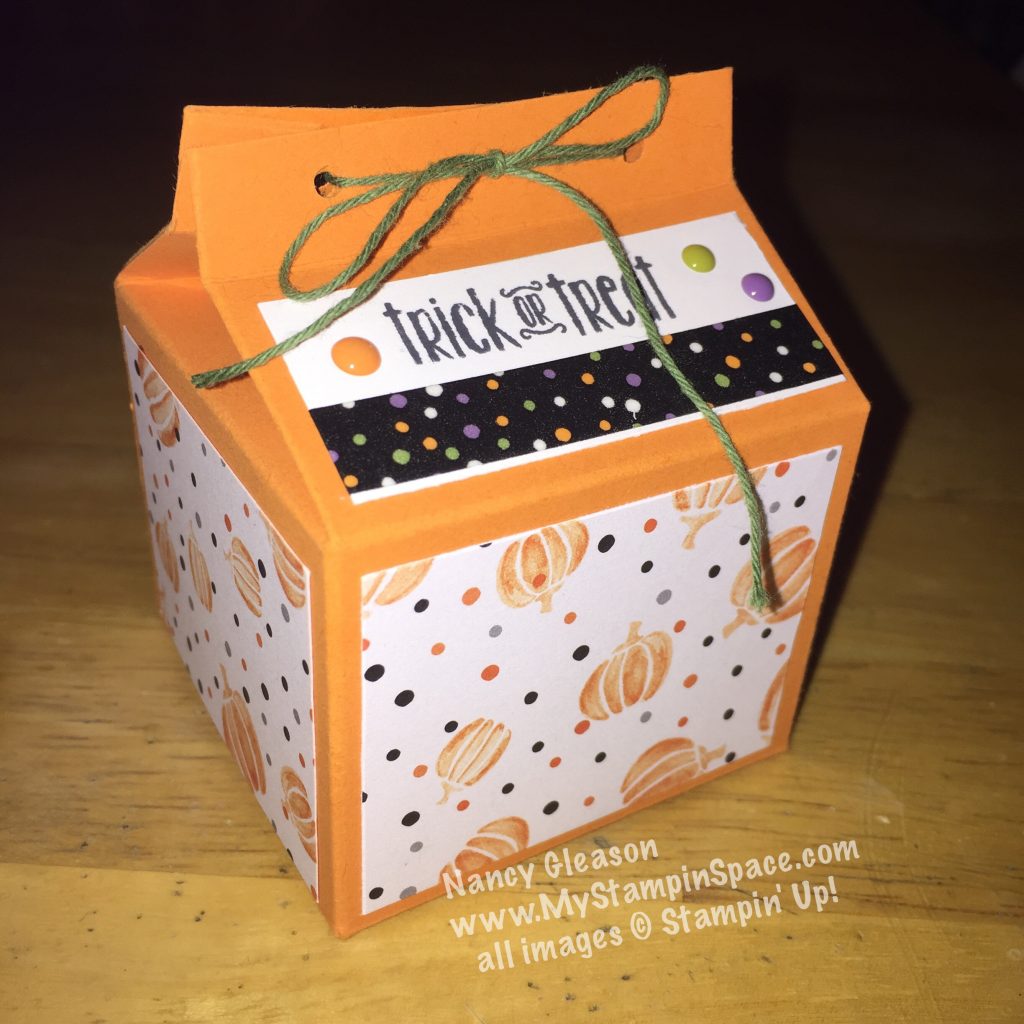 I’ve been seeing these little milk cartons a lot lately on my Pals Facebook Groups, and while I did not come up with the idea, or the measurements, to make this, I wanted to share it with my class. Of course, we filled ours with candy! What would Halloween, or a Stamp Class be without chocolate?
The side view shows the fold that creates the milk carton look.
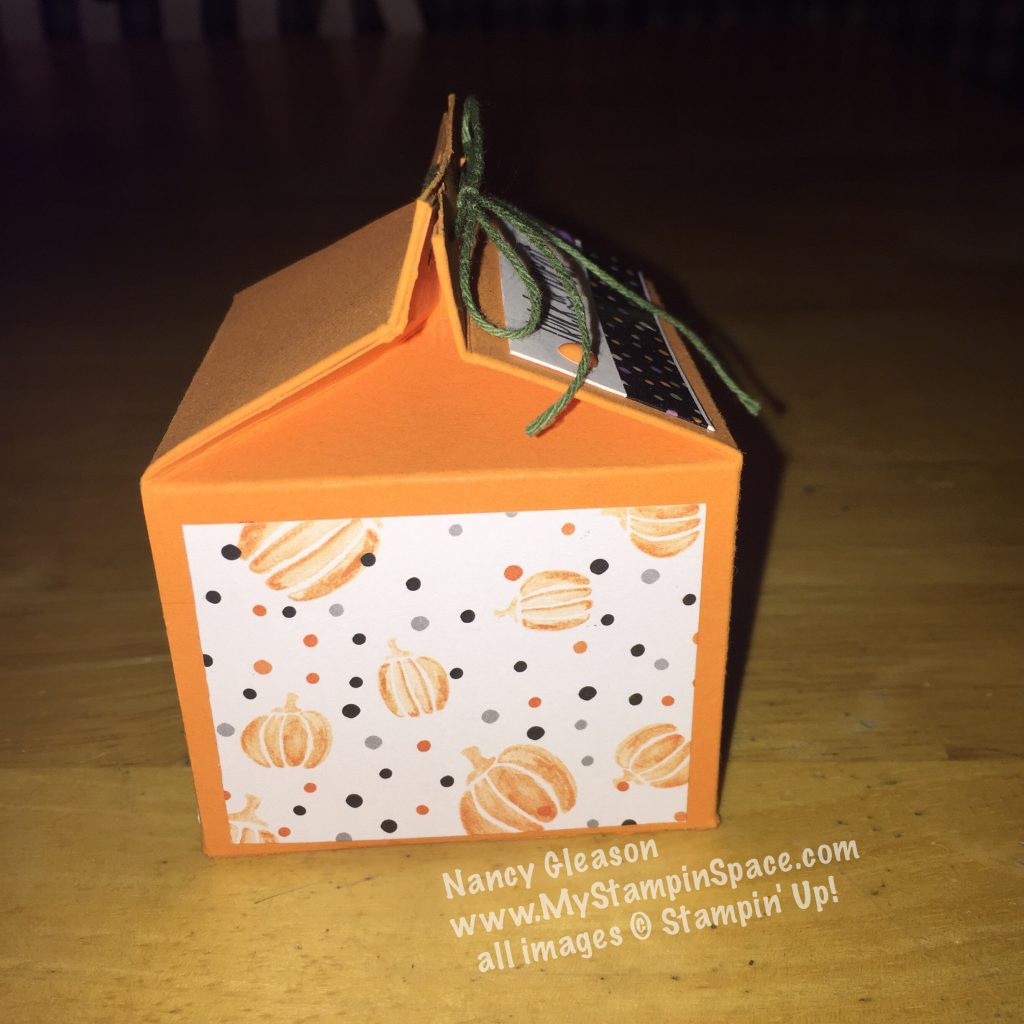
I made another one; just a tad taller, to perfectly fit the scene from the new Halloween Night Specialty DSP.
 I love how the sentiments from Spooky Fun combine with the Halloween Night Enamel Dots to create the perfect little message panel.
The perfect way to close up these milk cartons is with the 1/8″ Circle Punch and the Coordinating Halloween Night Baker’s Twine. But as you can see, my cartons are conspicuously missing this Twine. That’s because someone forgot to order it!!! How can I be so foolish, you ask? Well lets just say that sometimes the best lessons are learned from the mistakes we make. So please learn from my mistake: when you order a Product Suite, make sure you order everything in that suite; especially when the item is on your wish list! You’re welcome!
I wrote up instructions on how to make these cute little boxes, along with a diagram, for the ladies who attended my class last night. And I’ll share those instructions with anyone who orders from my online store and uses HOST CODE 9QWR7K6M (if your order totals $150 or greater, before tax & shipping – do not use the host code but redeem the Stampin’ Rewards for yourself!) This Host Code will expire at midnight on 9/14 so don’t wait! Just email me to let me know you’ve placed your order and I’ll email the file to you! Easy Peasy!
I hope you enjoyed these projects as much as the ladies last night. What a fun way to send in treats to your childrens’ or grandchildren’s class, or for your own co-workers. You can even give out treats to all the kids in the neighborhood in these little boxes on Halloween night! You can decorate the boxes for any occasion; maybe even a baby shower, just by changing up the color, paper pattern & sentiment.
When ordering, don’t forget to shop the newly stocked Clearance Rack and our weekly Special Offers to for great savings! And please remember to use HOST CODE 9QWR7K6M.
Thanks for stopping by today. I hope you were inspired by what you saw here today. Please leave me a comment; I love to hear from you. Now go create something fun! Creative time is therapy 🙂
Happy Stampin’
Nancy