
When I first saw the 2020 Holiday Catalog, several product suites caught my eye immediately. As I usually do, I made a wish list, then pared down my wish list into an A/B list. And although this product suite was one of my favorites, I pushed it to my B list. I did order this set and it came in a few weeks ago, but I hadn’t had time to pull it out and start using it until this weekend.
Oh my! I cannot convey just how much I am in love with this stamp set and dies and the little embellishments! And several of our specialty papers were just made to go with this set.
Do you want to know which product suite I’m talking about? Of course you do! It’s the Poinsettia Place Suite! And you’ll find it on pages 14, 15, & 16 of the Aug-Dec 2020 Mini Catalog.
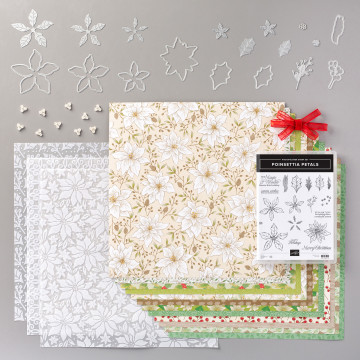
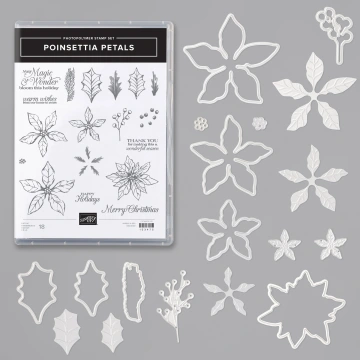
The Poinsettia Place Suite Collection includes stamps, dies, Designer Series Paper, Specialty vellum paper, ribbon and beaded pearls. You can order the whole collection with one order #155109 or individually.
I couldn’t wait to get my hands on the specialty flocked vellum so that’s what I grabbed to make my first card. Here it is:

I chose to make a tall and skinny card and I used Petal Pink cardstock to make my card base. I cut my cardstock to 8-1/2″ by 7-1/2″ and scored & folded it at 3-3/4″. Next I cut a piece of Whisper White cardstock to 8″ x 3-1/2″. Then I cut a piece of Gray Granite CS to 7-3/4″ x 3-1/4″. I cut a piece of the Plush Poinsettia Specialty Paper to the same size and adhered that to the Gray Granite CS using strategically placed glue dots so they won’t be visible.
(Insider’s Tip: I used the RULE OF 3’s in laying out this card. I used a layer of Whisper White CS, the Whisper White CS strip and white pearls – white was used 3x’s. Same with Petal Pink – the cardbase, the ink color and the Poinsettia. And I used 3 Silver Berry Sprigs. Using the RULE of 3’s creates a more pleasing layout.) Try this in your next card.
Now for the fun part! I used more Petal Pink cardstock to cut 3 flowers; 1 each of the large, medium and small. The cool things with these dies are that they EMBOSS and cut! I actually did not stamp these flowers at all; just die cut with the embossing lines. I used a small strip of Stampin Seal+ to adhere the 3 flowers together. The finishing touch was a Beaded Pearl.
Next I cropped 3 berry twigs from Silver Foil and adhered those behind the poinsettia. I stamped the sentiment from the Poinsettia Petals stamp set onto a 3/4″ wide strip of Whisper White with Petal Pink ink. Then I cropped the end using the Lovely Labels Pick a Punch to make the fancy end. Next, I used Stampin Seal to adhere this to the card front and then I used Stampin Seal+ to adhere the Poinsettia with the Silver Berries onto the other end of the sentiment strip.
Let’s take a closer look at the Poinsettia:
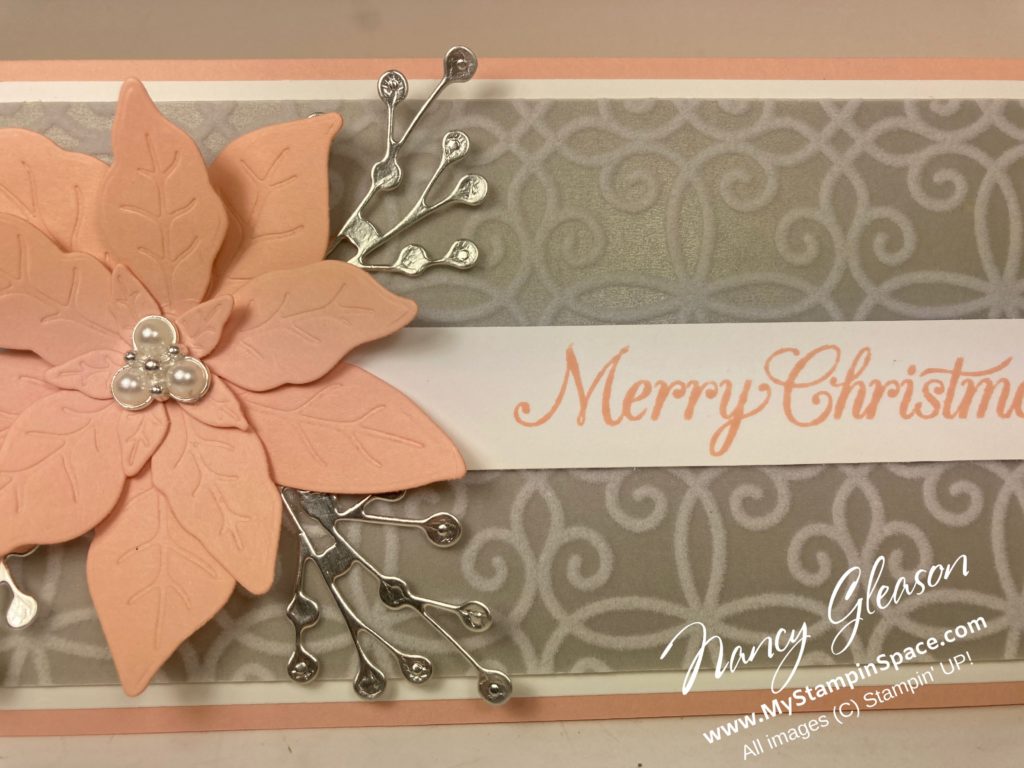
Can you see all the gorgeous textures here? The vein lines embossed in the Poinsettia Petals, the velvet flocking on the Vellum and the silvery finish on the berries. And those beaded pearls – aren’t they just the perfect finishing touch? I just added 3 more packages of these beaded pearls to an order I just placed! I want to make sure that I don’t run out of these beauties!
Please leave me a comment and let me know if you like this card. Then stop back as I’ve made several more cards with the Poinsettia Place suite that I can’t wait to share with you in the coming days!
Poinsettia Petals Bundle 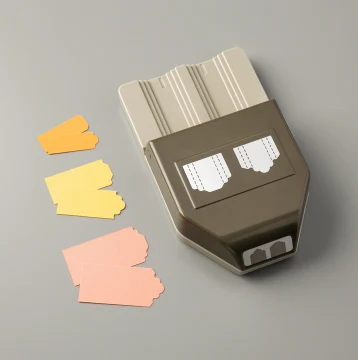
Lovely Labels Pick a Punch 
Whisper White Cardstock # 100730 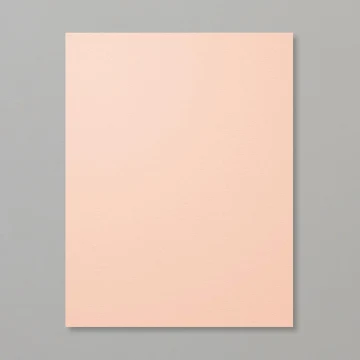
Petal Pink Cardstock #146985 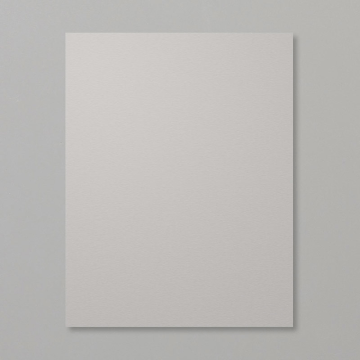
Gray Granite Cardstock #146983 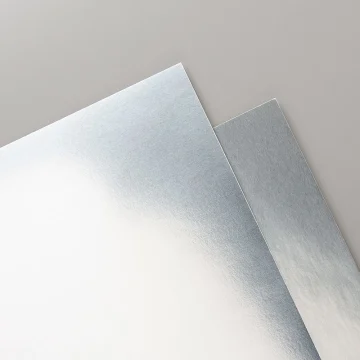
Silver Foil Sheets #132178 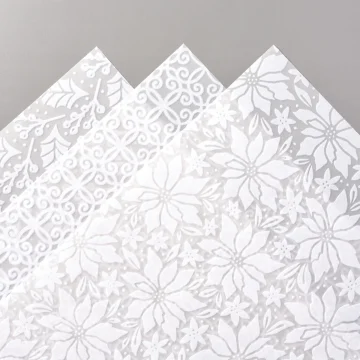
Plush Poinsettia Specialty Paper #153486
If you want to order to order any of the products I used, you can shop my online store here. Don’t forget the Poinsettia Place Designer Series Paper is on sale during the DSP Paper Sale going on thru October 31st!.