Thank you for joining us for the Pals Halloween Blog Hop. We hope you enjoy our virtual trick-or treat hop where you will either learn great tricks for your creative projects or enjoy a blog candy treat.
You should have just left stop number 14 on the Pals Hop – Nicole Watt at Pixel Maven’s Retreat. If so, you are in the right spot. If you get off track, the full blog lineup below will help you move along from blog to blog so you see all of the amazing creations.
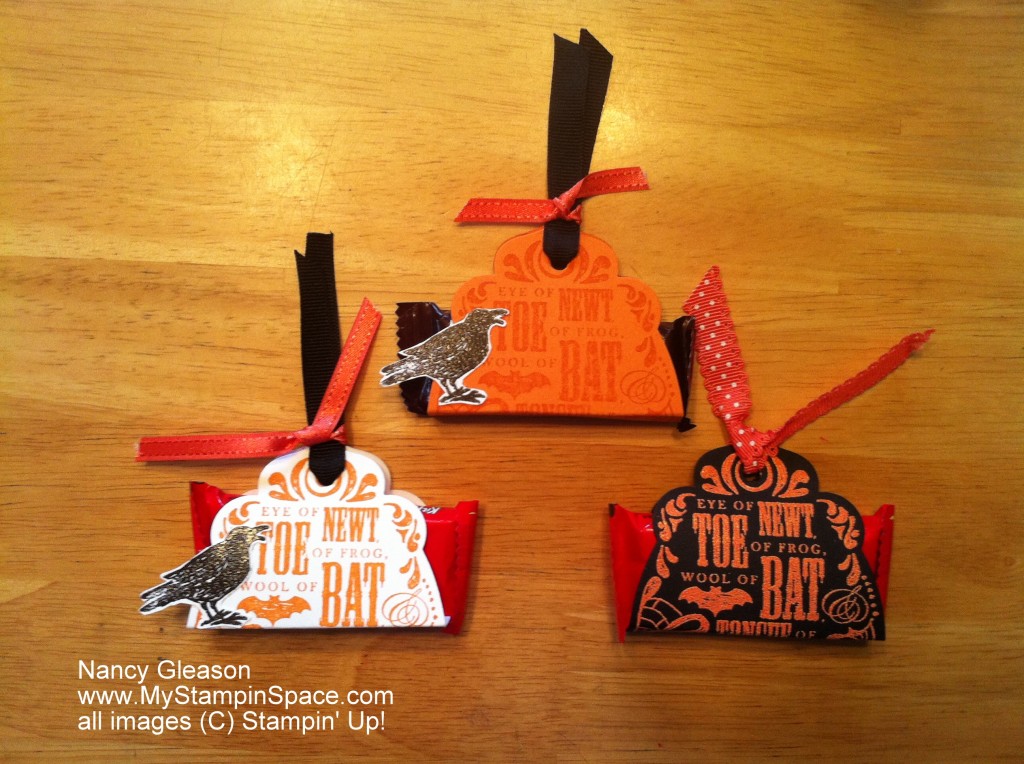
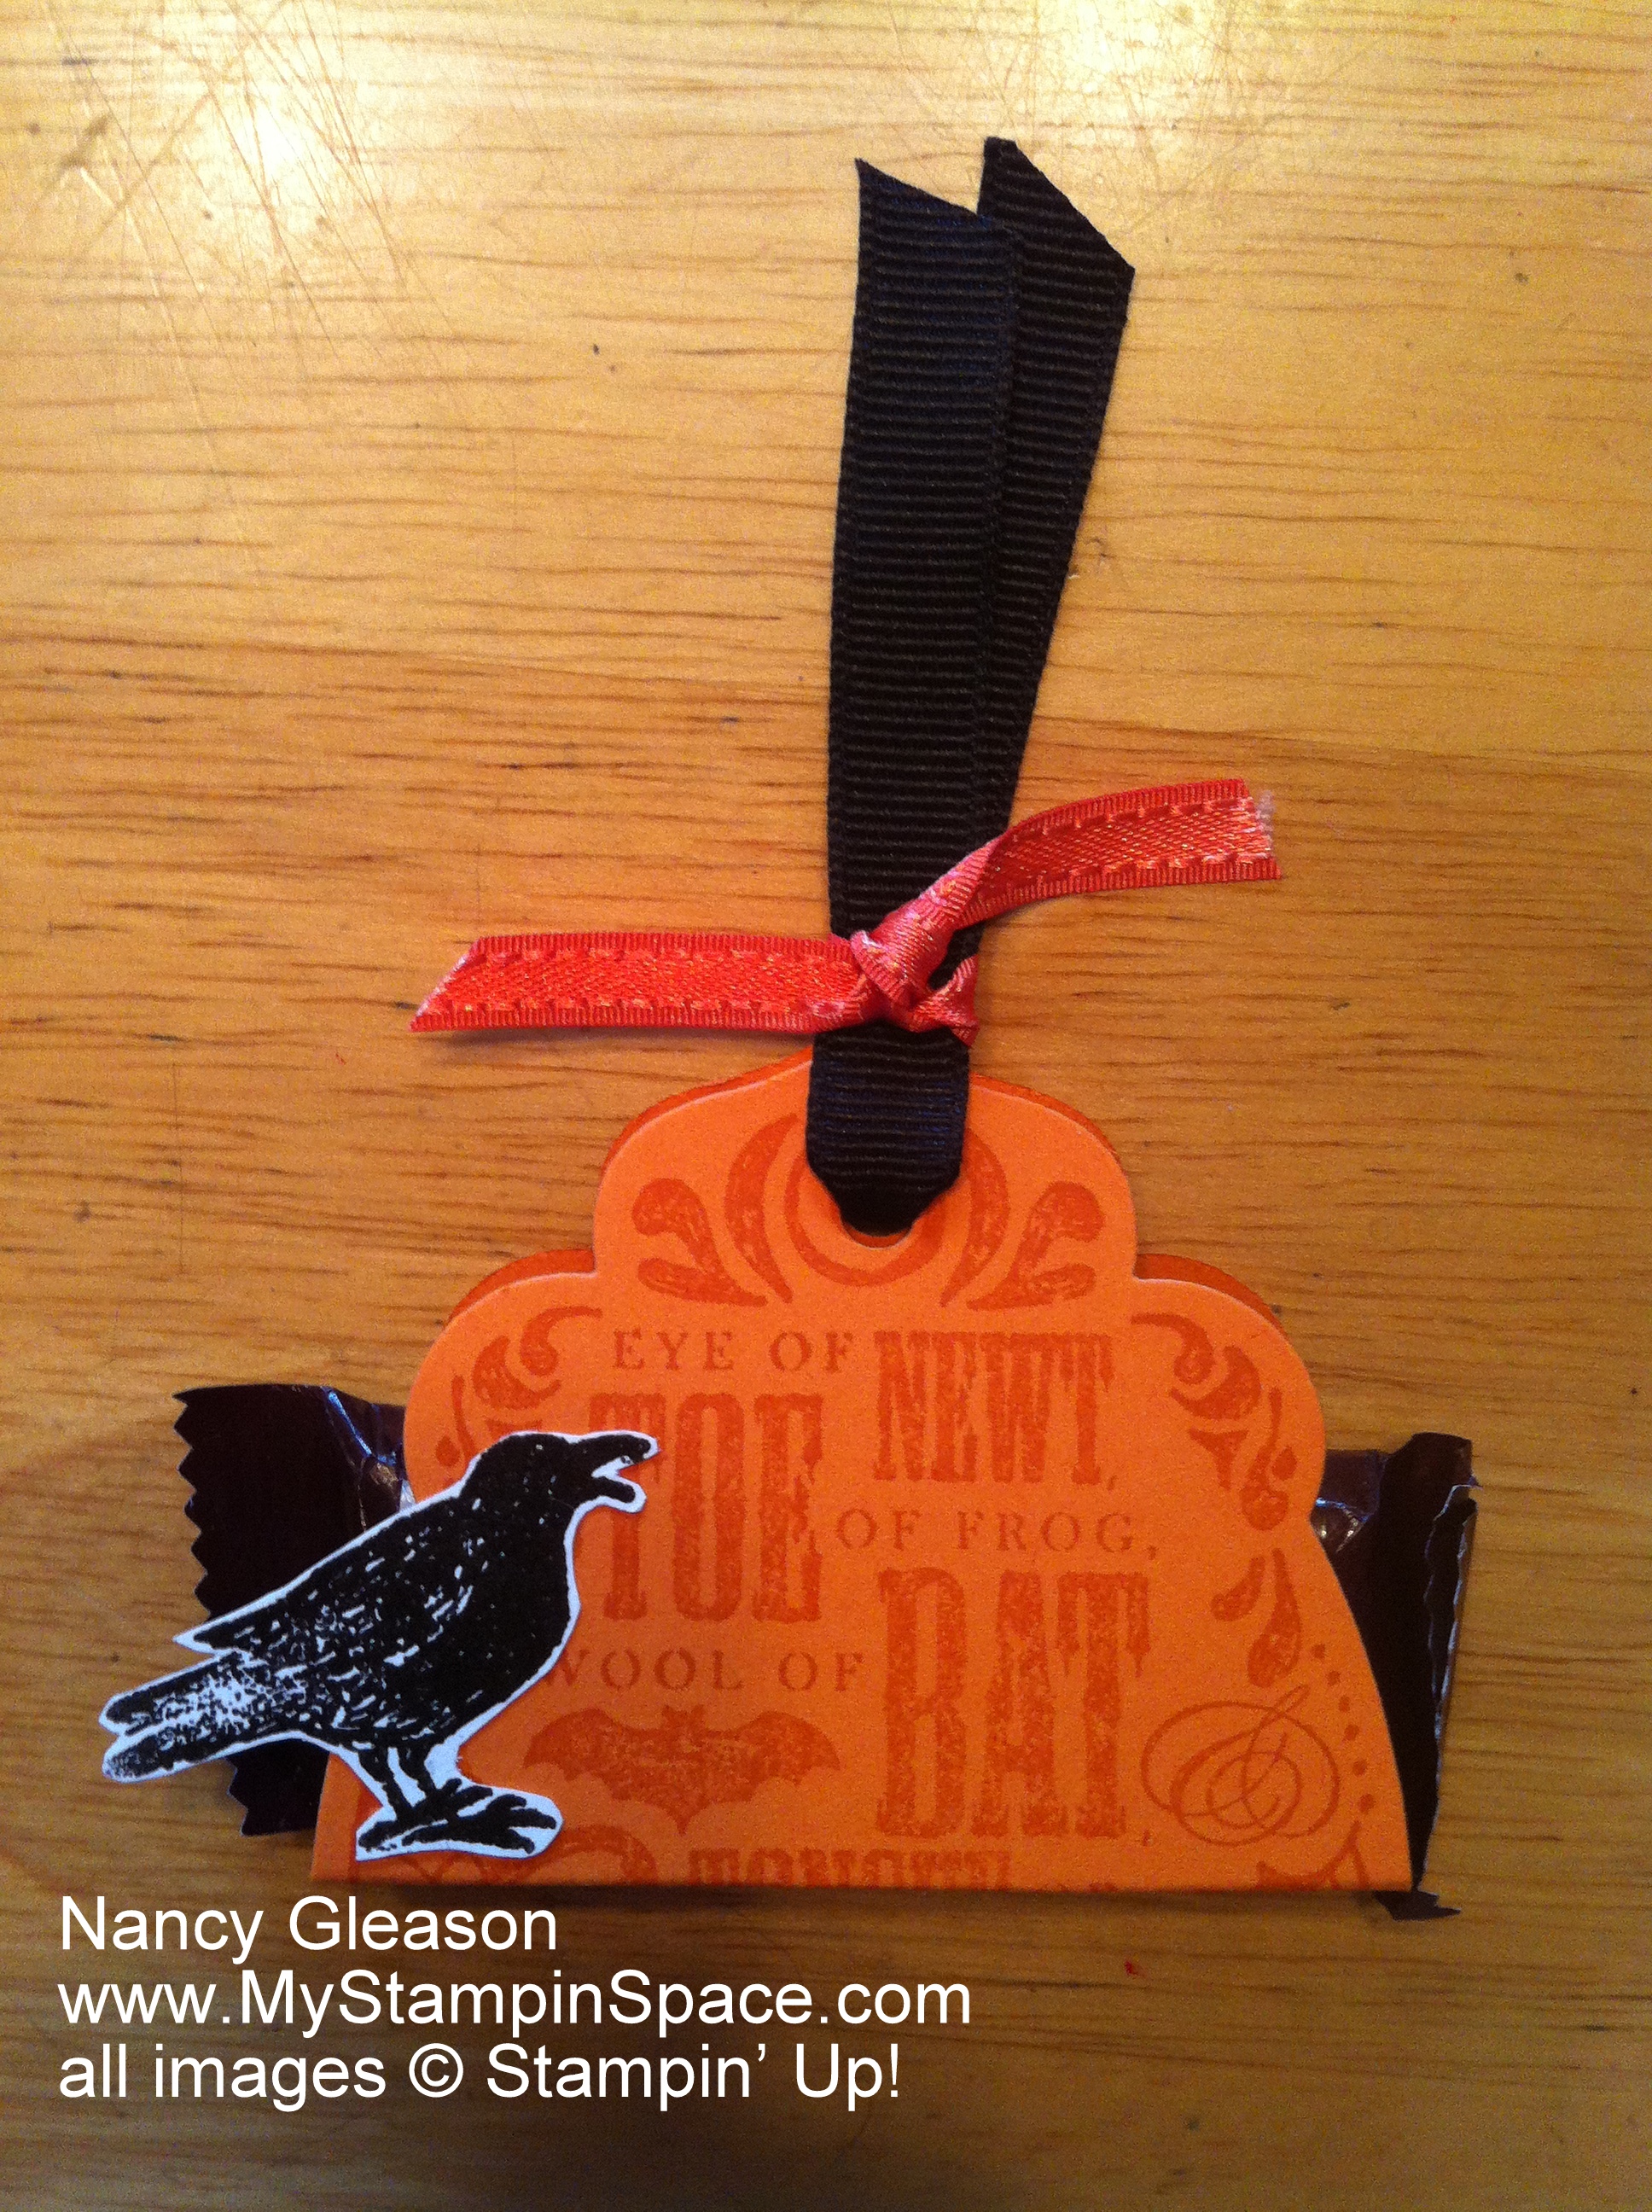
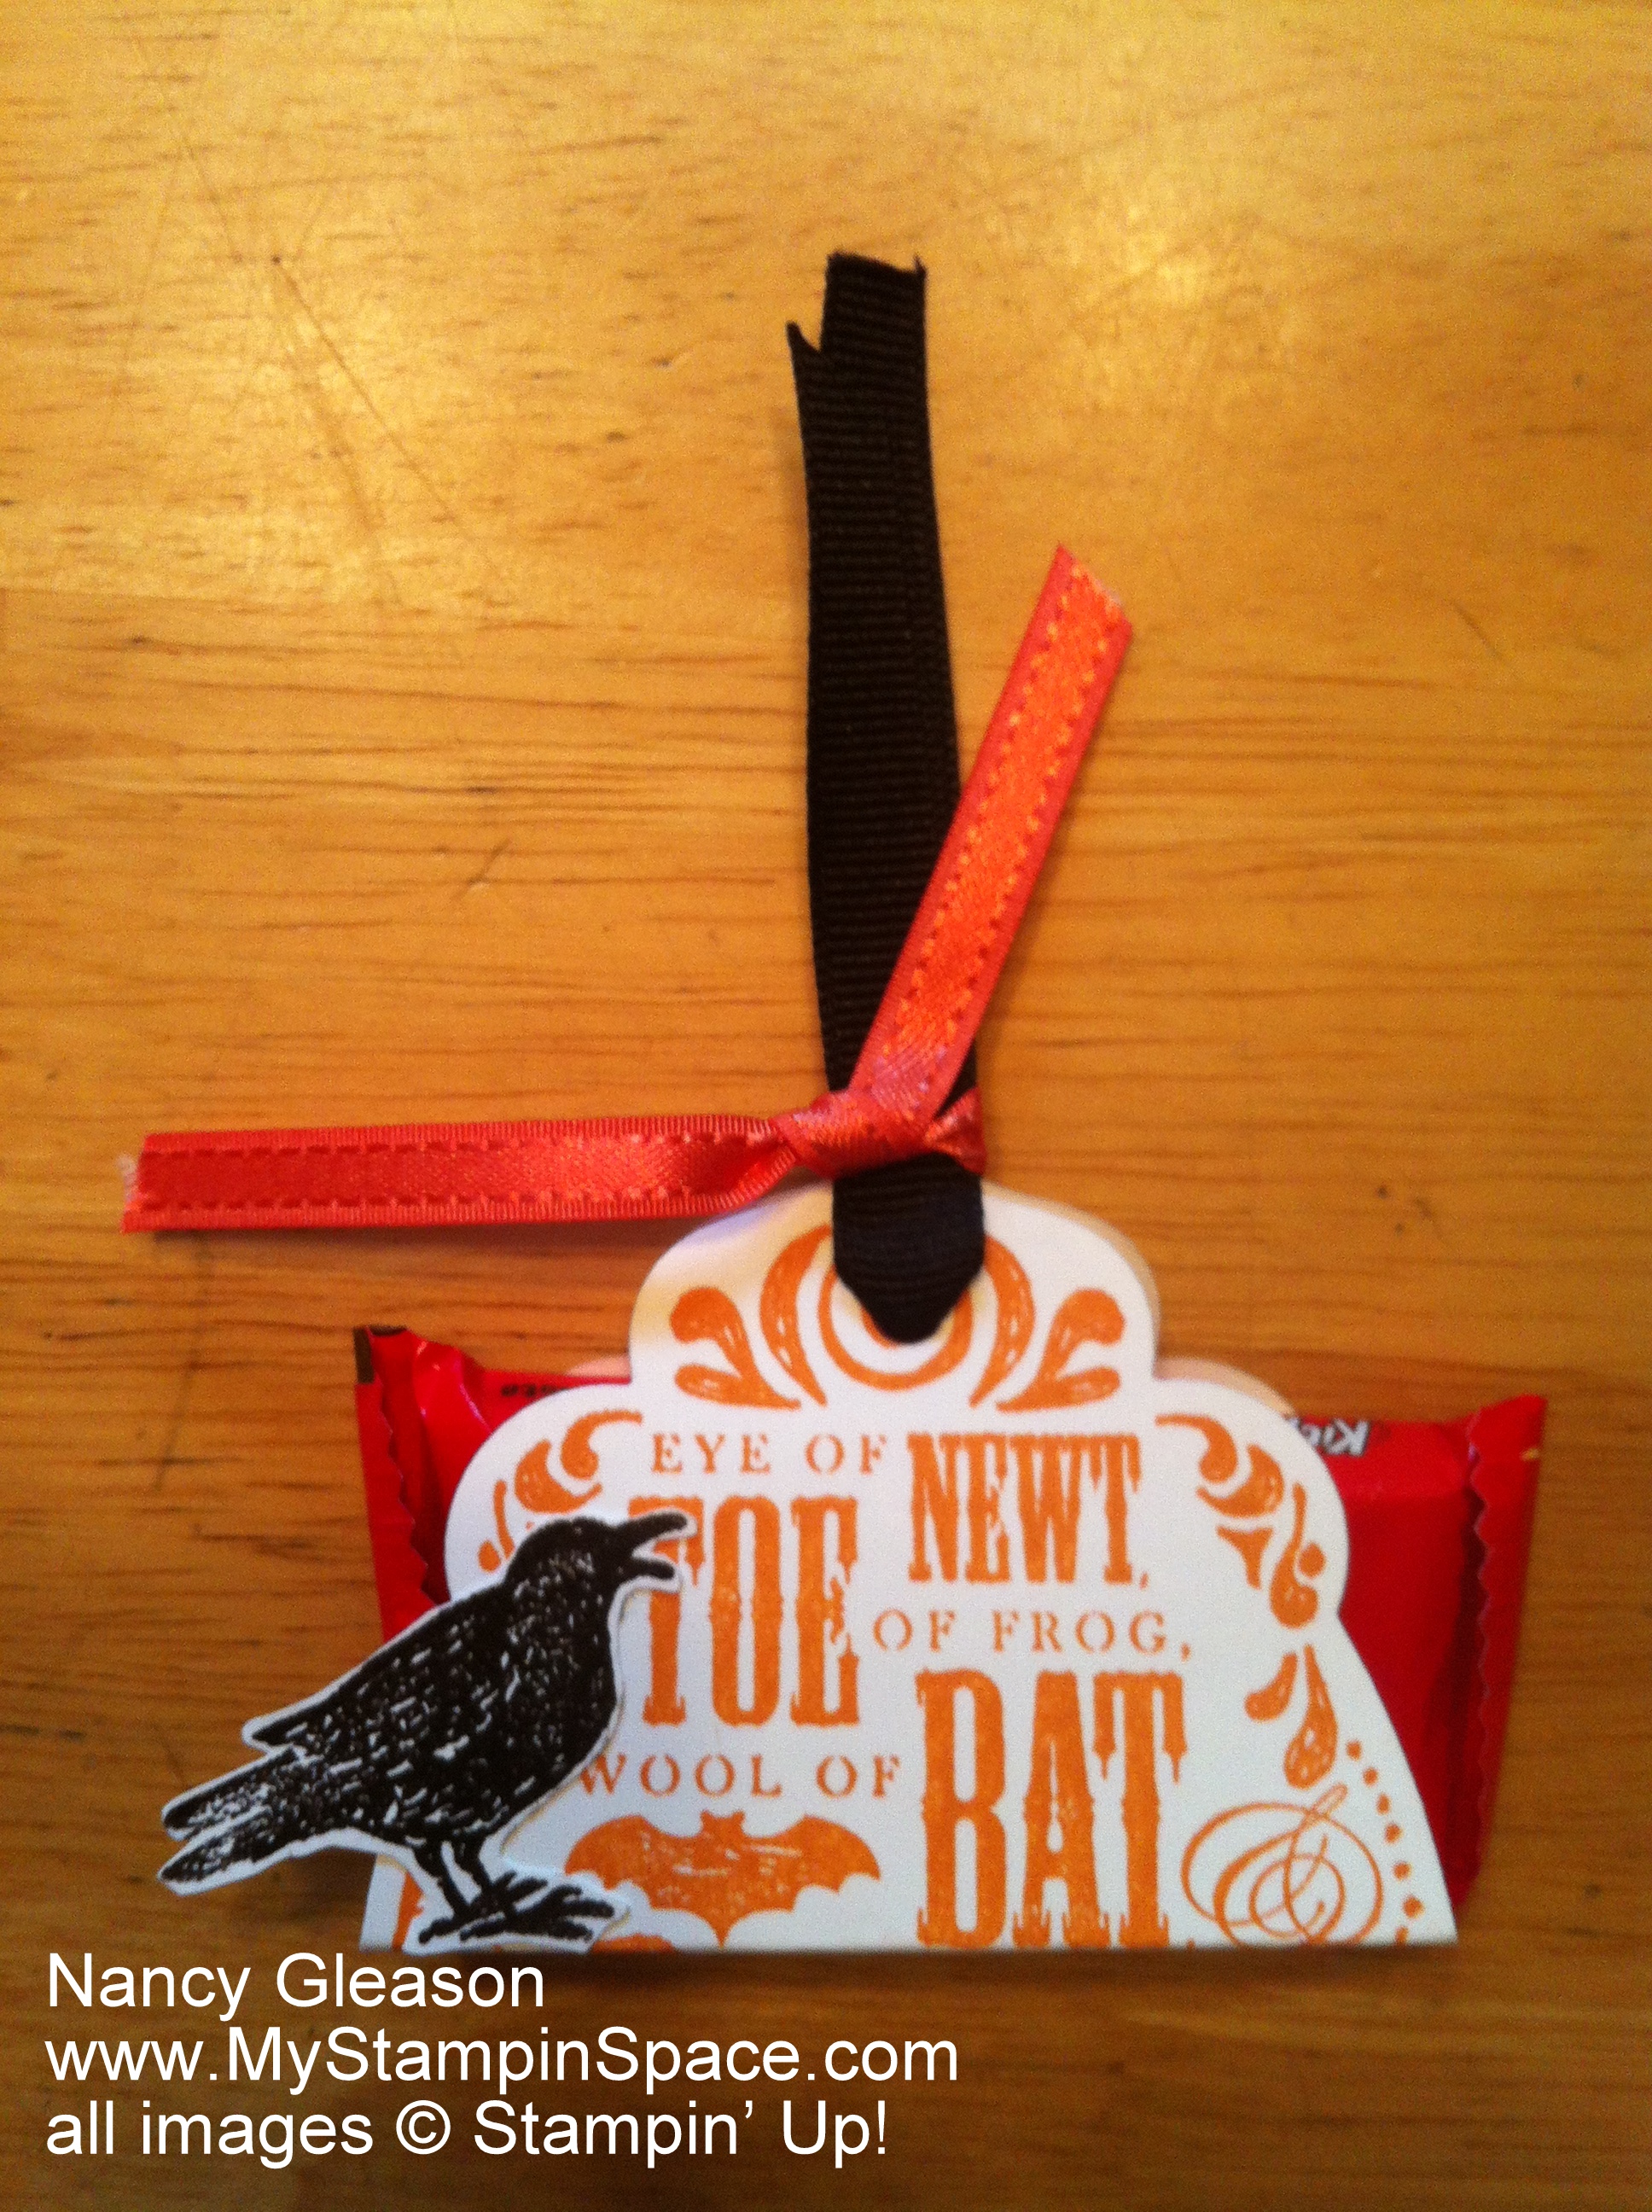
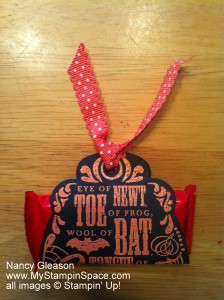
These adorable little treat holders, crafted from the Toil & Trouble stamp set and coordinating Apothecary Accents Framelits dies are the perfect way to present a candy bar to all the goblins & ghouls at your door on Halloween! (These are holding snack size KitKat bars and a snack size Hershey bar and are headed for my co-workers).
Here are some “tricks” to help you re-create these yourself. I created 3 different versions: I stamped the image in Pumpkin Pie ink onto Pumpkin Pie cardstock, in Tangerine Tango ink on Whisper White cardstock, and Versamark ink onto Basic Black cardstock. This piece was then covered with Tangerine Tango Embossing Powder and heat embossed. This looks striking, don’t you think? I could not have achieved that dramatic look with ink alone but embossing powder transforms the whole look. Strong colors pop against the black background.
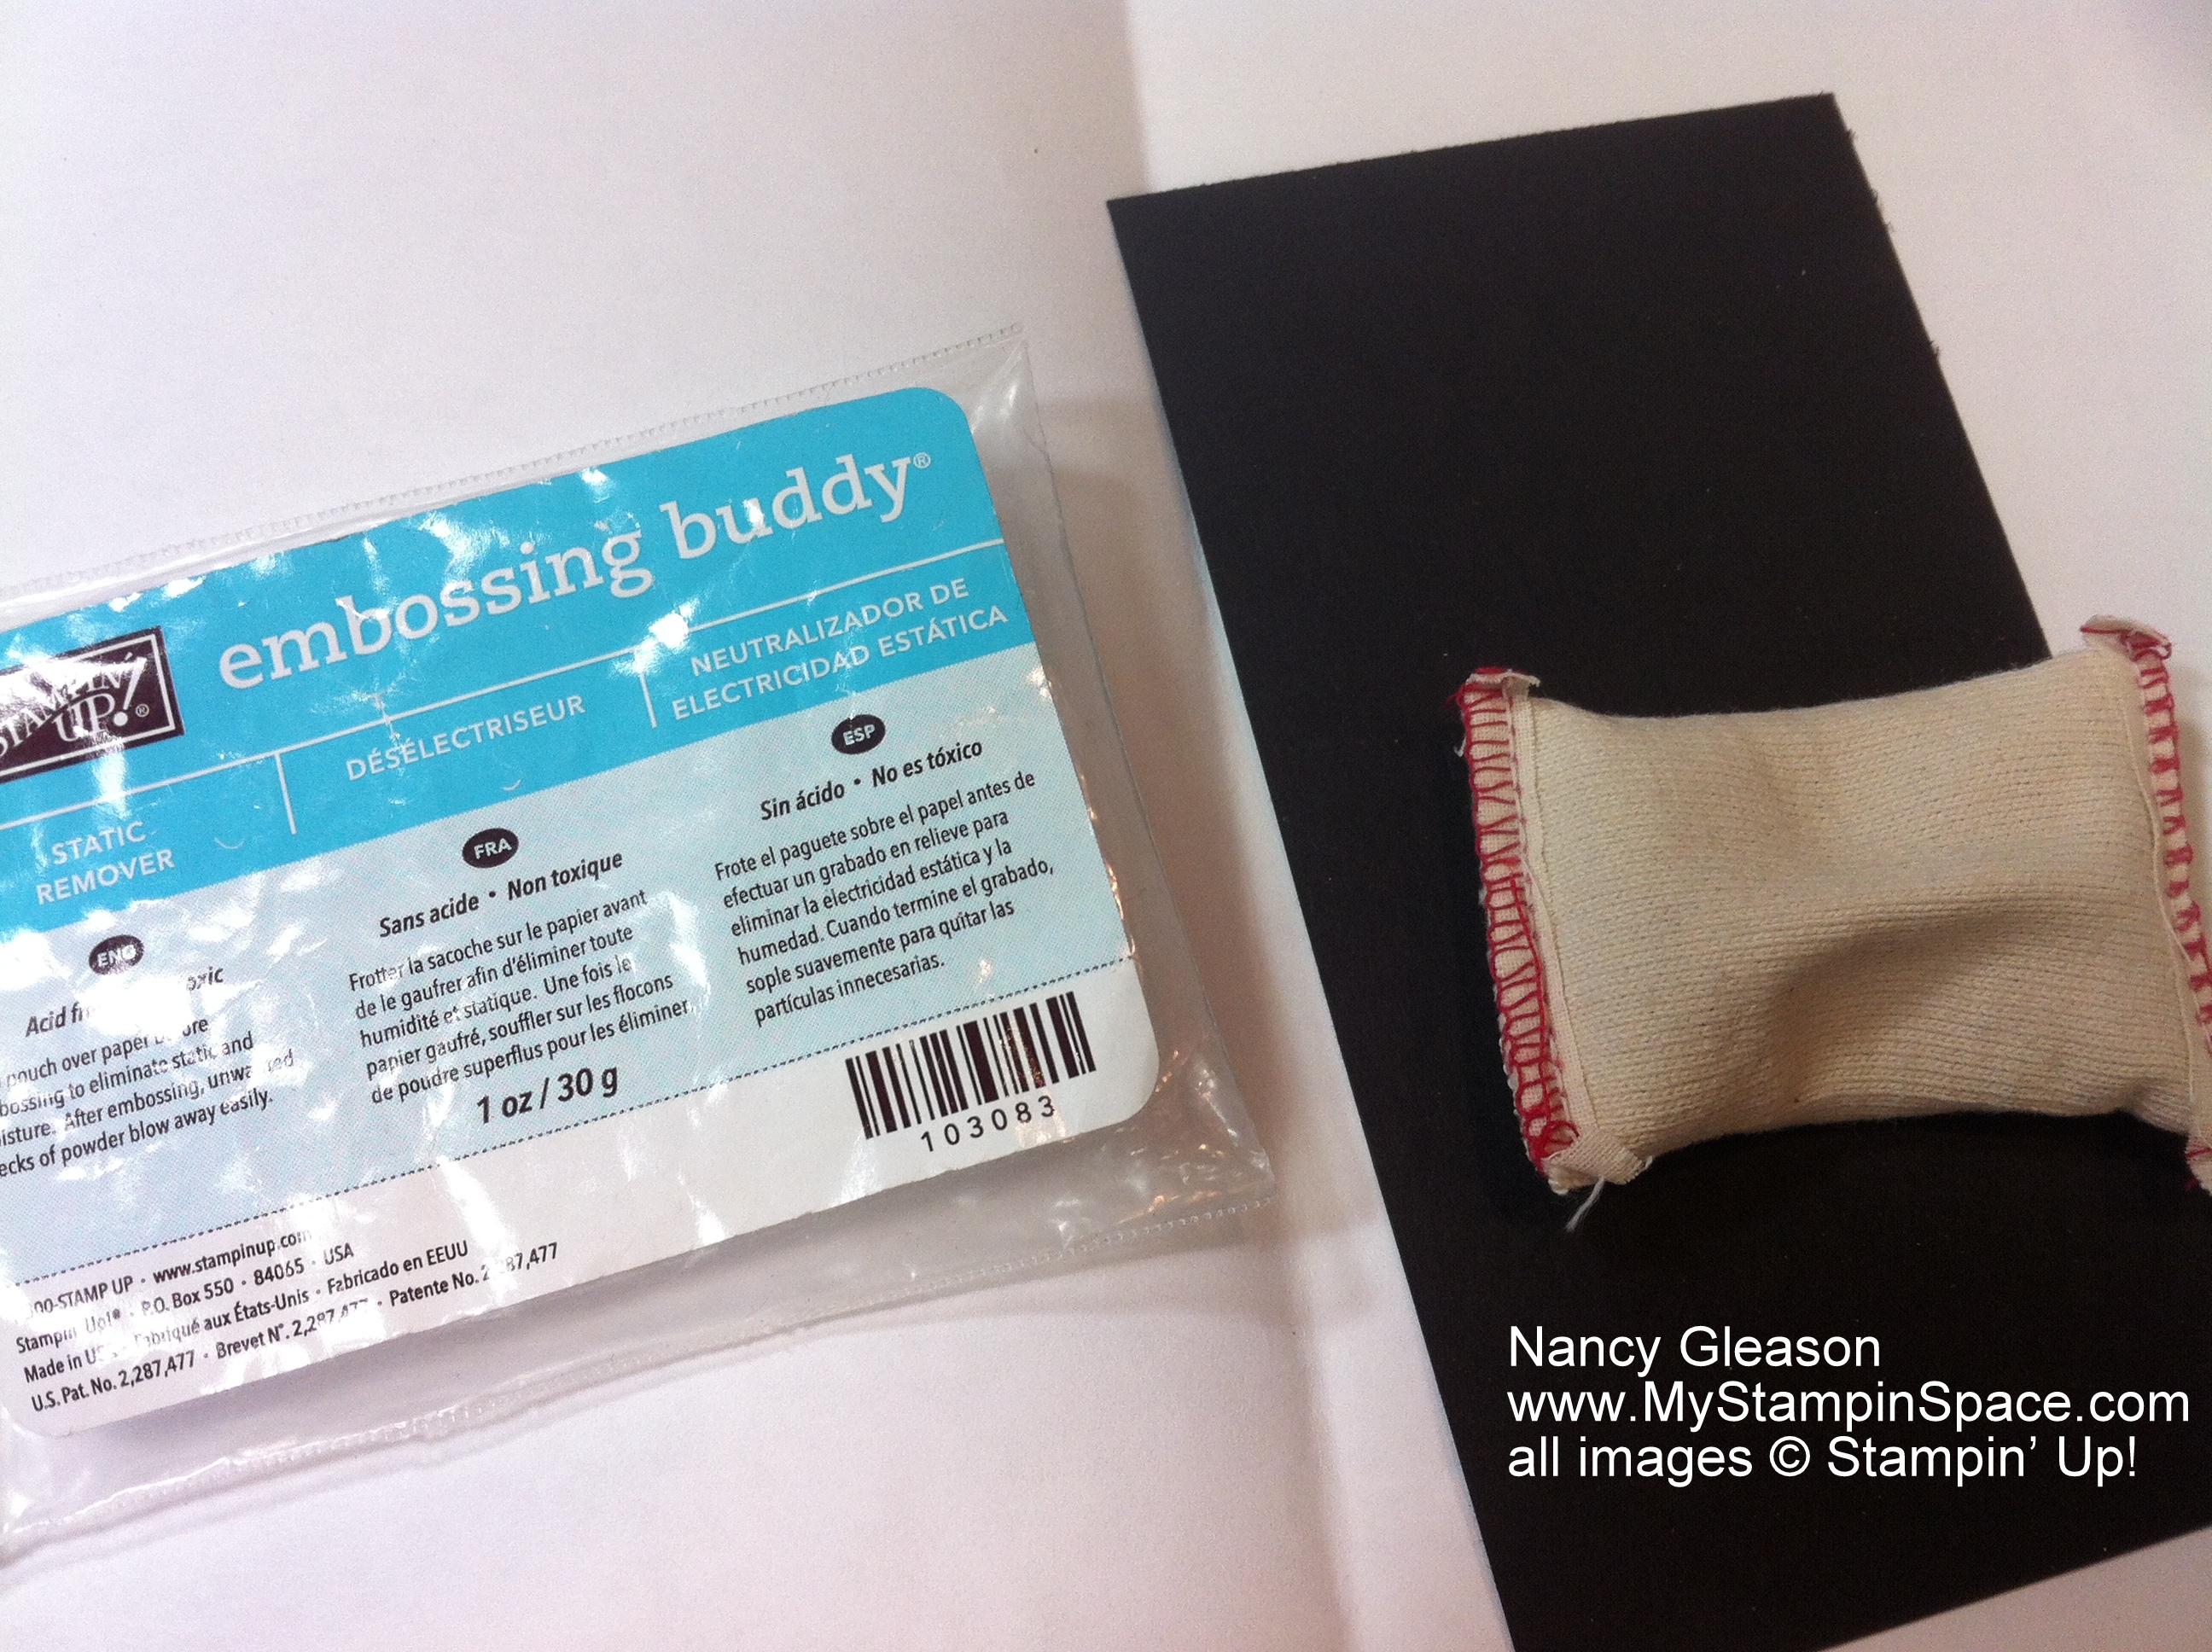
Tip: Always use your embossing buddy, especially when using dark cardstock. 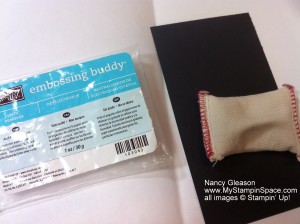 This helps so that stray embossing powder doesn’t stick to the cardstock.
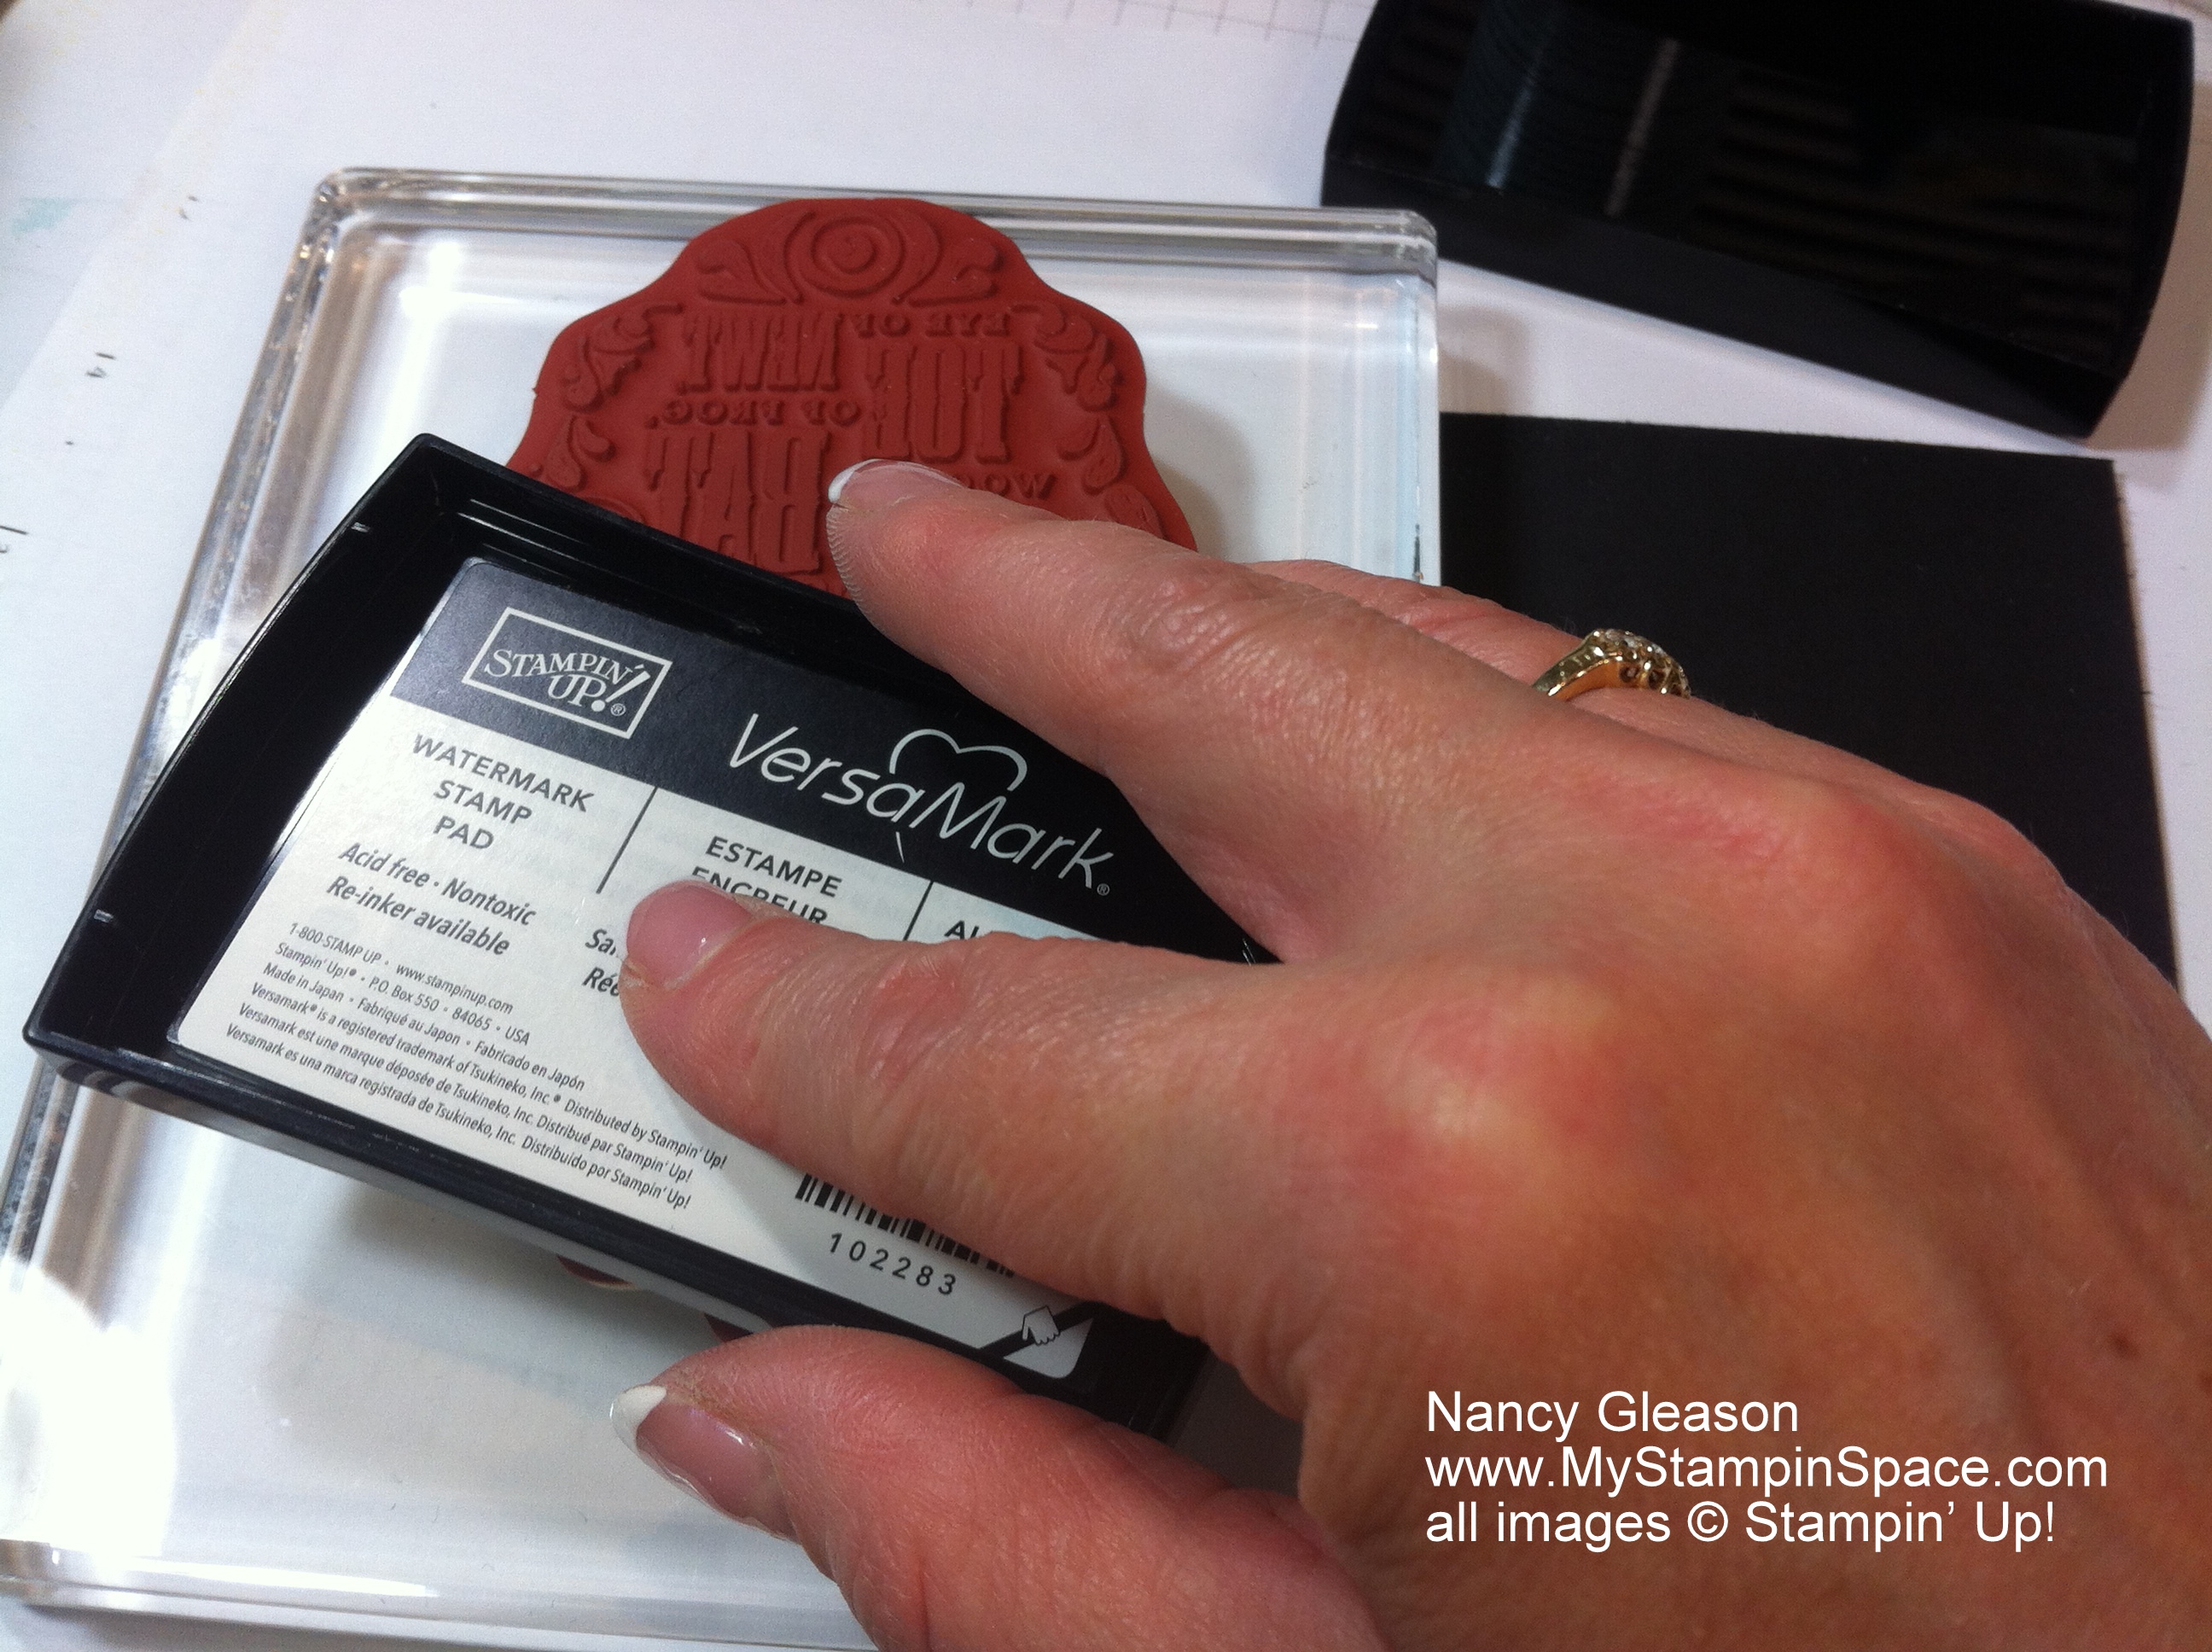
Tip: When using a large stamp, always tap your ink pad onto the stamp, rather than tapping the stamp into the ink pad. 
Tip: Did you know that Stampin’ Up! upgraded their heat embossing tool? It now has 2 heat settings. High works great for heat embossing and low for drying ink. Just thought you’d want to know. 
Tip: Coordinating dies & stamp sets make papercrafting SO MUCH FUN!!! If you have been reading my blog for any length of time, you know that I buy any stamp set with a coordinating punch or die. The Toil & Trouble stamp set coordinates with the Apothecary Accents Framelits dies that I already had so it jumped to the top of my wish list when the Holiday Catalog was released.
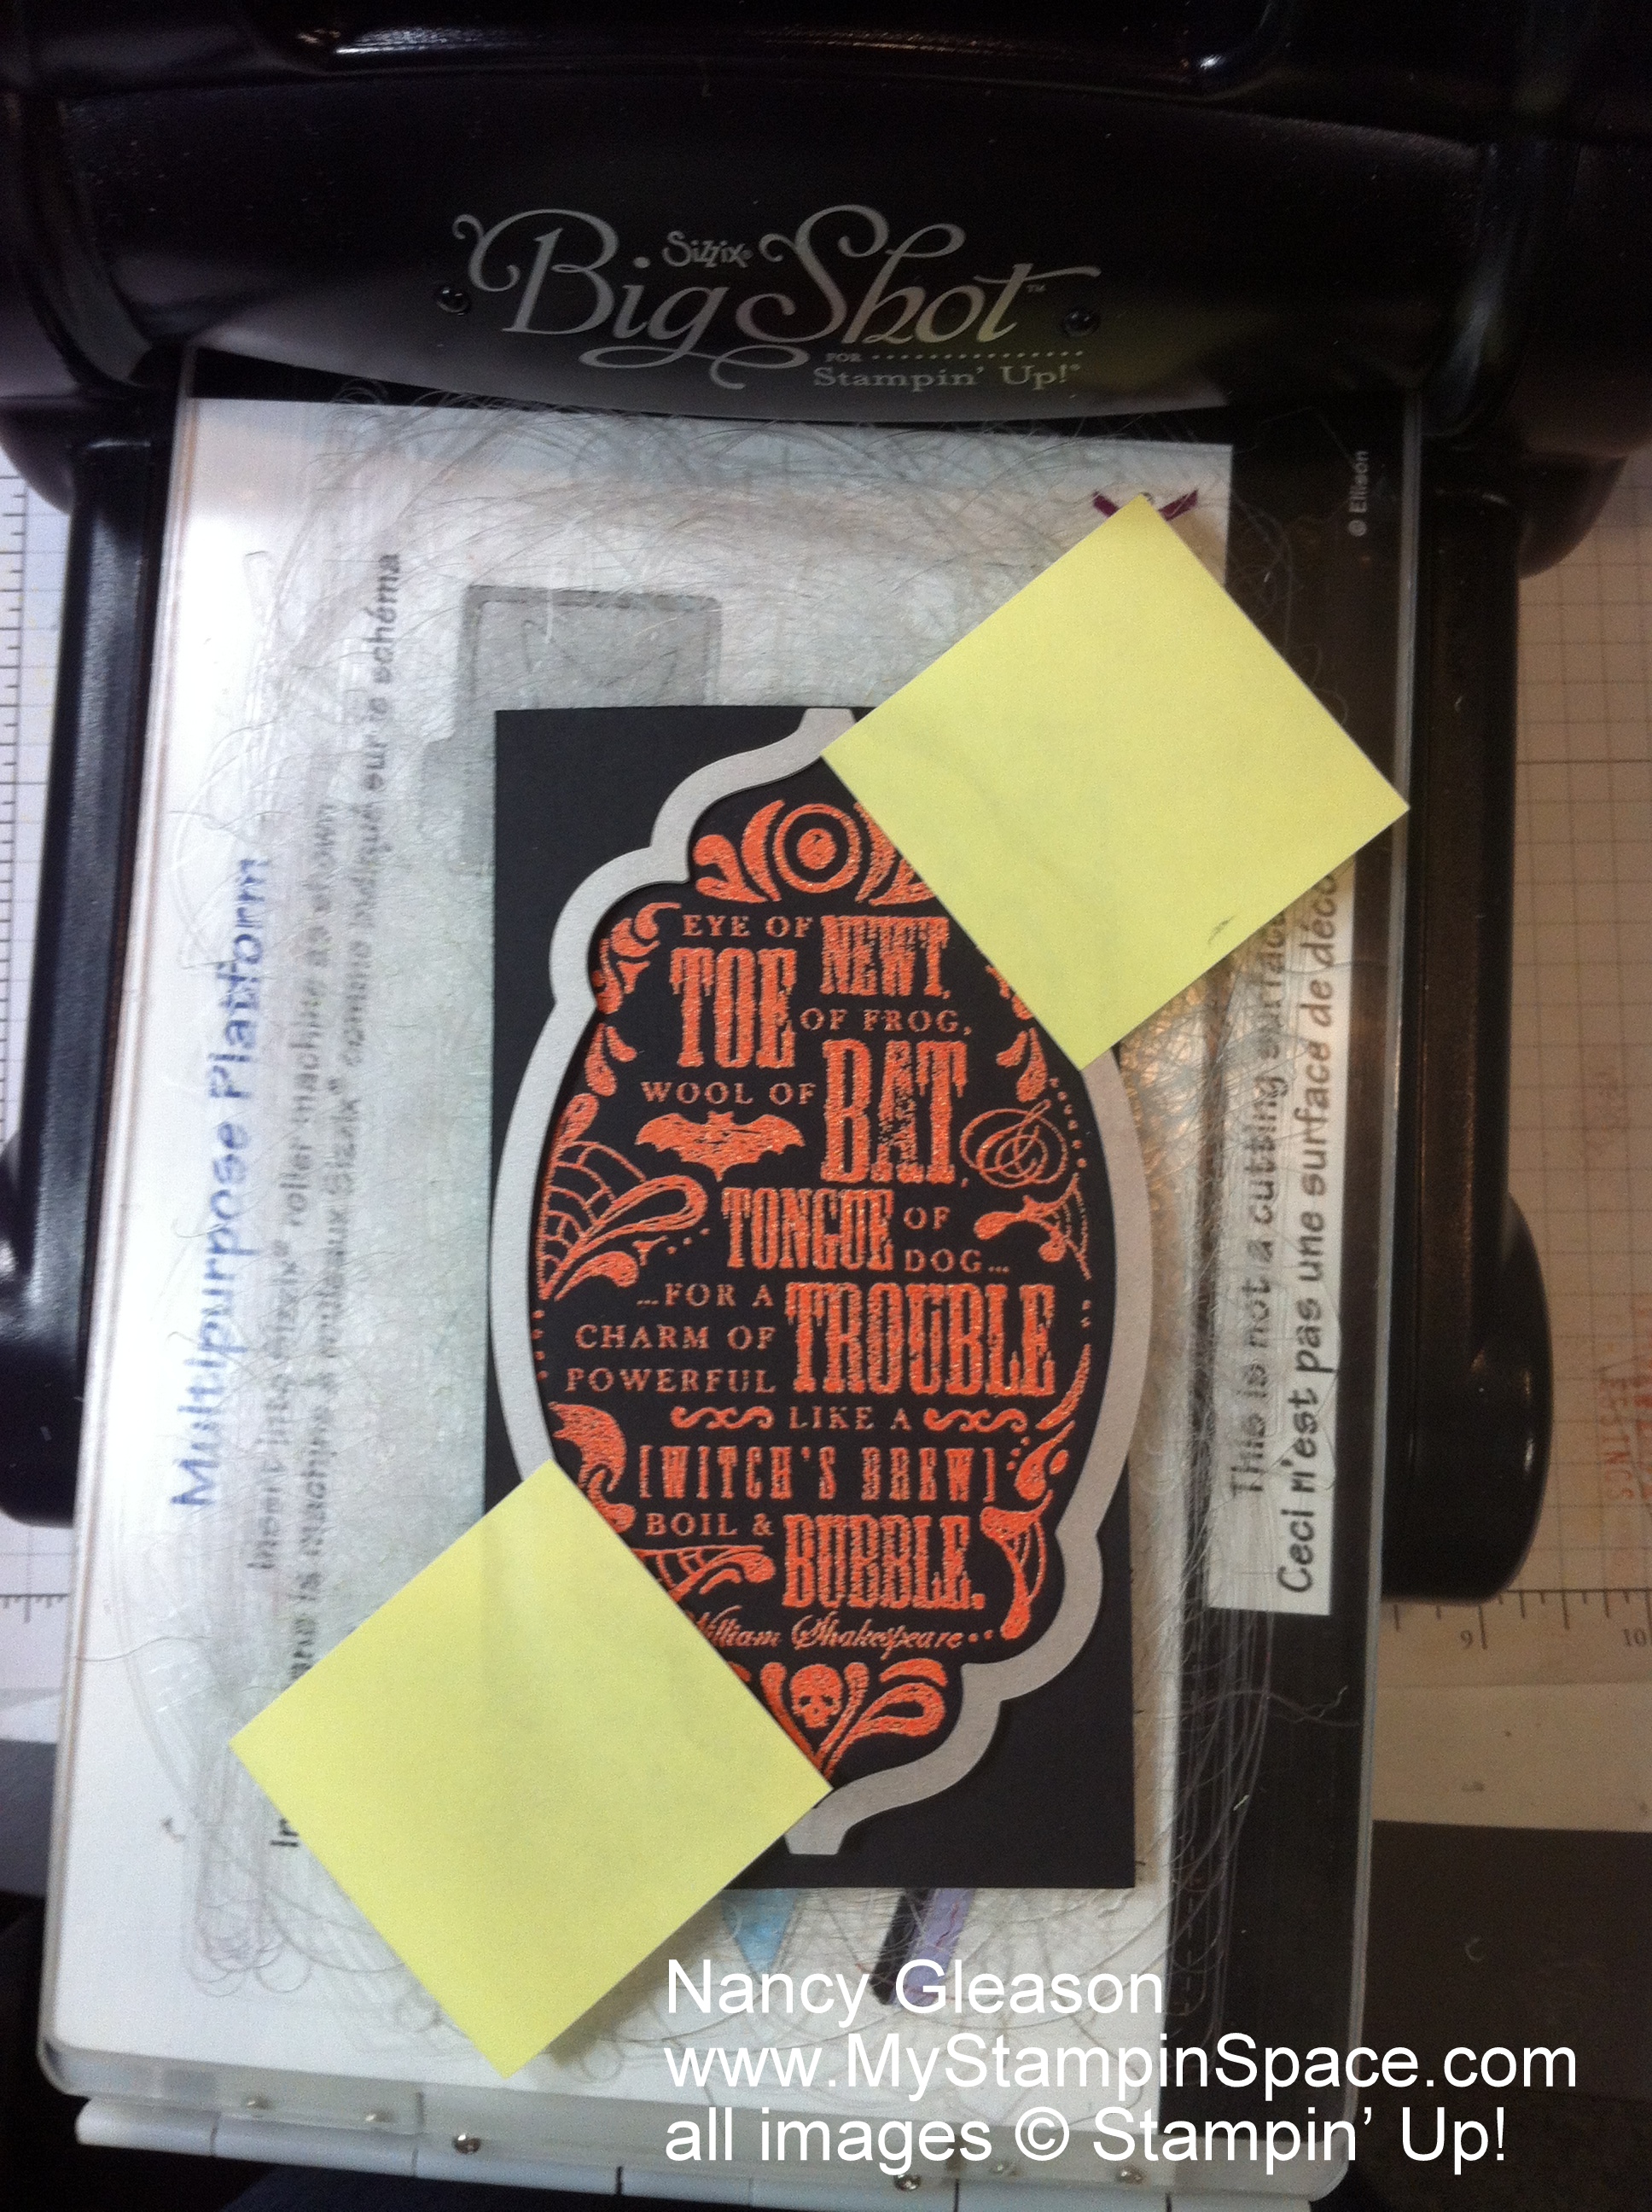
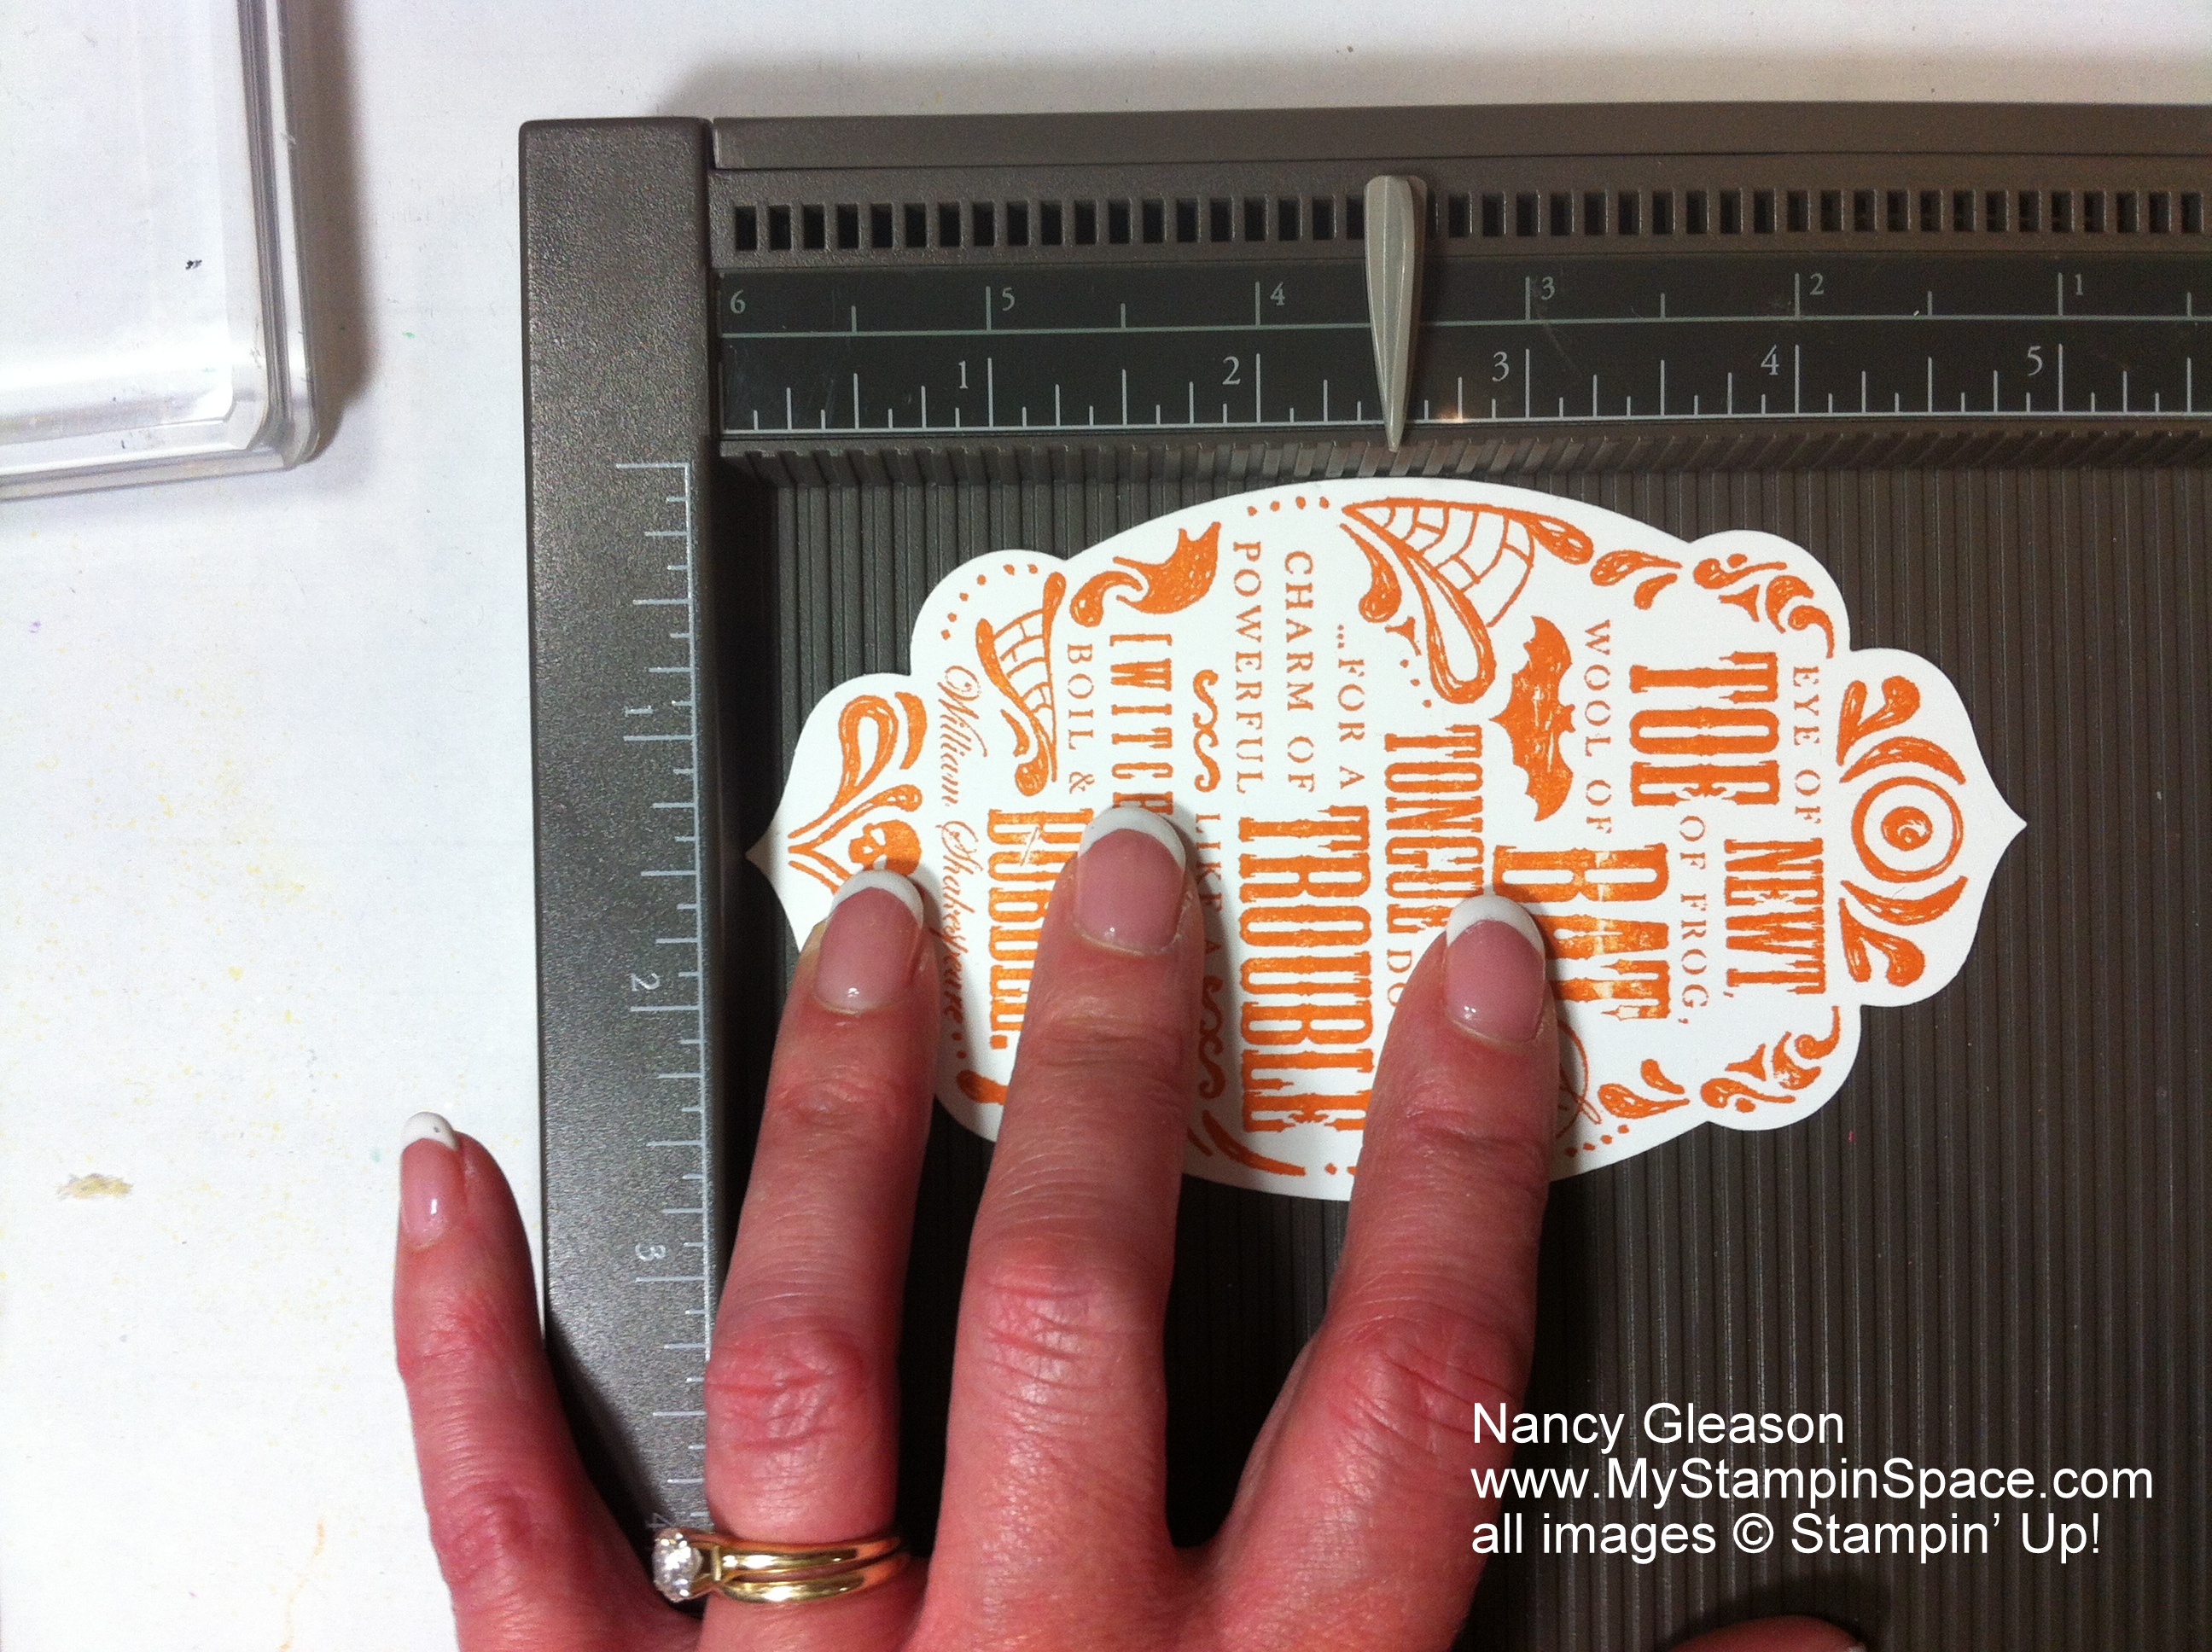
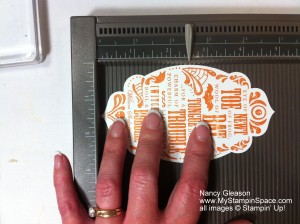
After the image is stamped, cut it out with the Framelits dies.
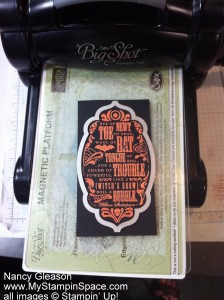 Tip: The magnetic platform for the Big Shot is your new best friend when using the framelits dies. Trust me, if you don’t already own, this, you must have this. You will thank me for telling you that. The magnetic platform holds the framelits die in place so it stays perfectly aligned when you finish creating your sandwich.
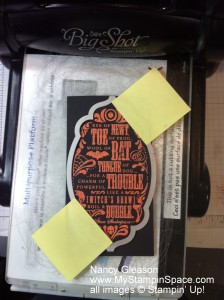
Tip: If however you don’t yet have the magnetic platform, then a few well placed pieces of a sticky note will help keep things from moving around.
This shape is 5″ long. To create the pocket, I used the Simply Scored scoring tool and found the center (2-1/2″) point.
 I then scored a line 2 grooves BEFORE (2-1/4″) and 2 grooves AFTER (2-3/4″) the center point. This allows me to fold the shape in half but with enough thickness to gently cradle the candy bar!
A hole punched in the top and a piece of ribbon are all that is needed to tie things together.


The bird image is from the same stamp set and this was heat embossed using Black Embossing Powder. It was fussy-cut using our Paper Snips.
Tip: When fussy-cutting an intricate shape like this, move the paper; not the scissors. It seems counter-intuitive but it really works!
So, please leave me a comment and tell me which color combo you like best. (And what kind of candy you would like in your candy holder!)
If you are considering ordering any of the products to make this, you should really check out our $25 Starter Kit promotion. See my post from yesterday for all the details and why it makes more sense to Join now rather than place an order.
Thanks for stopping by My Stampin’ Space. Now hop along to see all the other projects the Pals have in store for you. But make sure to come back and hang out in My Stampin Space again soon. Thanks! Nancy
The next stop is Beth Beard at My little craft blog , stop number 16 on the Pals Blog Hop! Thanks for visiting – and I hope to see you next month!

 Thanks to the talented Nicole Watt for creating our blog hop badge and buttons!
- Lynn Kolcun at Stamping with Avery’s Owlery
- Angela Curry at Kindred Stampers
- Maggie Mata at Maggie Made Cards
- Kelly DeTommaso at Kelly’s Creative Corner
- Debbie Crowley at expressivelydeb…
- Rae Harper-Burnet at Wild West Paper Arts
- Julie Trevett-Smith at The Stampin’ Affair!
- Kerry Willard Bray at Stampgoodness
- Mary Fish at Stampin’ Pretty
- Martie Pollard at The Crafty Bandit
- Colleen Mollema at My Crafty Habit
- Lisa Davis at Cherry Street Paper Treats
- Lisa Ann Bernard at Queen B Creations
- Nicole Watt at Pixel Maven’s Retreat
- Nancy Gleason at My Stampin Space –YOU ARE HERE! —
- Beth Beard at My little craft blog
- Linda Callahan at Stampin’ Seasons
- Sherrie Gross at Stampin’ Sunshine
- Peggy Noe at Prettypapercards.com
- Debbie Mageed at Secret Stamper
- Katy McGloin at Just Fun Stamping
- Susan Itell at Simple Stampin’
- Shirley Sumption at Look at my Cute Stuff
- Sandra Conner at Pretty Provisions
- Carmen Sublasky at The Creative Stamptuary
- Margaret Moody at Margaret Moody