Yesterday was an exciting day, the Pals Blog Hop! We featured projects showcasing the new 2015-17 In Colors. I hope you were able to hop from blog to blog and see all the various projects using these colors. You can see my post here.
I featured a project modeled after a gift card holder that is my go-to design when I need a quick & easy gift card holder and decorate it for any occasion. But what about when you want to give cash? I adapted the gift card holder to fit a dollar bill. Here it is:
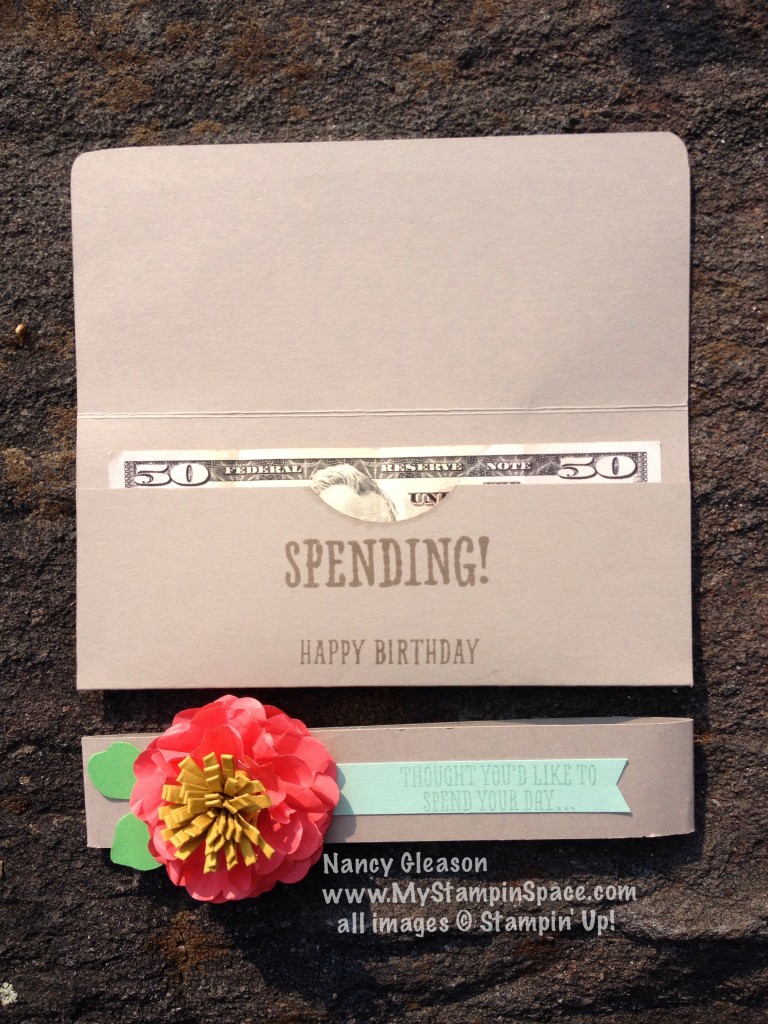
A belly band holds the flap closed. Just slip it off and here it is open:
Well, I promised I would share a step-by-step tutorial and here it is: (Keep in mind that this pattern can be adapted for any occasion you want to give a gift of cash – any color, any patterned paper, any embellishment YOU want to customize it to the occasion and the recipient. Just keep the same measurements.)
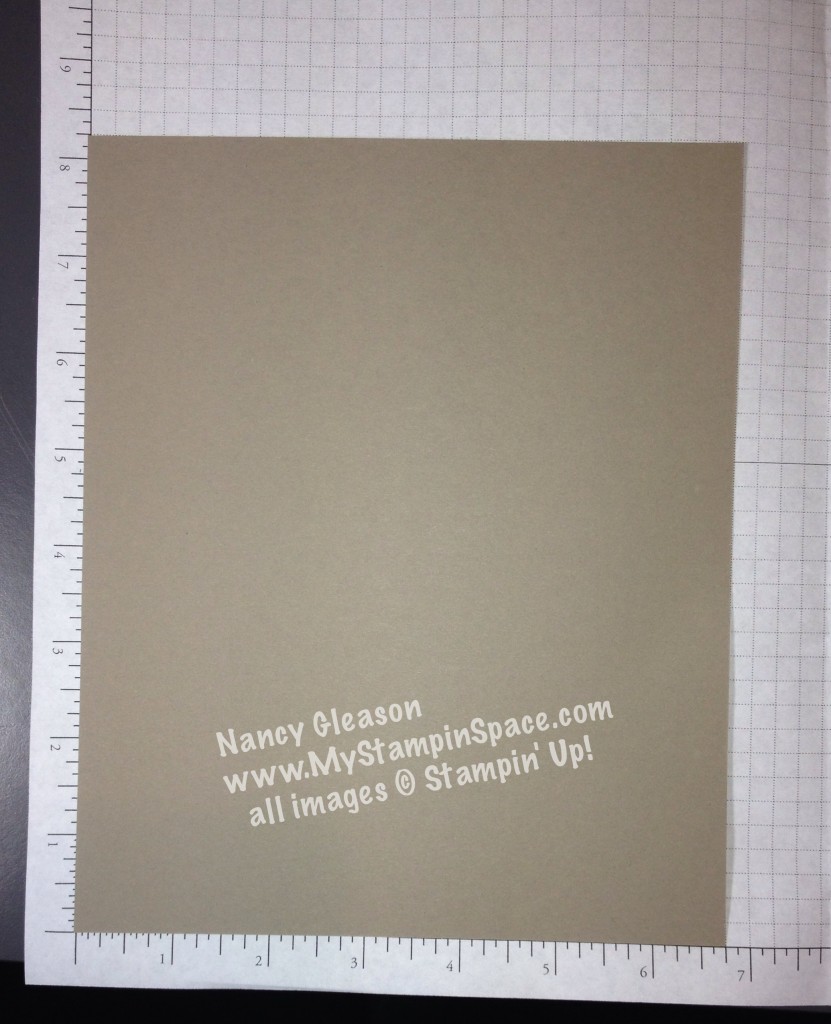
I started with a piece of Tip Top Taupe cardstock cut to 6-3/4″ wide x 8-1/4″ tall.
I scored the paper 2-1/4″ from the bottom edge, and at 5-1/4″. (I love that I can cut and score on my Stampin’ Trimmer!)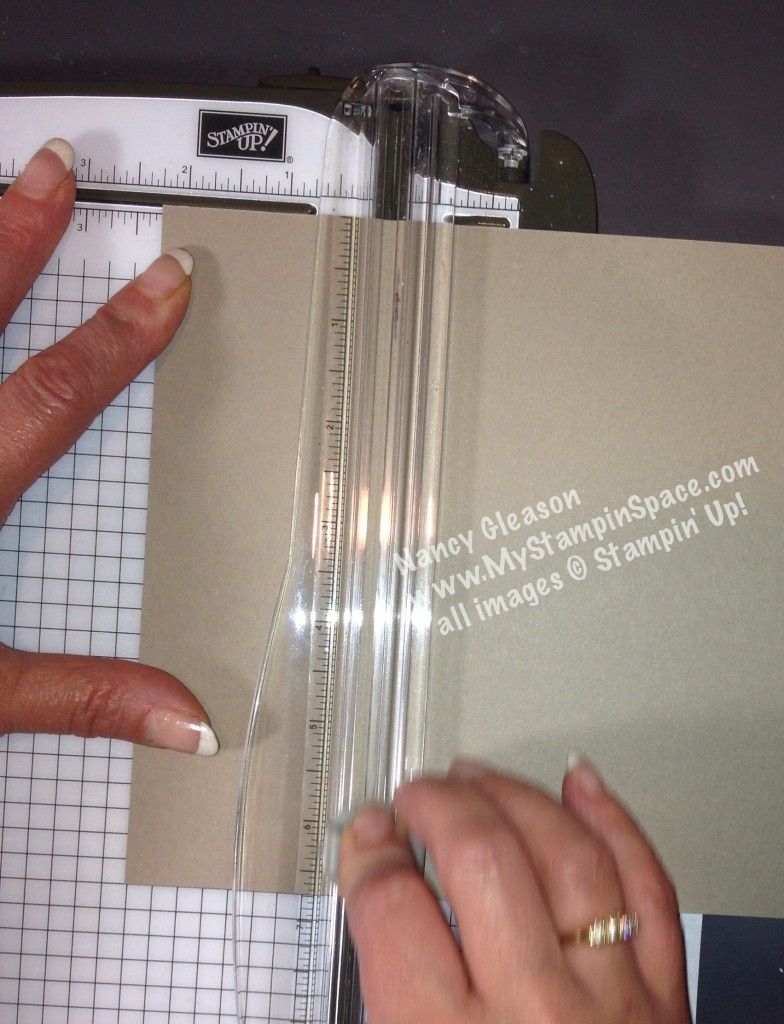
Here is the paper scored in 2 places: 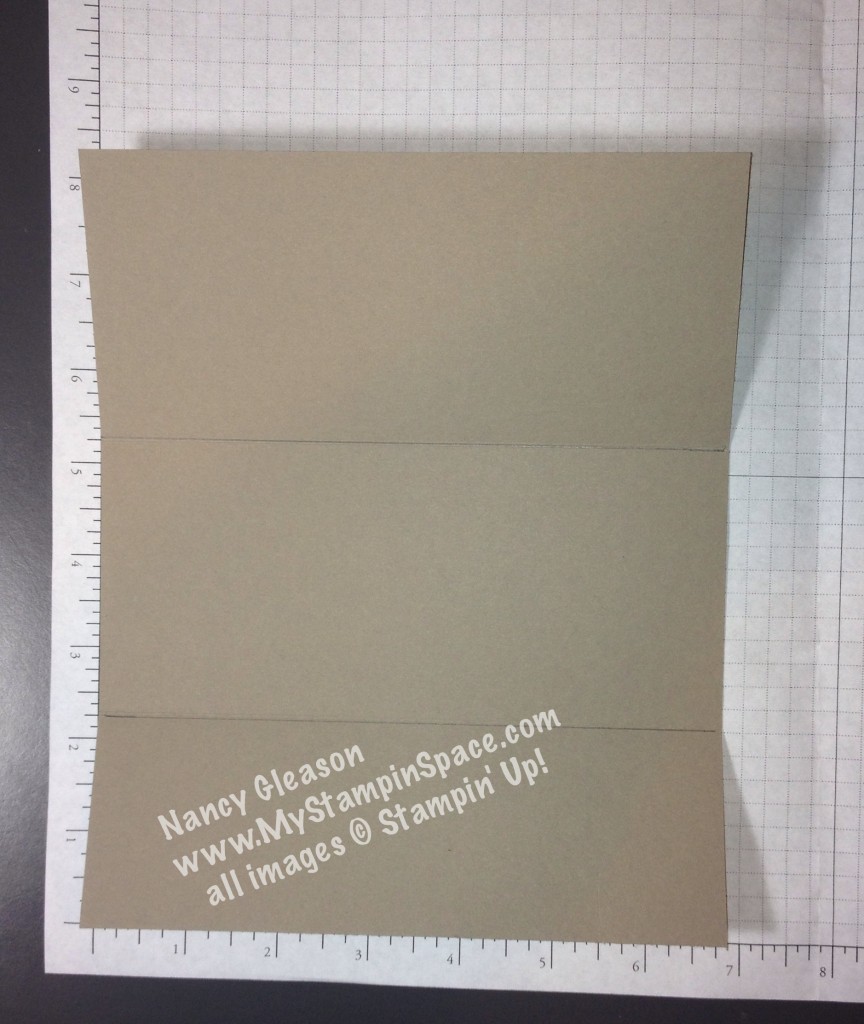
To create the thumb notch for the dollar bill, I used a 2″ circle punch to partially punch creating the notch. I centered this left to right at 3-3/8″. 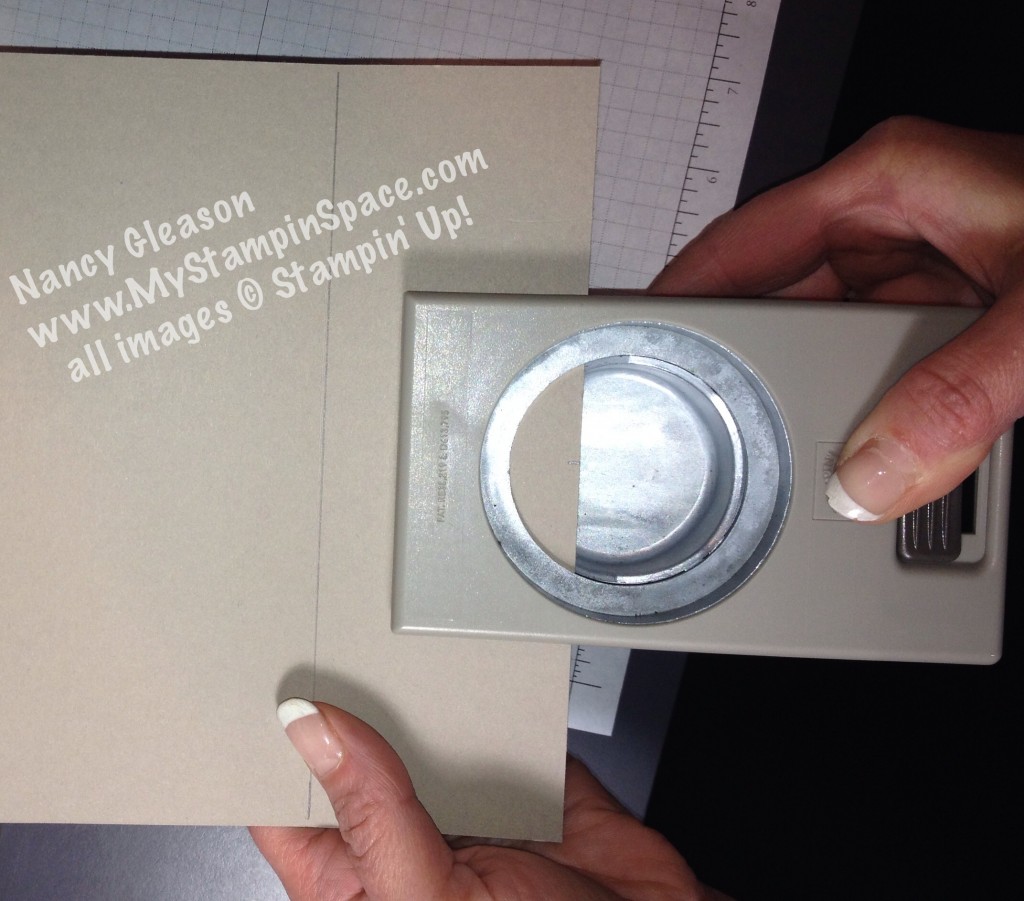
I then applied strips of Tear & Tape adhesive along the outer edges of the lower portion. (Have I mentioned that I LOVE this new Tear & Tape adhesive? – This project was the first time I used this adhesive, and it is far superior to the old ‘red’ tape; both in terms of stickiness AND ease of use! No more red pieces of plastic stuck to your hands, clothes, etc.) 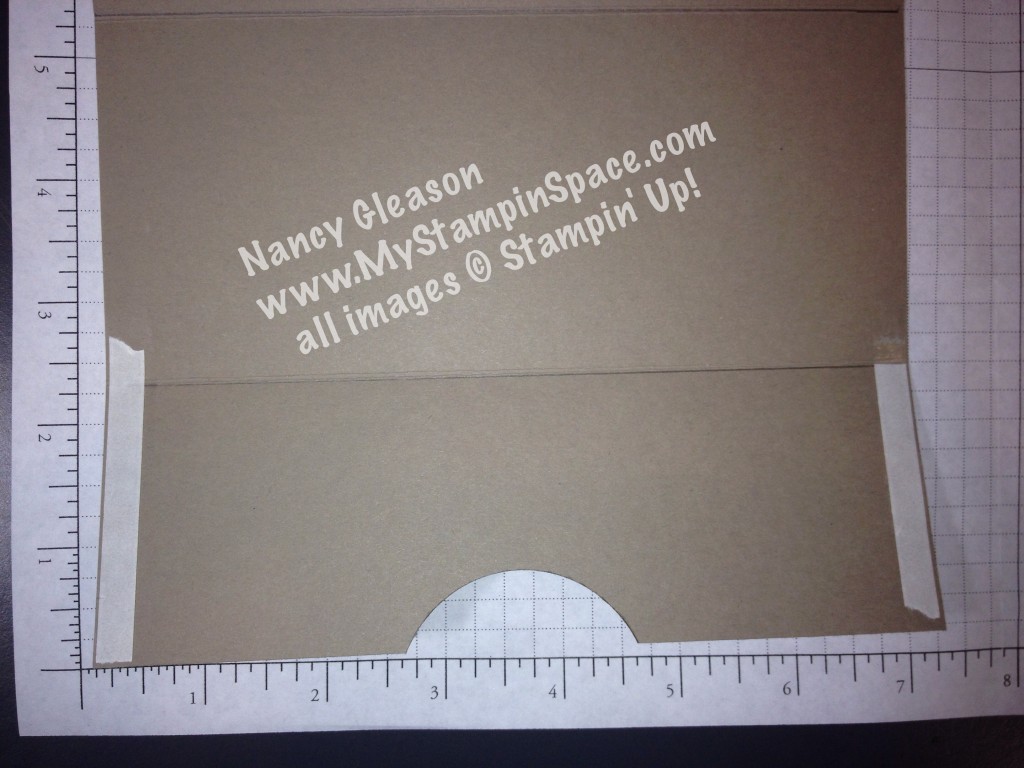
Fold up the bottom portion, and you’ve just created the perfect pocket to fit a dollar bill. Any denomination will fit! (Make mine 50’s or 100’s, please!) 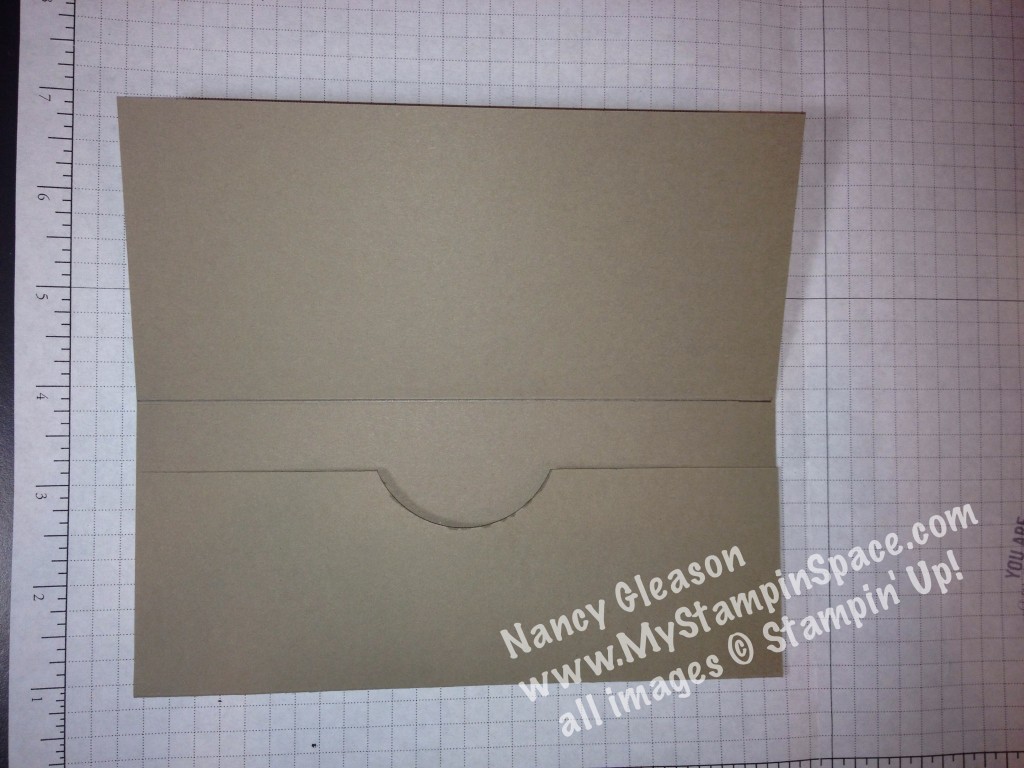
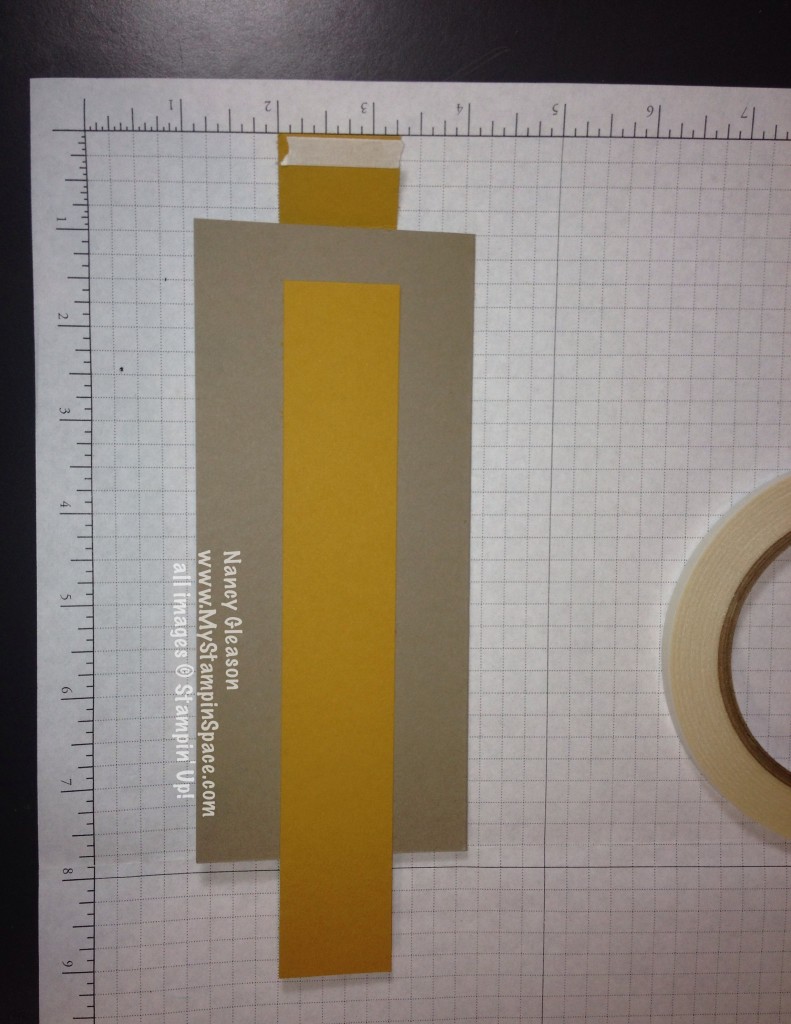
Now for the belly band. You can create a belly band that wraps around the money holder vertically or horizontally. I used a 1-1/4″ wide x 7-1/2″ strip of cardstock and another piece of Tear & Tape adhesive and just wrapped it around the money holder. (TIP: Don’t wrap it too tight; leave enough room for the belly band to slip on & off with ease!). 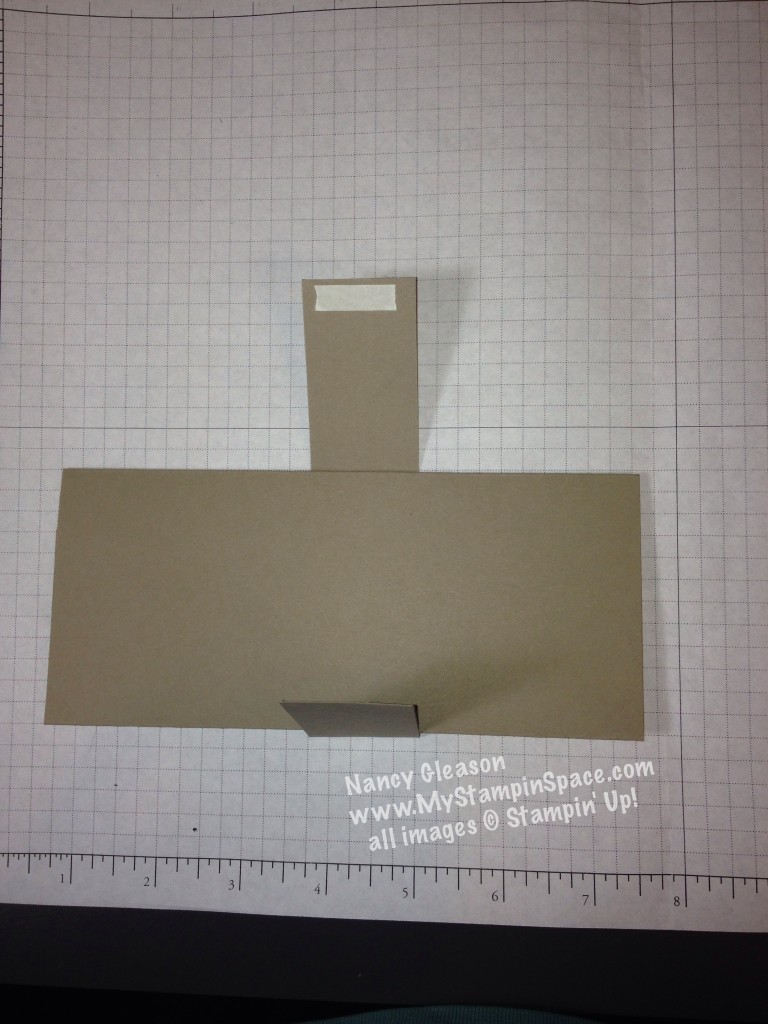
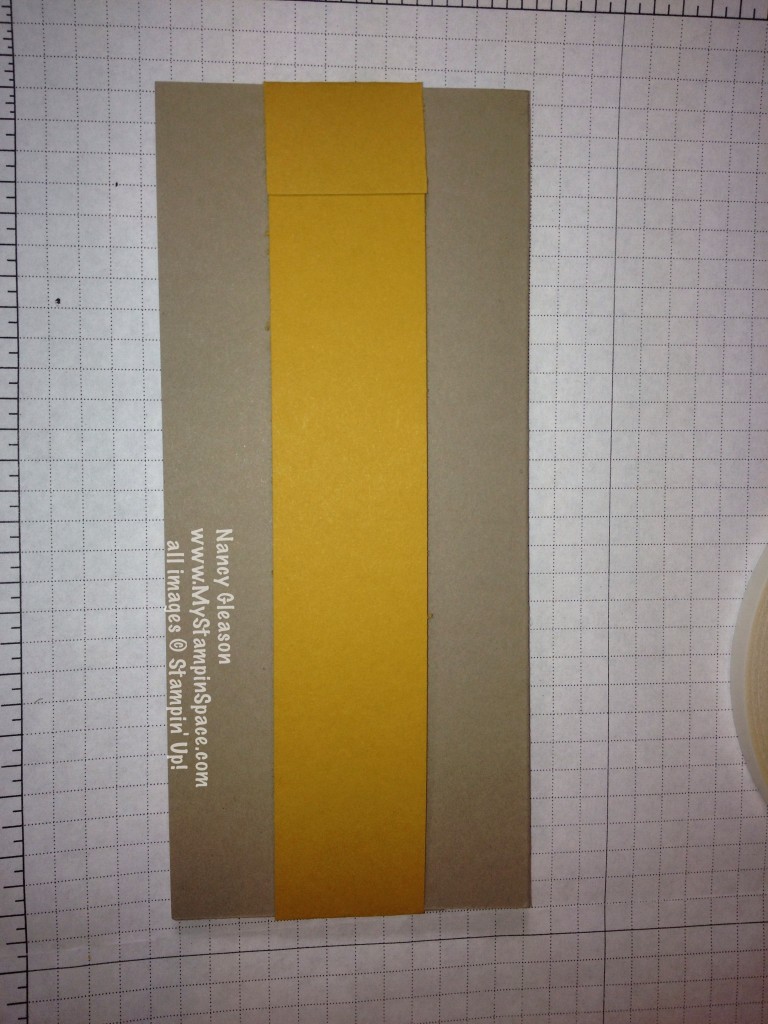
To wrap horizontally, you will need to adhere 2 strips together to get a strip long enough to wrap around the width of the card. I strategically placed the butt joints in the least conspicuous places; behind the flower and at the back edge of the money holder. (I am using a contrasting piece of cardstock so you can see the two pieces better).
Now for the fun part! You can decorate your money holder any way you wish!
On my project, I used the Corner Rounder Punch to punch the two bottom corners of the face. I cut the new Envelope Paper in the woodgrain pattern in Tip Top Taupe to 6-1/2″ x 2-3/4″ and corner rounded the bottom two corners. I adhered this layer on the face of the closed money holder.
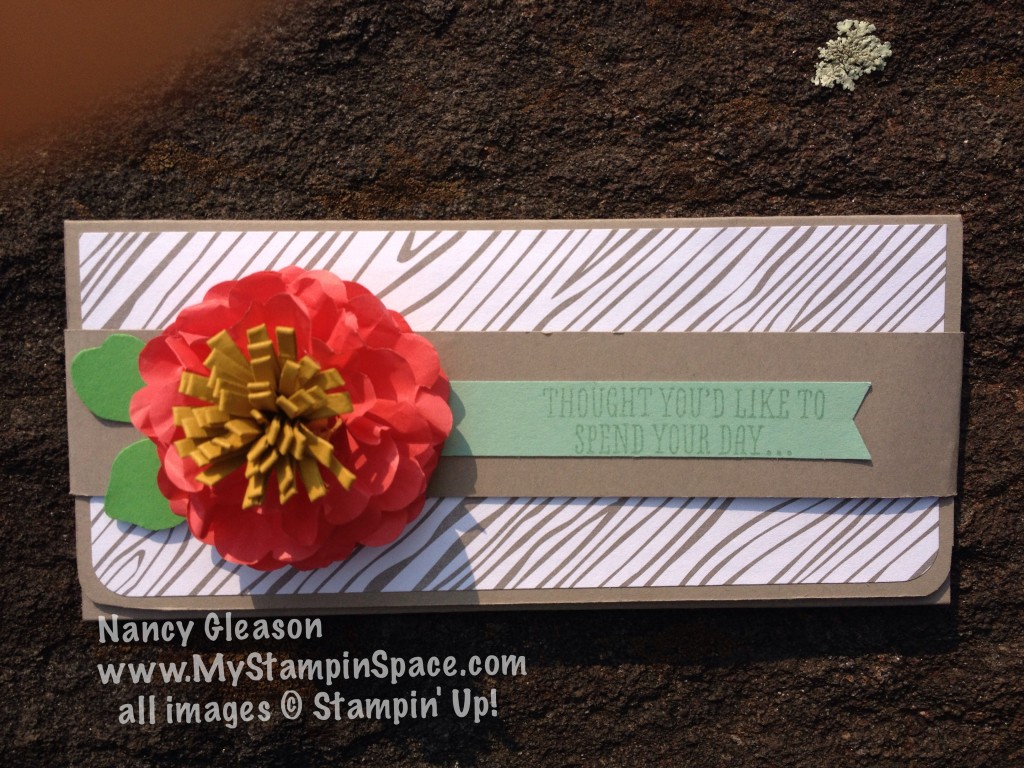 I chose to create this gorgeous flower using the new Cotton Paper in Watermelon Wonder. The flower center is created from Delightful Dijon and fringe scissors! The leaves are Cucumber Crush card stock using the Fun Flower punch. A little flagged end banner in Mint Macaron says: “Thought you’d like to spend your day spending….” from the B.Y.O.P. stamp set. The inside sentiment simply says: “SPENDING”
I will be making a video showing just how to make this flower, and some tips on how to work with this new Cotton Paper. Watch for that next week.
If you want to grab some of these supplies to add to your stash so you can create this at home, simply click here to go to my online store. Or just click on any of the items in the supply list below.
I hope that you try to make this; please let me know if you do. This is a project tutorial that you’ll want to keep close by; it will come in handy whenever you are giving cash as a gift.
Be sure to LIKE my Facebook page so you’ll be the first to know when I share my video. You can also subscribe to my YouTube channel so you won’t miss out any of my tutorial videos.
Please give me feedback on my tutorial. I need your help to know if I am giving enough details, or not, for you to be successful in recreating this project for yourself. Thanks for your constructive input! Thanks for stoppin’ by My Stampin’ Space. Come back and stamp with me soon.
Nancy
Don’t forget to shop our WEEKLY DEALS!

This is awesome! Thanks for sharing the tutorial, Nancy!
Thanks for sharing this, Nancy.