A Million Dollar Hooray

A  clean and simple card for a big celebration:A million dollar Horray

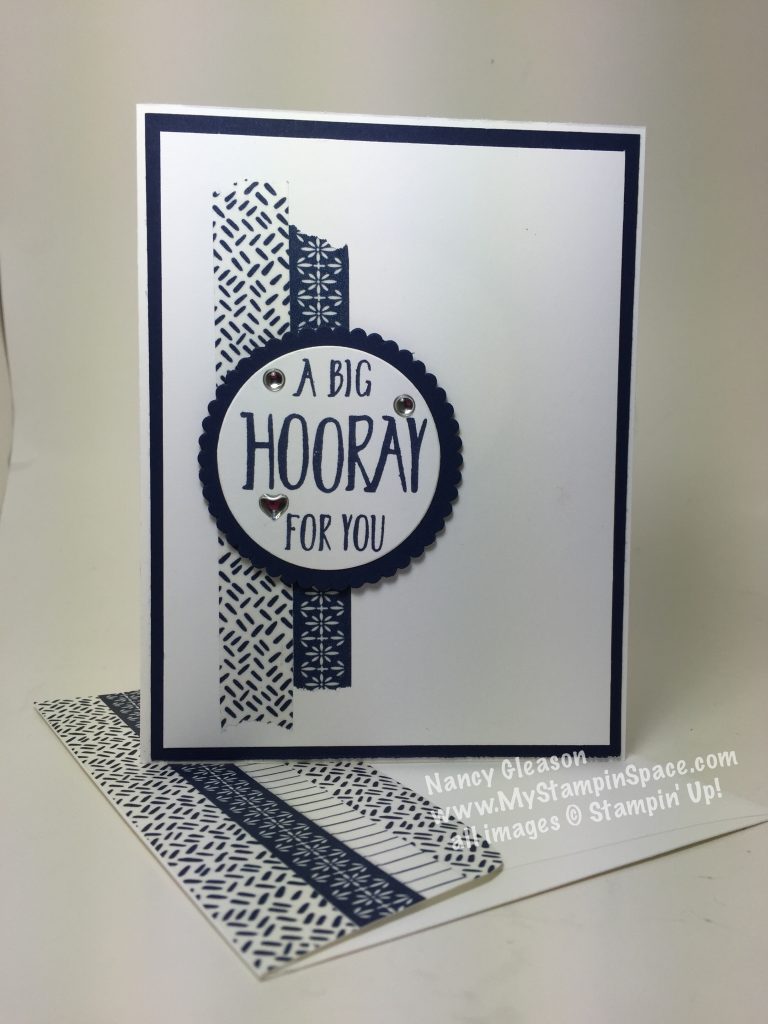
When I got started in my Stampin’ Up! hobby, I turned to Mary Fish of Stampin’ Pretty for a daily dose of inspiration.  And when I joined Stampin’ Up! as a demonstrator, I joined under Mary because A) I liked her papercrafting style, and B) she had a reputation for being a great support to her team, hence her nickname as “The Fearless Leader”.  Mary just achieved a major milestone in her career; she just became the 14th demonstrator to sell $1,000,000 in lifetime sales!   This card is on it’s way to Mary to congratulate her on this success.

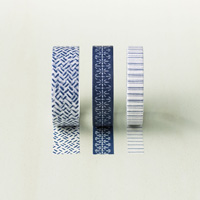
A simple striking color combination of Night of Navy and Whisper White and lots of white space keeps this card Clean & Simple.  A few strips of Washi Tape, and a sentiment from the Perfectly Wrapped stamp set cropped with Layering Circles Framelits topped off with a few Metallic Enamel Shapes.  Simple, quick, clean and uncluttered.

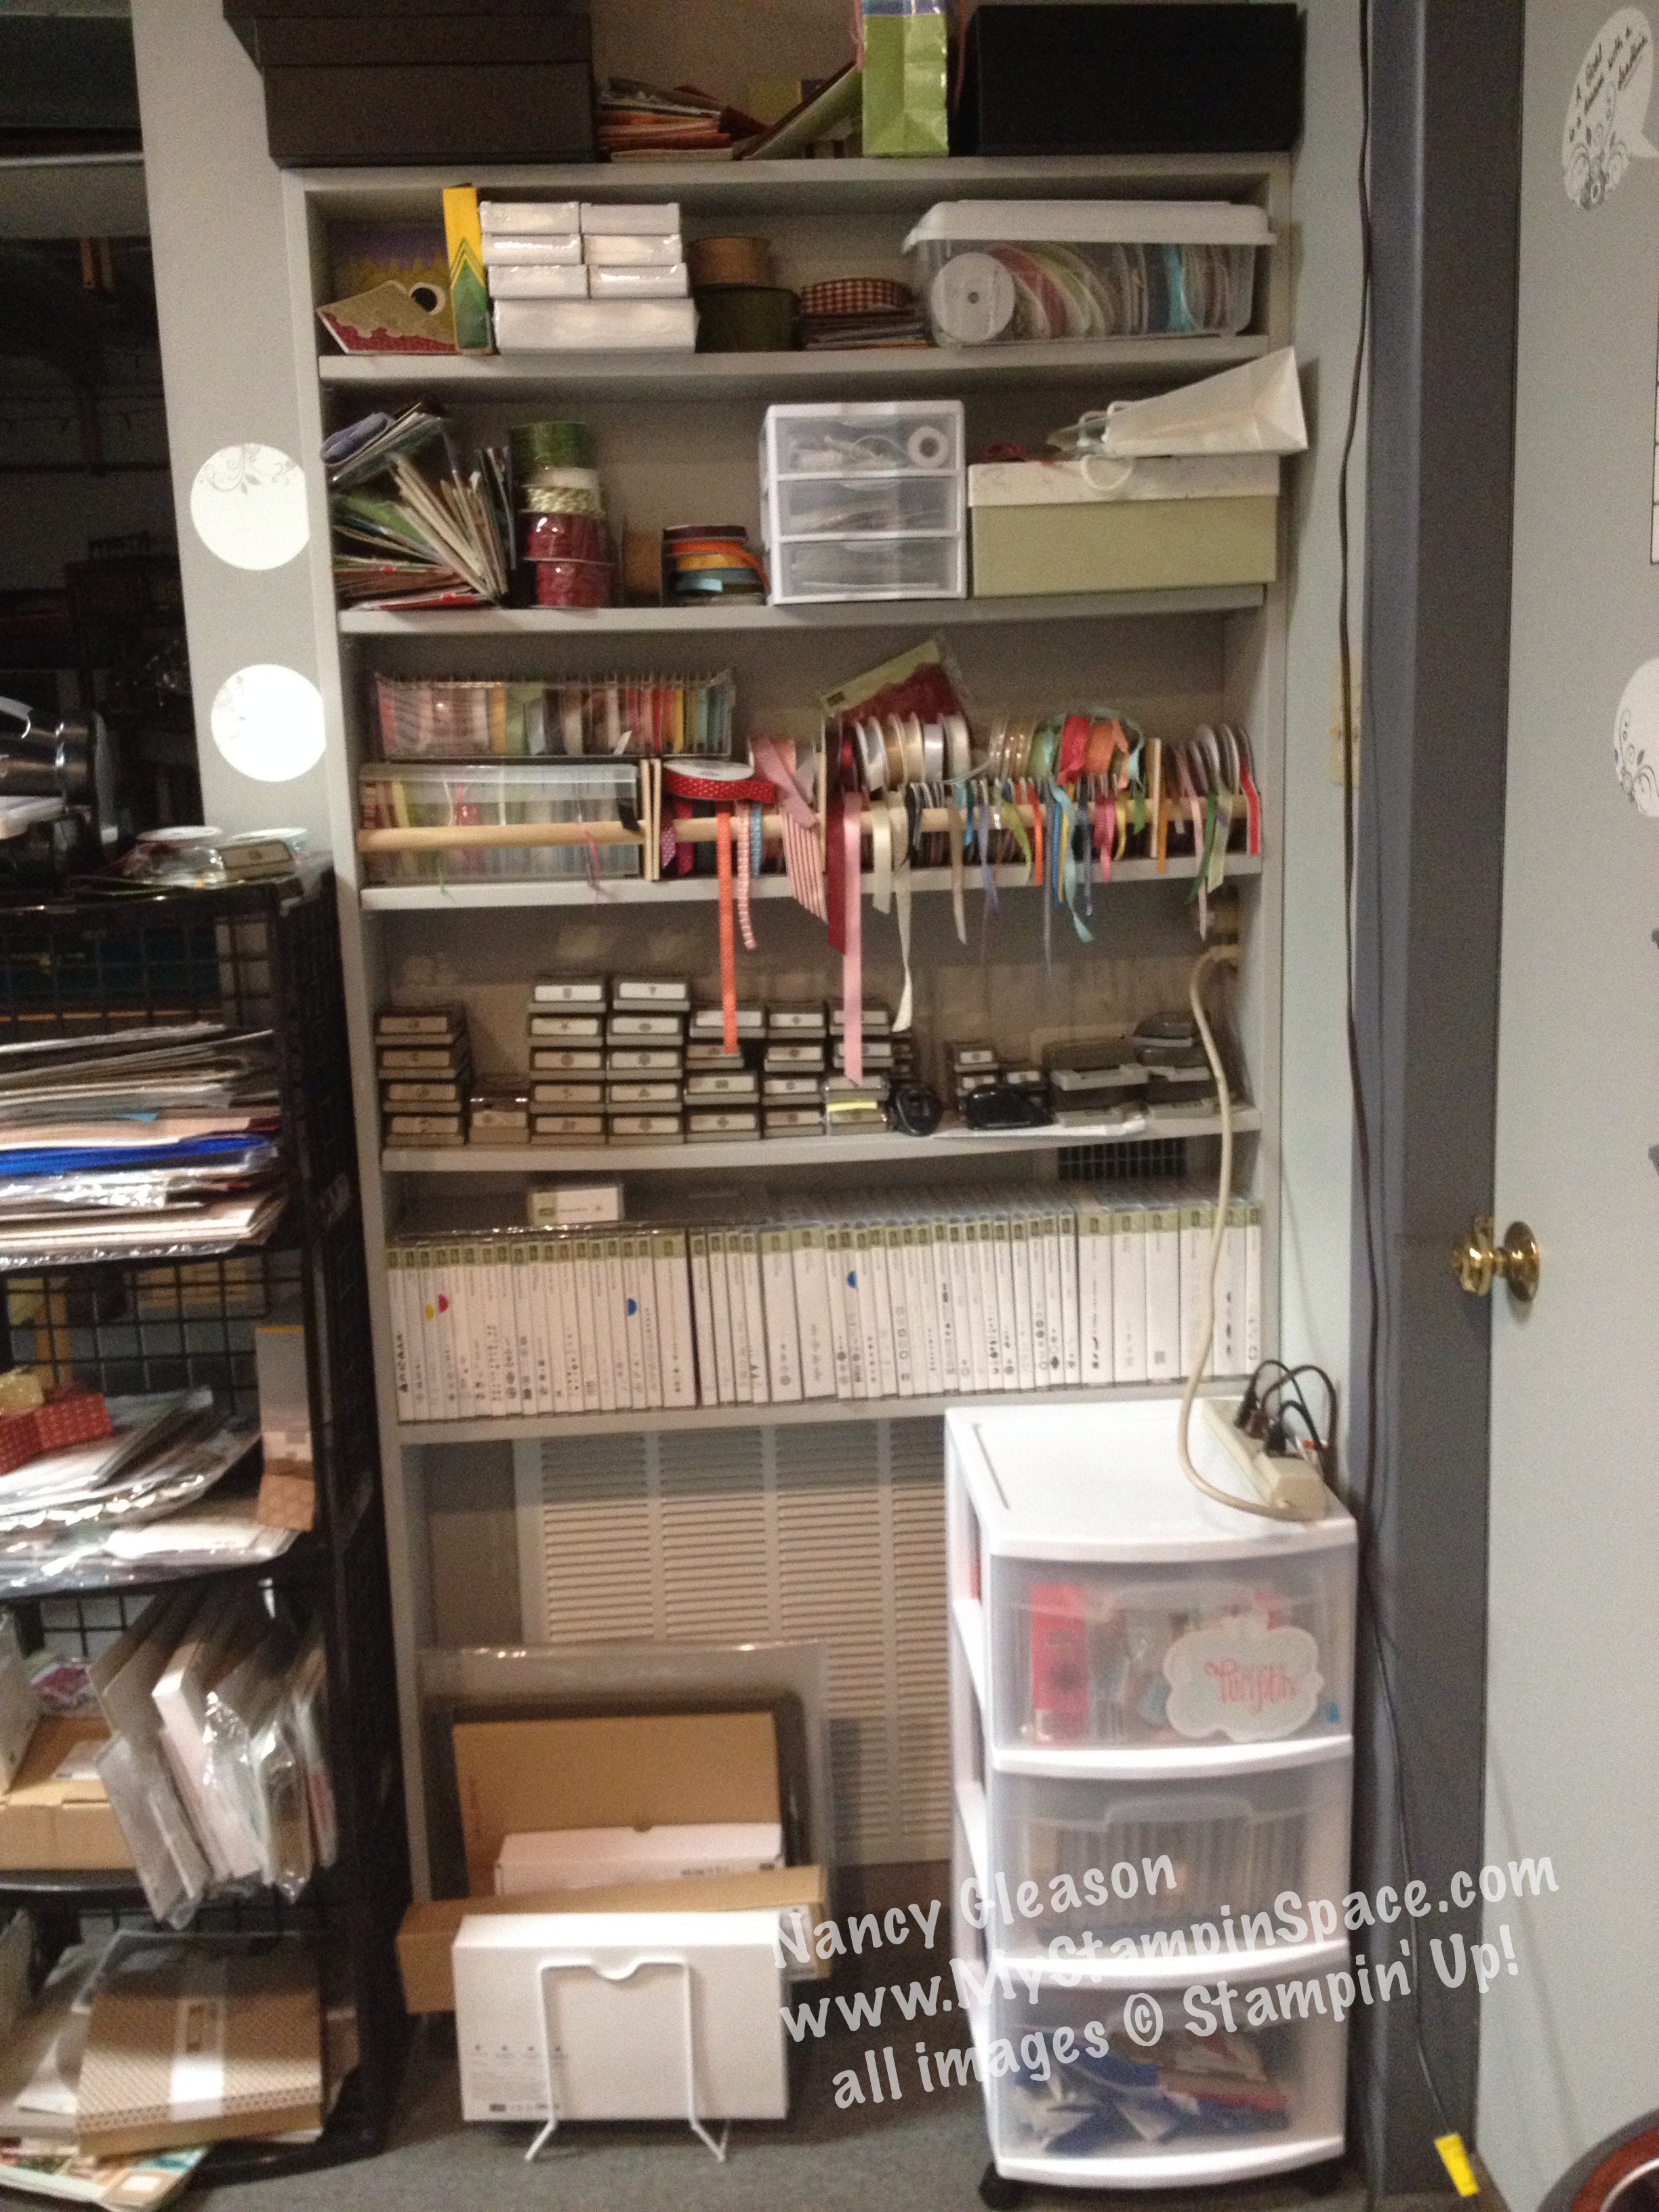
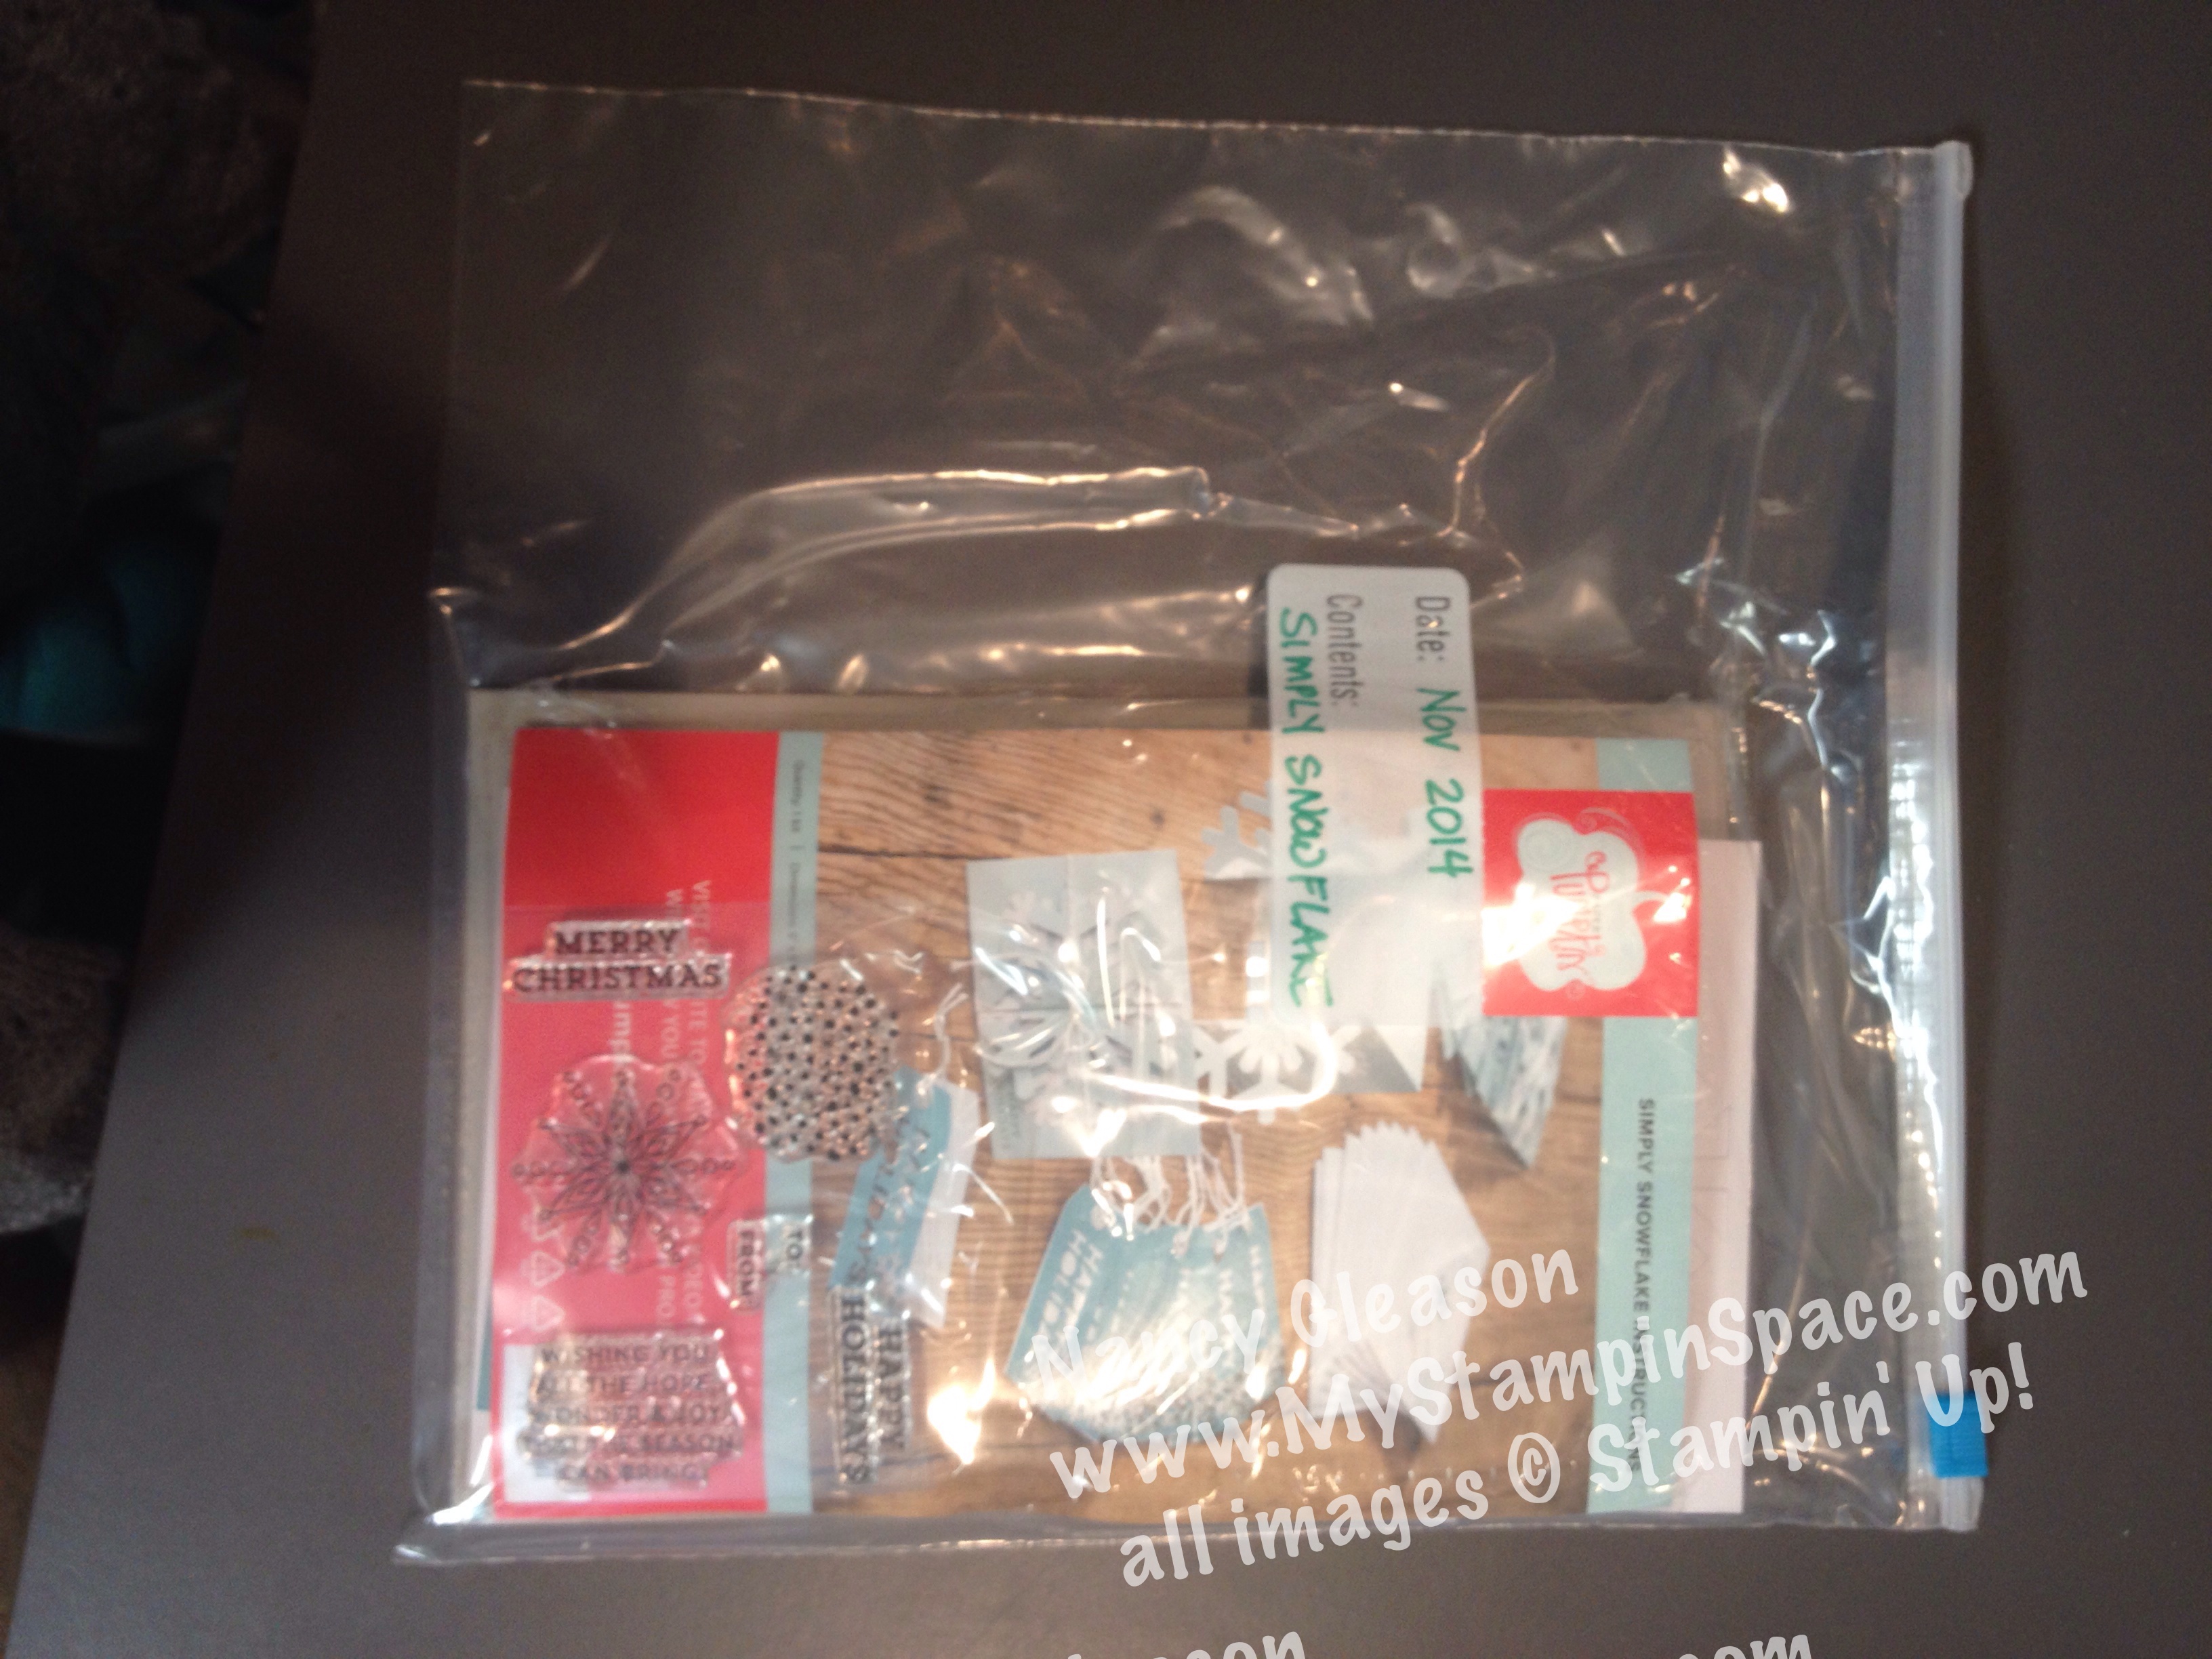
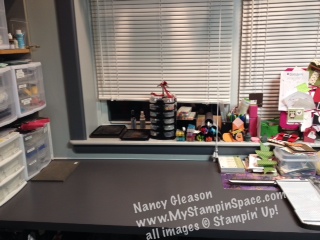
I made my envelope to match by just layering strips of Washi Tape on the flap.   Speaking of Washi Tape, let me share with you my tip for keeping your Washi Tape organized.  I have little mesh bins on the wall in my stampin’ space that I keep my rolls of Washi Tape.  They fit perfectly but I don’t always know what roll goes with what, or what color it is.

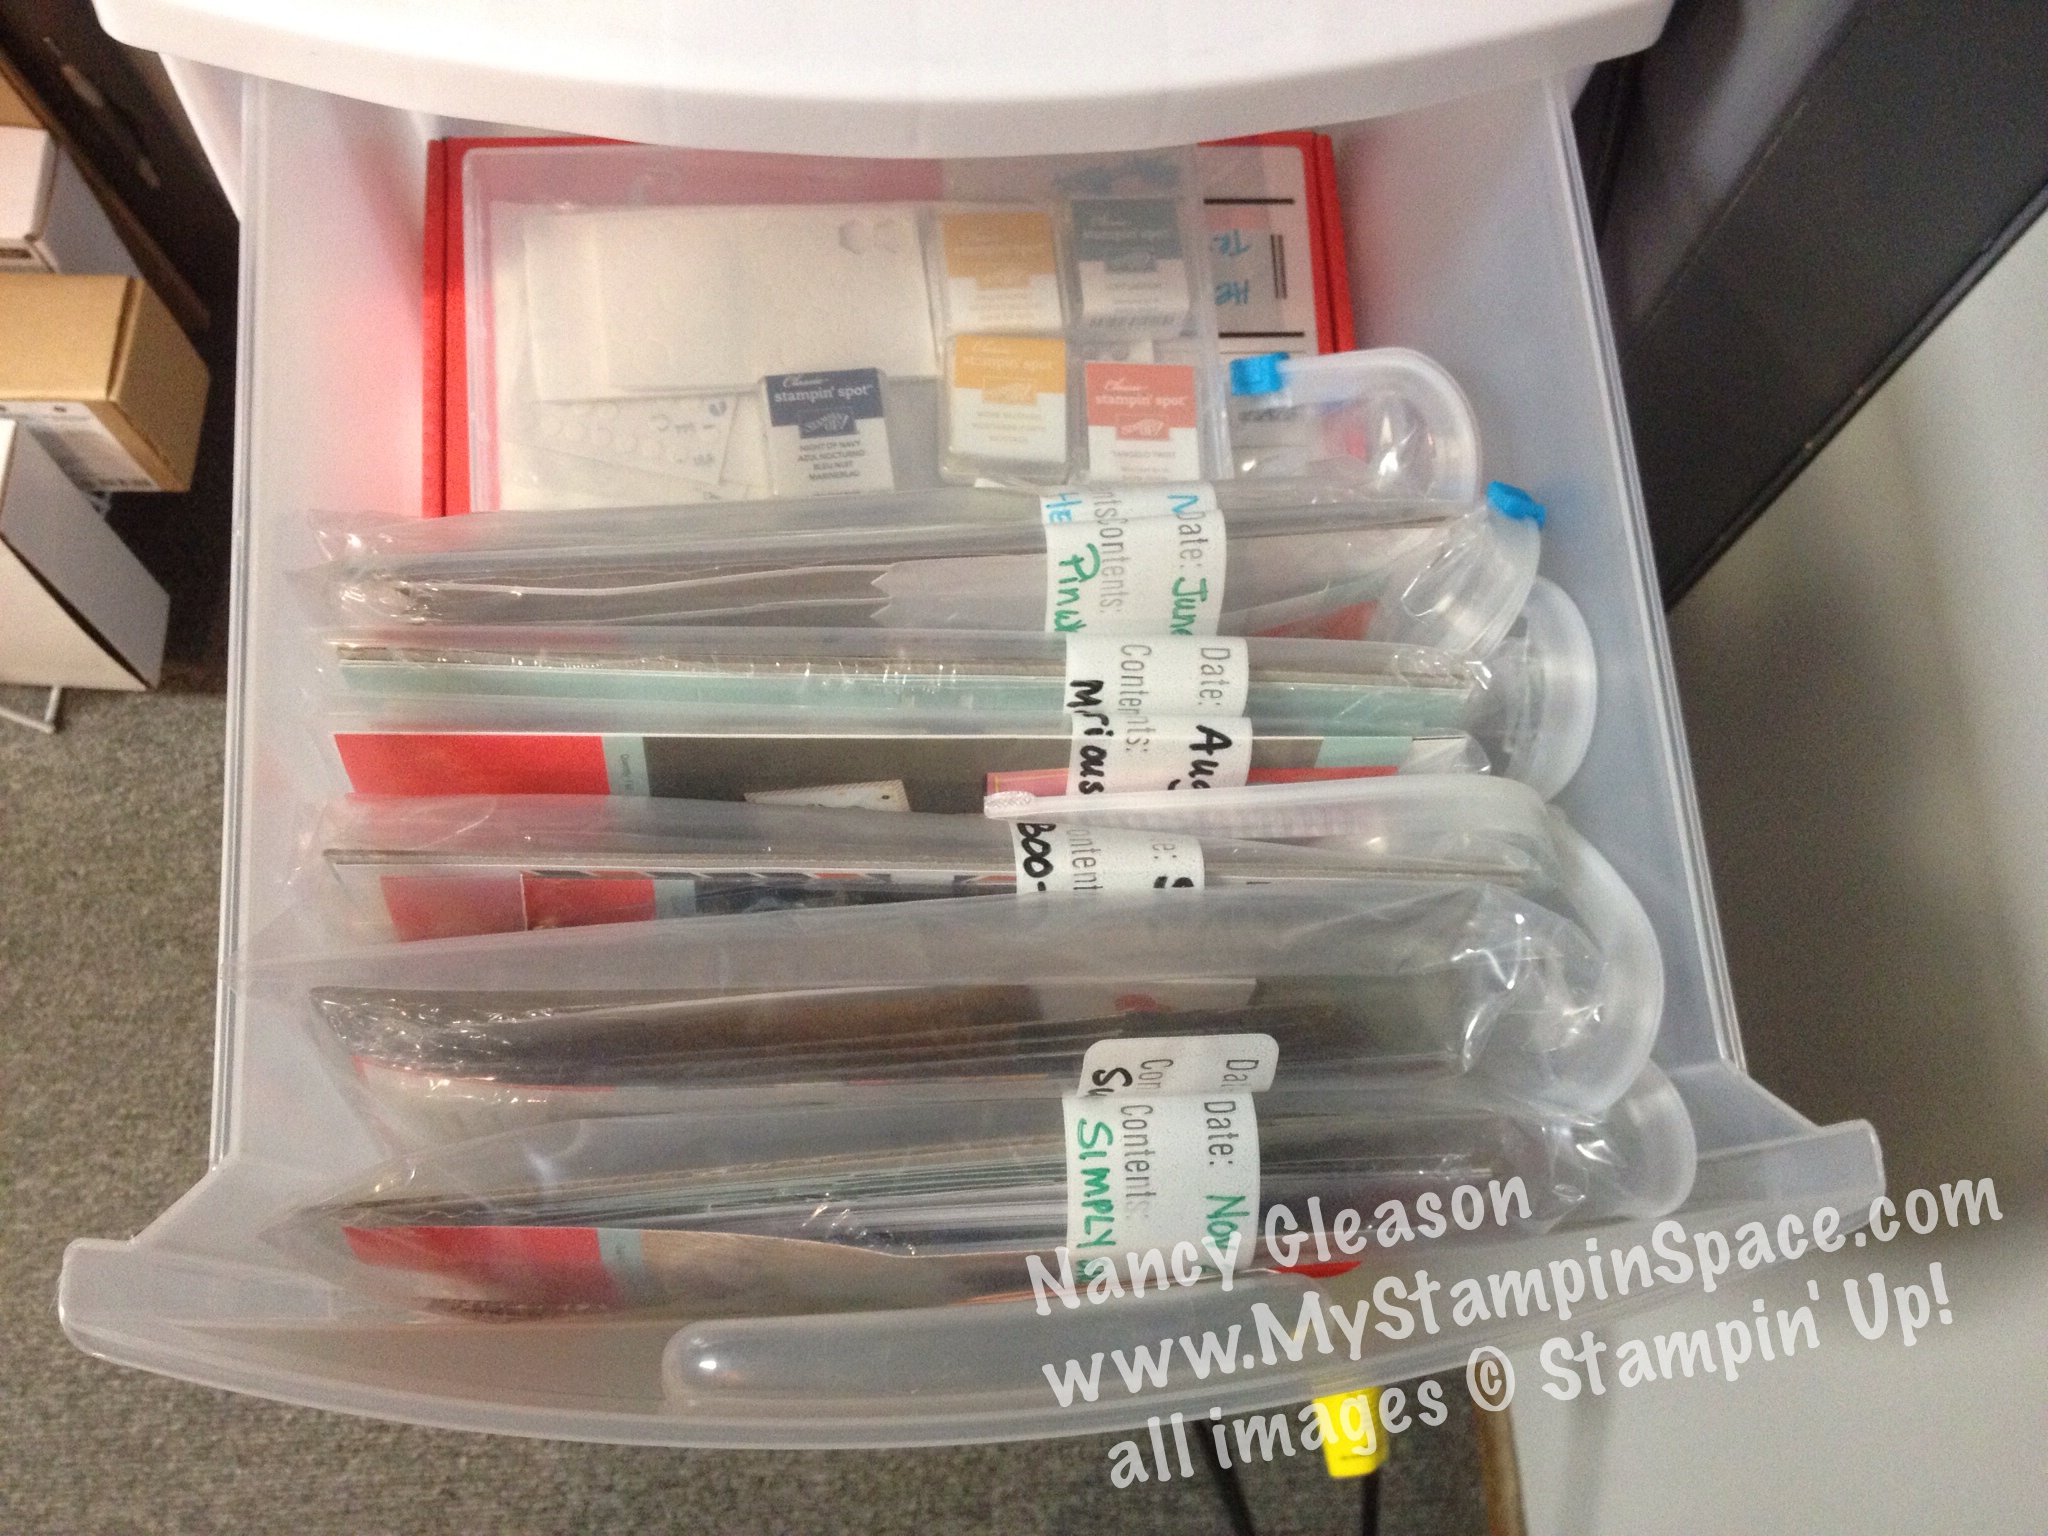
Solution?  I cut a piece of cardstock (4-1/4″ x 5-1/2″) and I gently peel off the sticker from the roll and adhere that to the cardstock.  I write the year and catalog name on top; list all the colors, and finally a strip of each pattern.  These cards go in the basket with my Washi Tape.  Organized!  🙂
axux42501

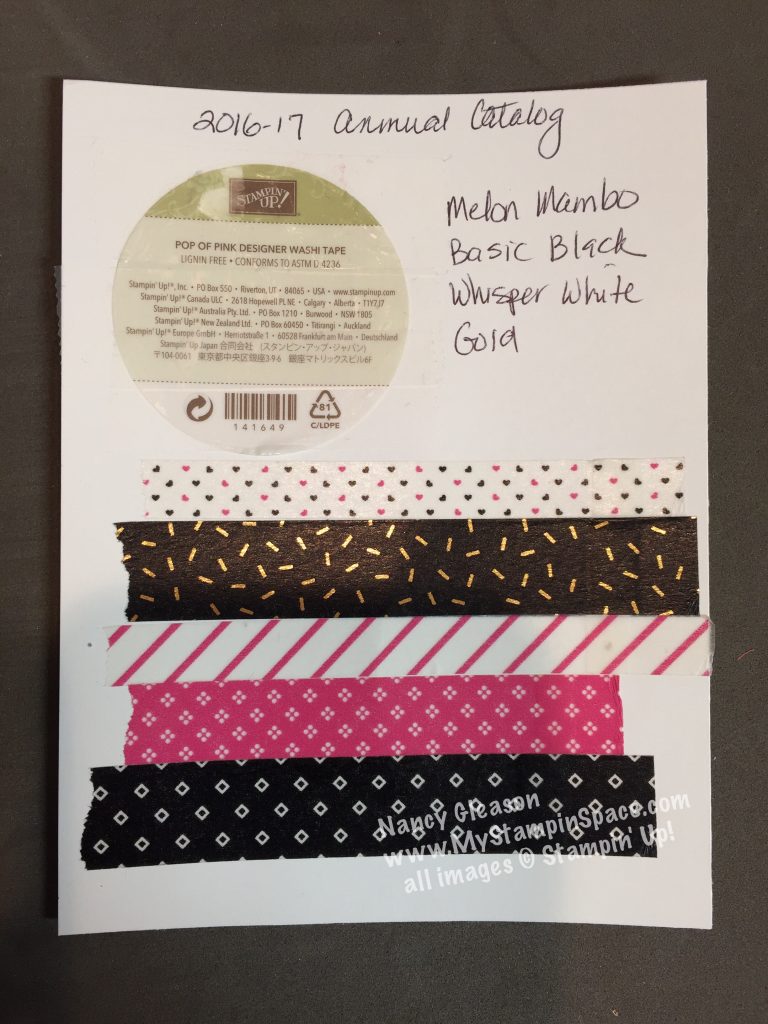
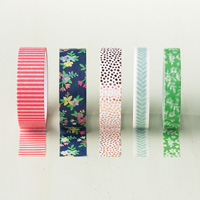
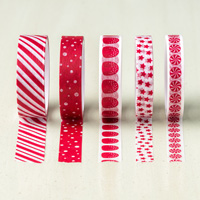
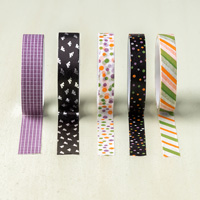
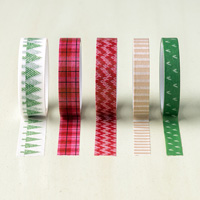
Stampin’ UP! offers so many Washi Tape assortments. So versatile and easy to use, Stampin’ UP! offers them in patterns and colors to coordinate with other products.  My card features a 3-roll assortment from the Floral Boutique Product Suite.  The card above is a 5-roll assortment from the Pop of Pink product suite.

Why don’t you add a package or two of Washi Tape in your next order and see how simple it is to use.   You can view the different collections below, and You can order Washi Tape right here. 

Affectionately Yours Designer Washi Tape Candy Cane Lane Designer Washi Tape

Floral Boutique Designer Washi Tape Halloween Night Designer Washi Tape

Moroccan Designer Washi Tape Playful Palette Designer Washi Tape

Warmth & Cheer Designer Washi Tape

I hope you enjoyed my card, and I hope Mary will like it too!  Please leave me a comment and let me know what you think.   If you would like to buy any Washi Tape, or any other Stampin’ Up! products, click here to shop my online store.

Thanks for stopping by My  Stampin’ Space today.  I hope that you find inspiration when you visit my blog.  Make sure to subscribe to my mailing list  – the 12 Weeks of Christmas is coming and I don’t want you to miss out!

Nancy


My {Freshly Organized} Stampin’ Space

The New Year is always a great time to clean, organize and declutter, don’t you agree?  I can’t be alone on this; the sale ads are chock full of storage containers and other organizing things to make our lives more organized and our homes less cluttered.

Well, My Stampin’ Space seemed to take a beating this past month.  Lots of last minute cards & tags to make, lots of new products ordered, and NO TIME to put things away!  The better part of the day last  Sunday was devoted to cleaning & organizing My Stampin’ Space, and boy, do I feel better! A messy space = mental chaos.   A clean space = mental clarity to me.    I need that clean space to help me feel more creative (and to find things!).

So here is a little tour of my newly organized space.  No, I didn’t take any ‘before’ pictures.  I have very little room due largely in part to a 6′ wide window in front of my desk.  So I make room where I can.

This is where I sit.You can see part of that big window in front of me.  I take advantage of the deep windowsill;  it is perfect for my stampin’ scrub, embellishment holder, and my marker storage.

window sill close upMy old stampin’ scrub got broken at the hinge; so I keep both parts open and easily accessible.  The rotating organizer holds all those little containers of buttons & brads and other embellishments.  I used a divided pencil cup on its side to hold my Blendabilities.  I covered toilet paper rolls with DSP, & glued them together to create my own pyramid of marker holders.

IMG_4457 IMG_4459

To my left, is a bookshelf that faces the desk.  I found 3-drawer storage units at Wal-Mart that fit on those shelves perfectly.  They also perfectly hold my inks and other supplies.

photo 3I labeled each drawer so I know where everything is at a glance.  Hanging from the side of that bookshelf is a hanging cosmetic bag that holds my punches (old style).  Another 3-drawer unit (much larger) sits on the floor at my side.  The top drawer has my adhesives, and lower drawers have my clear blocks and my Christmas stamps.  I have my clock/radio right there along with a pen/pencil basket and and extension cord for my Iphone, heat tool, and glue guns.

I really needed more stamp set storage so I mounted this DVD storage rack on the narrow strip of wall above that.  (I can’t believe its almost full already! – No wonder I didn’t have room to stamp anymore, these were just the stamps that didn’t fit on my stamp set shelf and were just piled up on my desk!)

photo 1photo 2

It was a cheap unit and kind of flimsy.   It is designed to just have one rack to hold the DVDs but it wouldn’t hold anything.  Since I had 2 double racks, I just mounted them next to each other so my stamp cases were in two racks for added stability.  You can see some are still a little wonky as the holders are not that sturdy, but it did the trick.  (Thanks to my wonderful hubby for measuring and mounting so the 2 pieces are perfectly level to one another!).

There is a door right there, which is why the wall is so narrow.  The door is a metal door (and I don’t use it too much) so I thought I would make that useful too!  Metal baskets and a few magnets are all that were need to hold my growing collection of Washi Tape in sight but corralled nicely.

IMG_4412[1]Behind me is a narrow shelf unit my hubby custom built for me to hold my stamp sets, punches and ribbon.  The top shelves are used to house my stash of finished cards.  This is built onto the side of our furnace so I have to leave the grill on the bottom open so air can get into the furnace.  But another 3-drawer unit and a rack to hold my tools fit perfectly without obstructing airflow!.  IMG_4441The rack, again a Wal-Mart find, is designed to hold pot lids.  But my bigger tools, like my punch boards, and rotary arm for the Stampin’ Trimmer are neatly stored and easily accessible.  IMG_4448The drawer unit has become my new home for My Paper Pumpkin kits.  I love the red boxes, but since being a subscriber since the spring, the red boxes were really piling up.  So this is how I contained them:  IMG_4447IMG_4462 IMG_4461

I have each kit contents in a gallon sized ziploc labeled with the date & kit name. The ziplocs are standing up in the drawers.  I have all the ink spots in a wood mount case.  Suddenly a tower of red boxes in under control!  Nice 🙂

Well, that’s all for today!  My stampin’ area is actually a 12′ long counter.  One side of the counter is where I stamp, and the other end is my actual office desk/computer area.  That side did NOT get cleaned  & organized so no photos of that just yet.  But I promise I’ll have that ready for you soon, and show you the neat way I keep my embossing folders, dies & framelits organized!  You’ll love what I found to keep them in.  AND Wonderful Hubby is going to solve my 12×12 paper woes (but not for another week or two).

Please let me know how you liked the tour of My Stampin’ Space.  Did you find any helpful tips or organizing ideas that you’d like to try out in our your space?   I’d love to hear from you if you found anything helpful.  Stamping is my passion, and probably yours too!  But organizing is an essential part of a crafters’ life too.  I hope that you were able to find a tip or two.   Until next time, Happy Stampin’ and Happy Organizing  🙂

Nancy