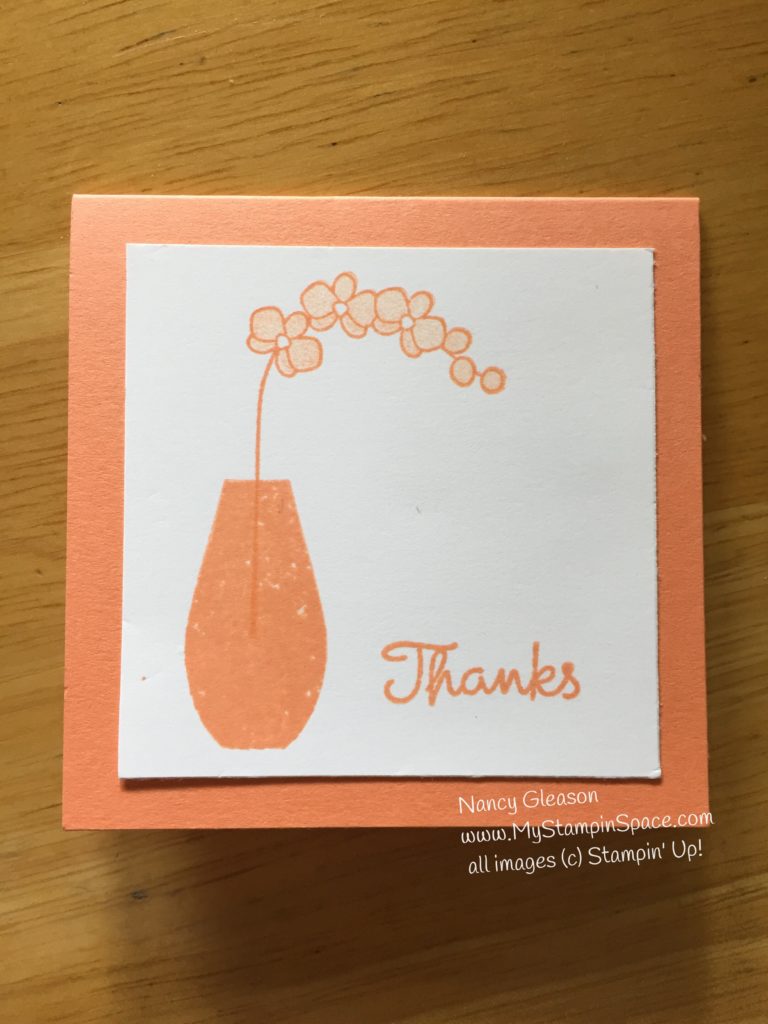
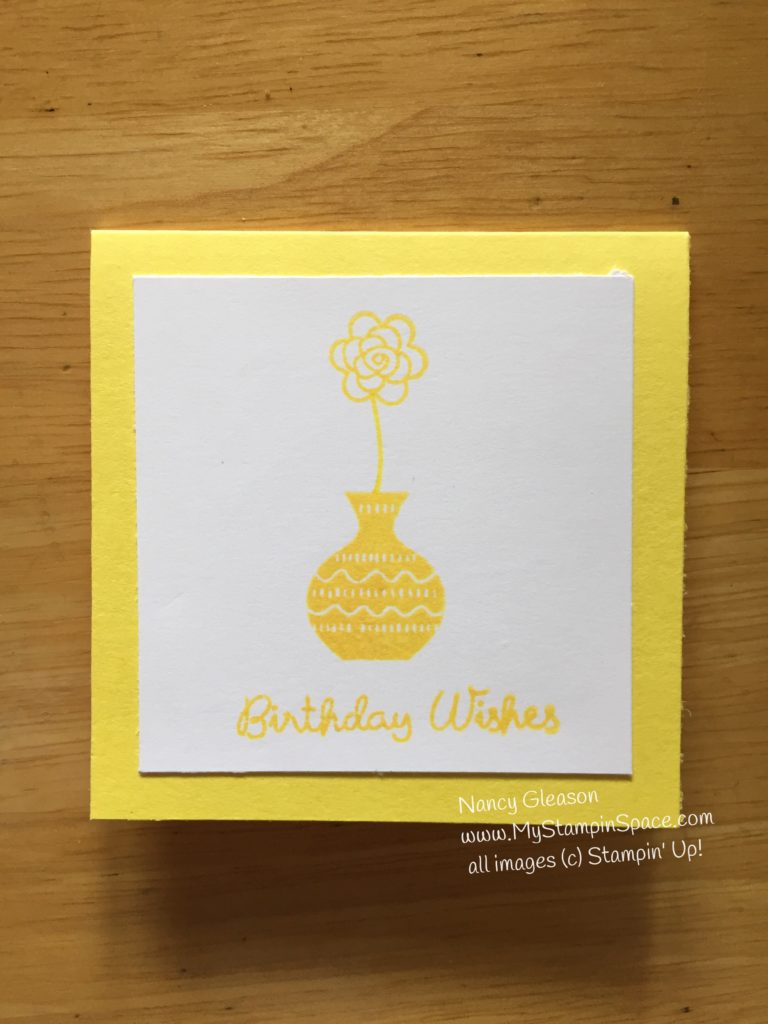
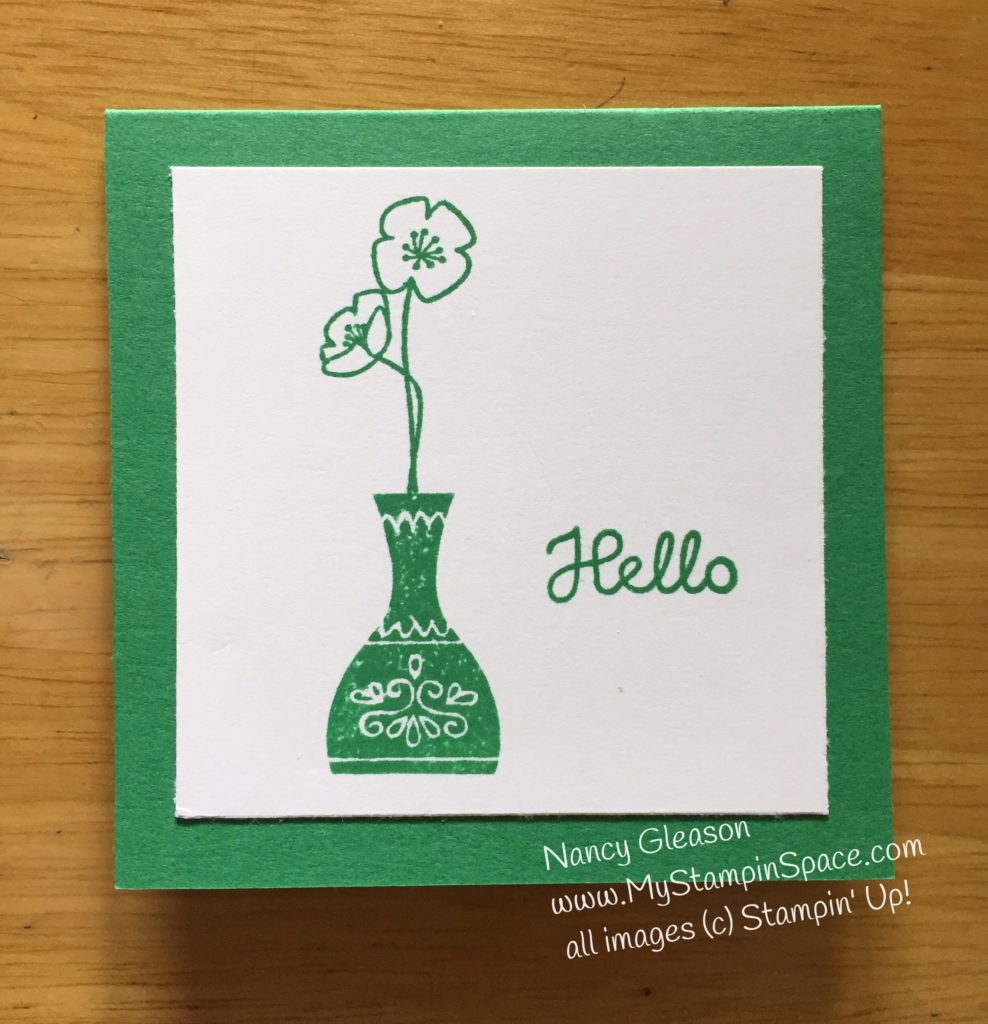
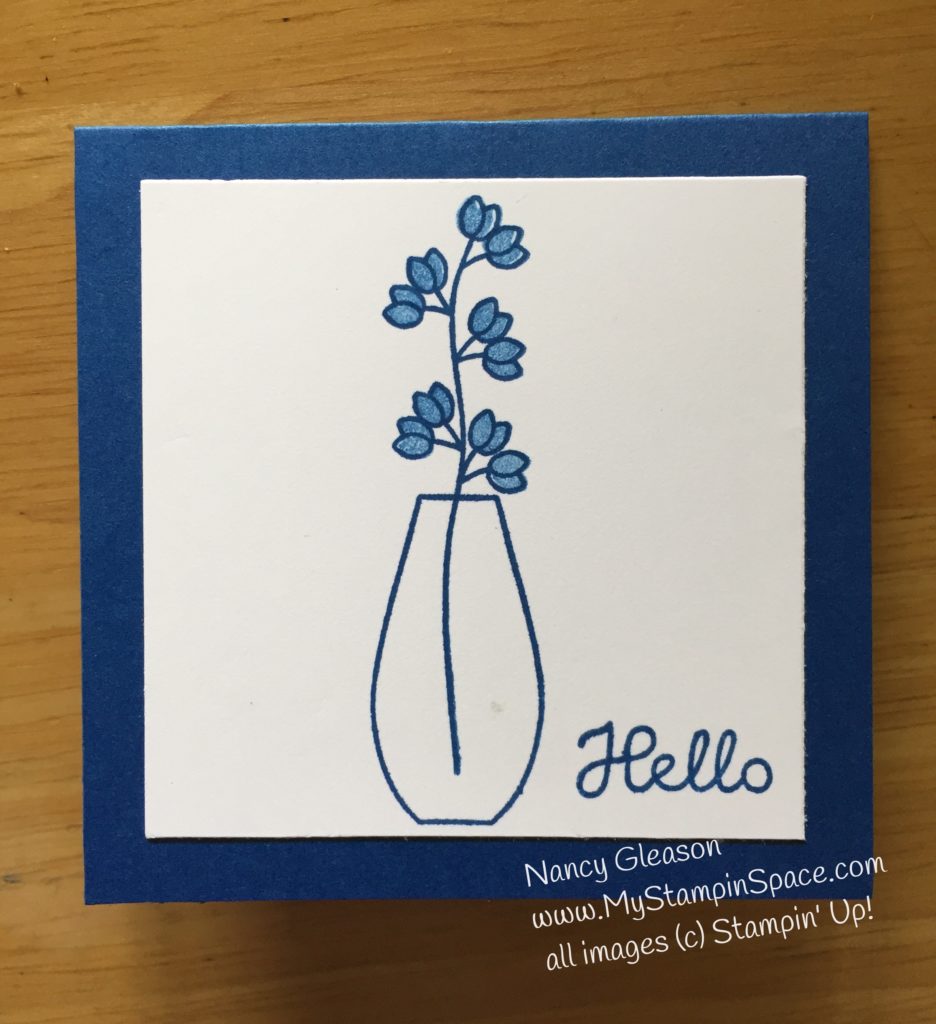
Flowing Flowers meets Fresh Freesia

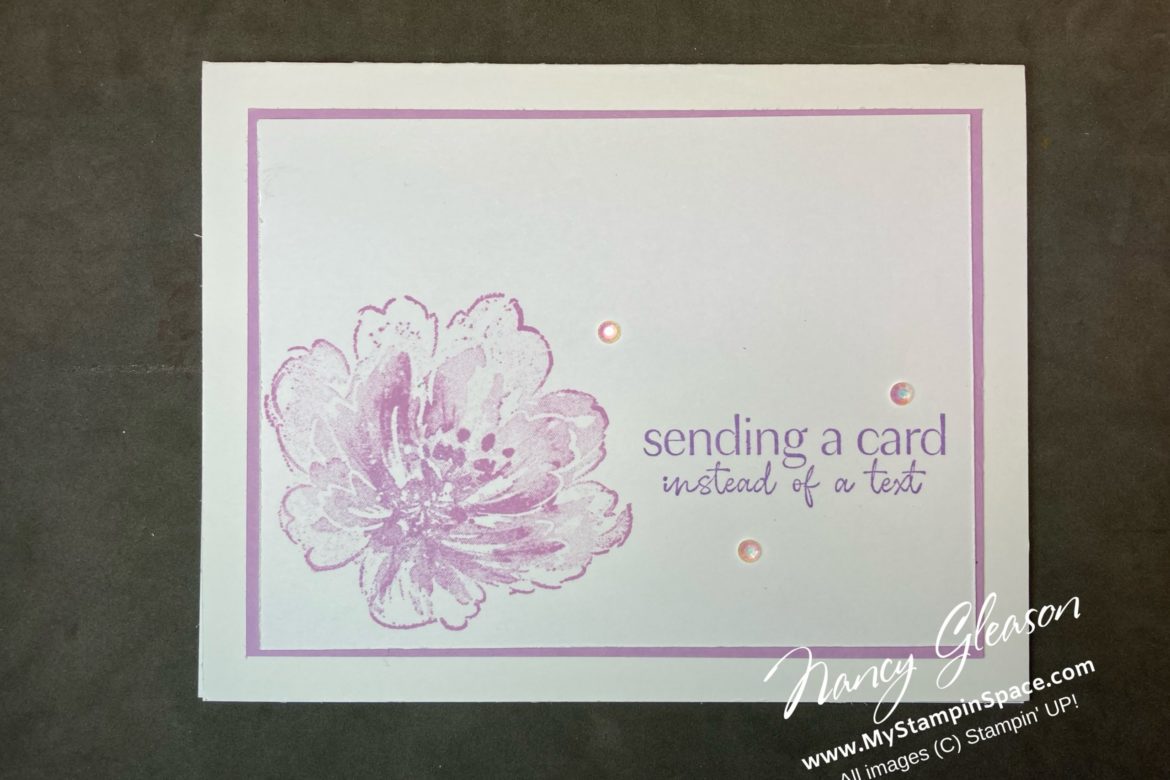
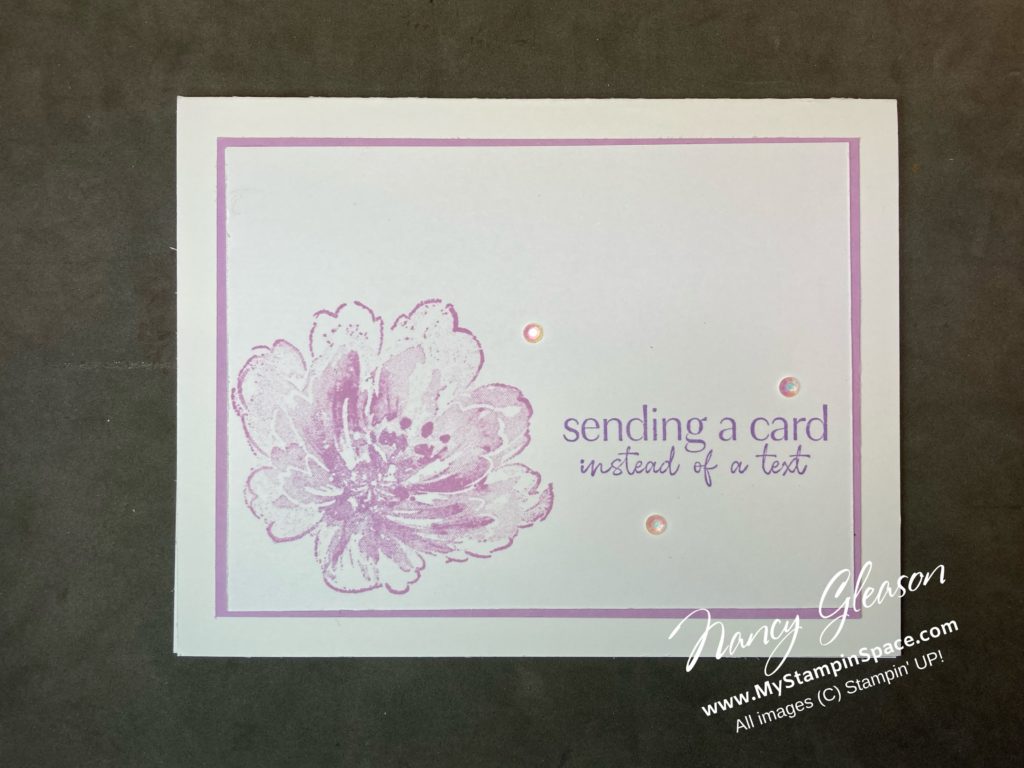
I’m calling today’s project Flowing Flowers meets Fresh Freesia and it is a take off the project I shared with you the other day but in a different color combination; you can see the original card here. All I did was to change up the colors and the sentiment Here is my card using the Flowing Flowers stamp set using Fresh Freesia and Highland Heather.

Flowing Flowers meets Fresh Freesia

Which color combination do you like better? Leave me a comment and tell me your favorite. I love hearing from you so let’s carry on the conversation 🙂 (Leaving me a comment also helps my blog get better ranking so more people can find me!)

The Stamp Set

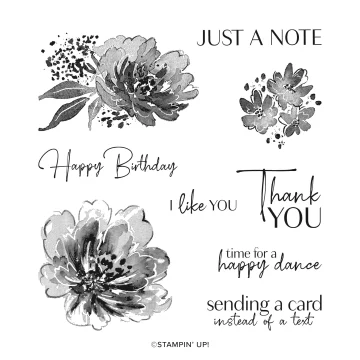
If you could only buy 1 stamp set (terrifying thought, isn’t it?) I would urge you to consider Flowing Flowers.

Flowing Flowers # 157880

With the beautiful floral images (3 of them) and 6 sentiments that fit so many occasions with a trendy script/block font combination, you really can’t go wrong with this stamp set. And it’s only $25! As I’ve demonstrated, you only need 2 colors of ink (2 shades of the same color family) and you can make some really pretty cards. So what are you waiting for? Order your Flowing Flowers Stamp Set today. You’ll be so happy you did!

I just couldn’t stop there!

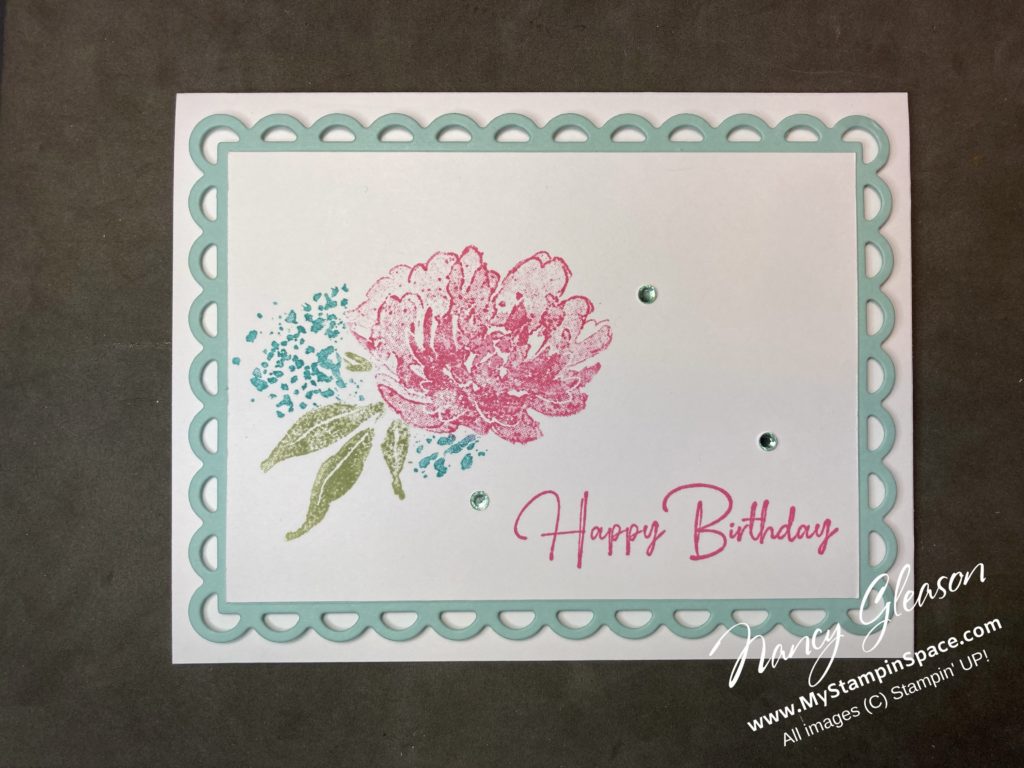
While I had this stamp set out, I just had to ink up the stamp with the floral image with the leaves and the background. This time, however, I decided to step it up a notch! I colored the floral image with my Stampin’ Write markers to get the flower, leaves and background different colors. Then I created this fancy card stock layer using the Scalloped Contours dies. I popped up this layer on Stampin’ Dimensionals.

Flowing Flowers with Scalloped Contours Dies

Now I have a few birthday, thank you and any occasion cards on hand to have at the ready when I need them! So simple So fun and so easy!

If you like my cards, please save them on Pinterest and share them on Facebook!

You can order the Flowing Flowers stamp set, and any card stock, ink, envelopes and embellishments here in my online store. Thanks for supporting my small business. I appreciate you!

Flowing Flowers

Sometimes, one simple stamp set can so much and Flowing Flowers is that stamp set! It is just a ‘stand alone’ stamp set; no coordinating dies or punch. No DSP or embellishments. Flowing Flowers has so much going for it, it doesn’t need anything else!

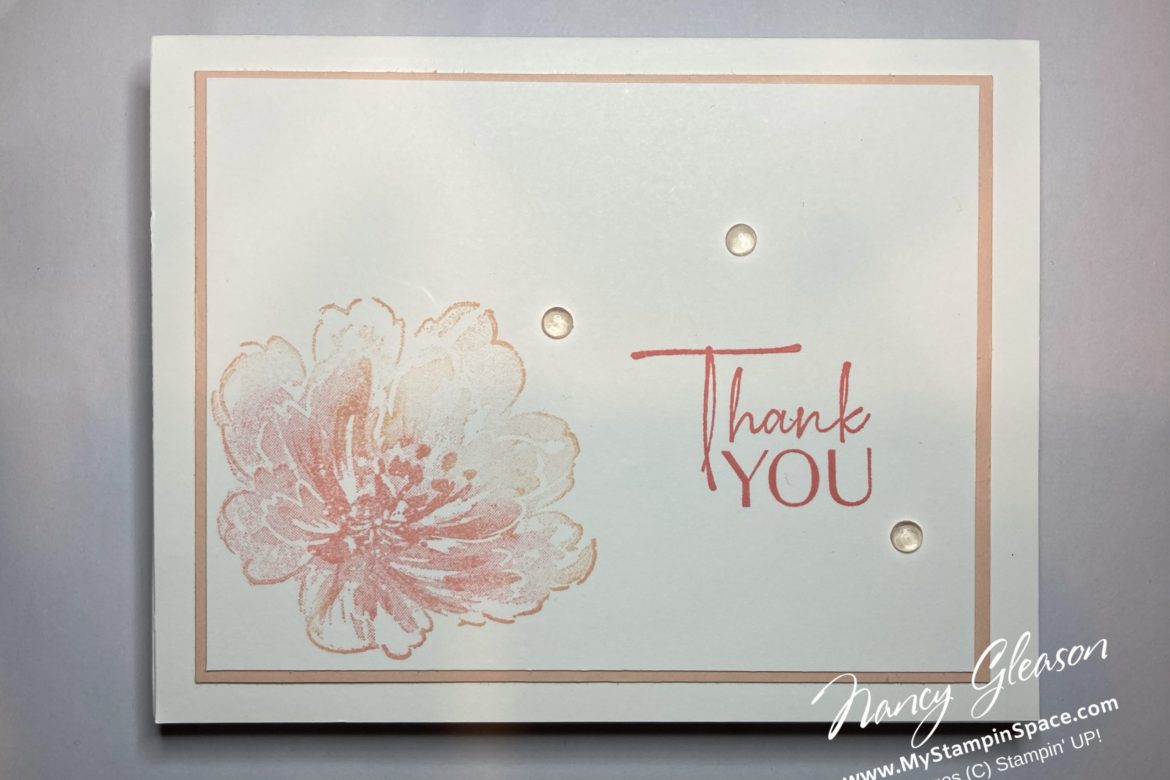
I chose to make today’s card using only the simplest of elements; Stamps Ink Paper. Just 2 colors of ink and 1 simple layer. Perhaps another day I will use this stamp to make more cards with more layers, and more colors and maybe fussy cut some of the flowers or sentiments out, but today, I chose a simple card.

Let’s take another look at my project:

Flowing Flowers Thank You card with Flirty Flamingo and Petal Pink ink.

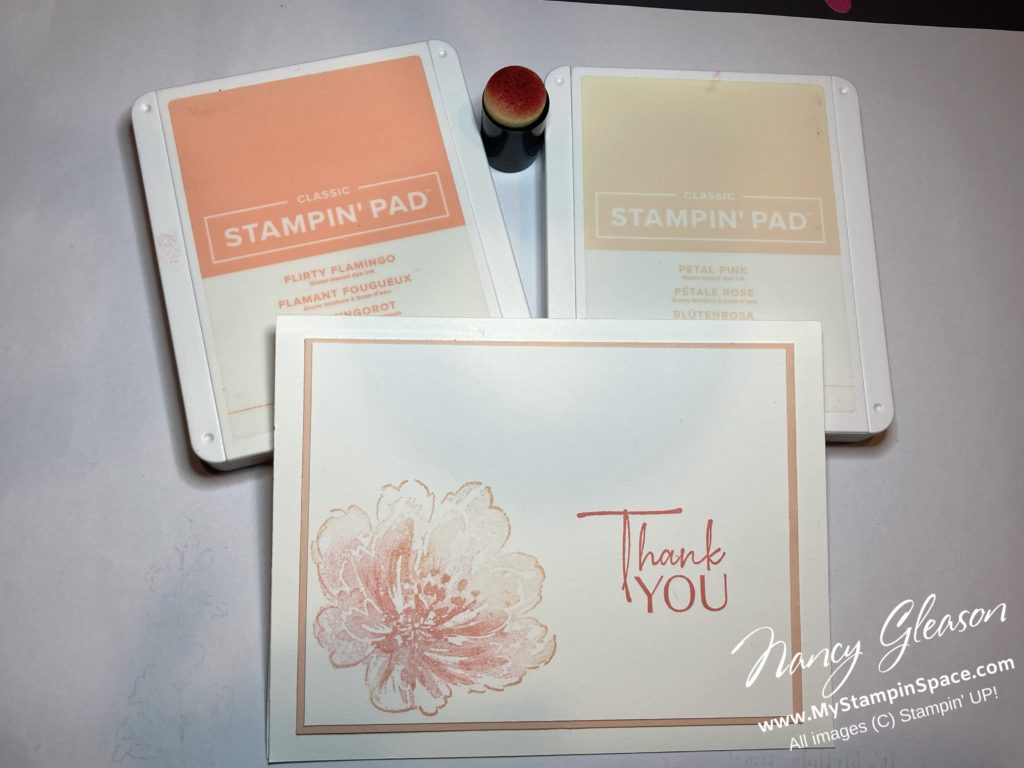
Simple is all you need sometimes. I started with a Basic White card base and used a Petal Pink card stock layer to frame the image layer. I inked up the large flower stamp with Petal Pink ink, then using a sponge dauber, I added some Flirty Flamingo ink directly to the rubber stamp in the flower center before stamping on the Basic White layer. I used Flirty Flamingo ink for the sentiment and finished it off by adding 3 Polished Dots. Easy, quick, and just enough! Don’t you just love the font combination in the sentiment? The script and block letter combination is so on-trend.

Flowing Flowers Stamp Set

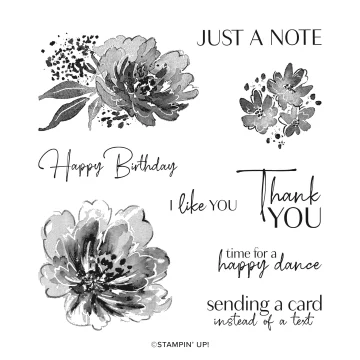
Let’s take a closer look at the Flowing Flowers stamp set:

Flowing Flowers stamp set

Don’t you just love this stamp set? Beautiful, almost watercolor-like floral images and sentiments for all occasions. And don’t you just love those fonts? And sayings for so many different occasions. I really love that because I feel like you get so much mileage out of a stamp set that can be used for more than just one occasion. My favorite is ‘sending a card instead of a text’. It’s so easy to send a text when you want to tell a friend something, but how much more fun would it be to make and send a card instead? I’m already thinking of a few people I need to send that card too.

So if you like this Flowing Flowers stamp set, you can order it here. Please leave a comment and tell me what you think. Comments help my blog get better rankings, and better rankings help me reach more people, so please leave me a comment. Share my blog on social media too if you like what you see! Thanks for letting me share Flowing Flowers with you tonight!

I found my Inspiration from…Myself!

Seriously, I did! I usually look for inspiration all around me, but the other day a few photos came up in my memories and one of those photos was of a card I made. As soon as I saw it, I thought “I could re-create that!” And I did. Let’s take a look.

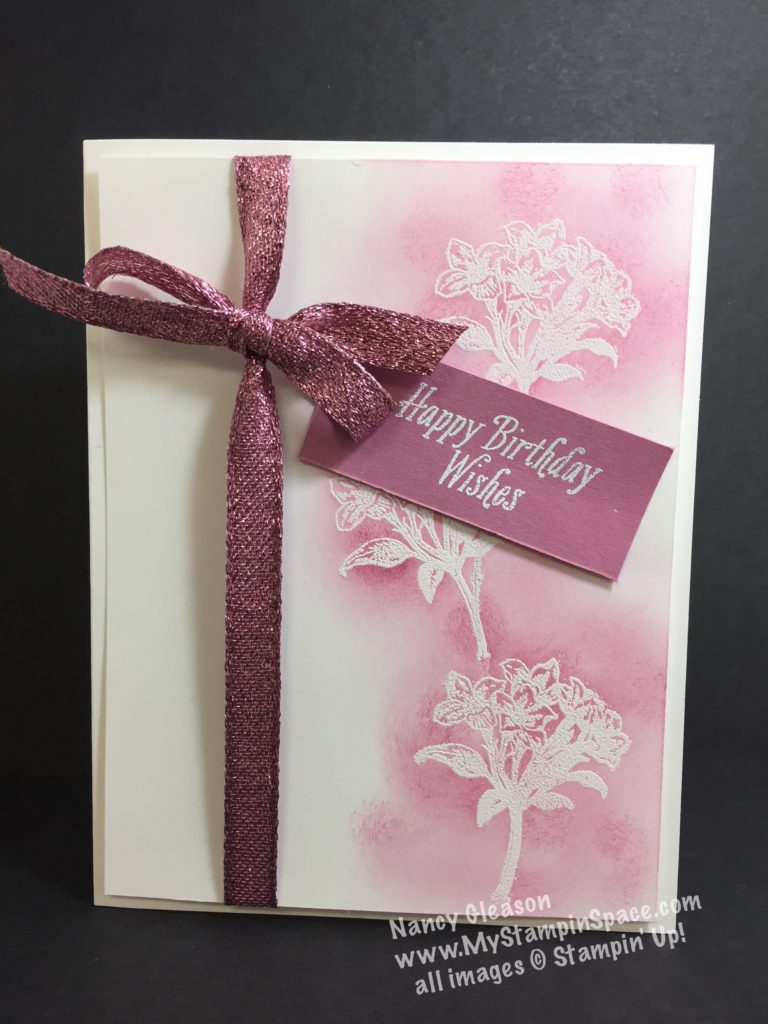
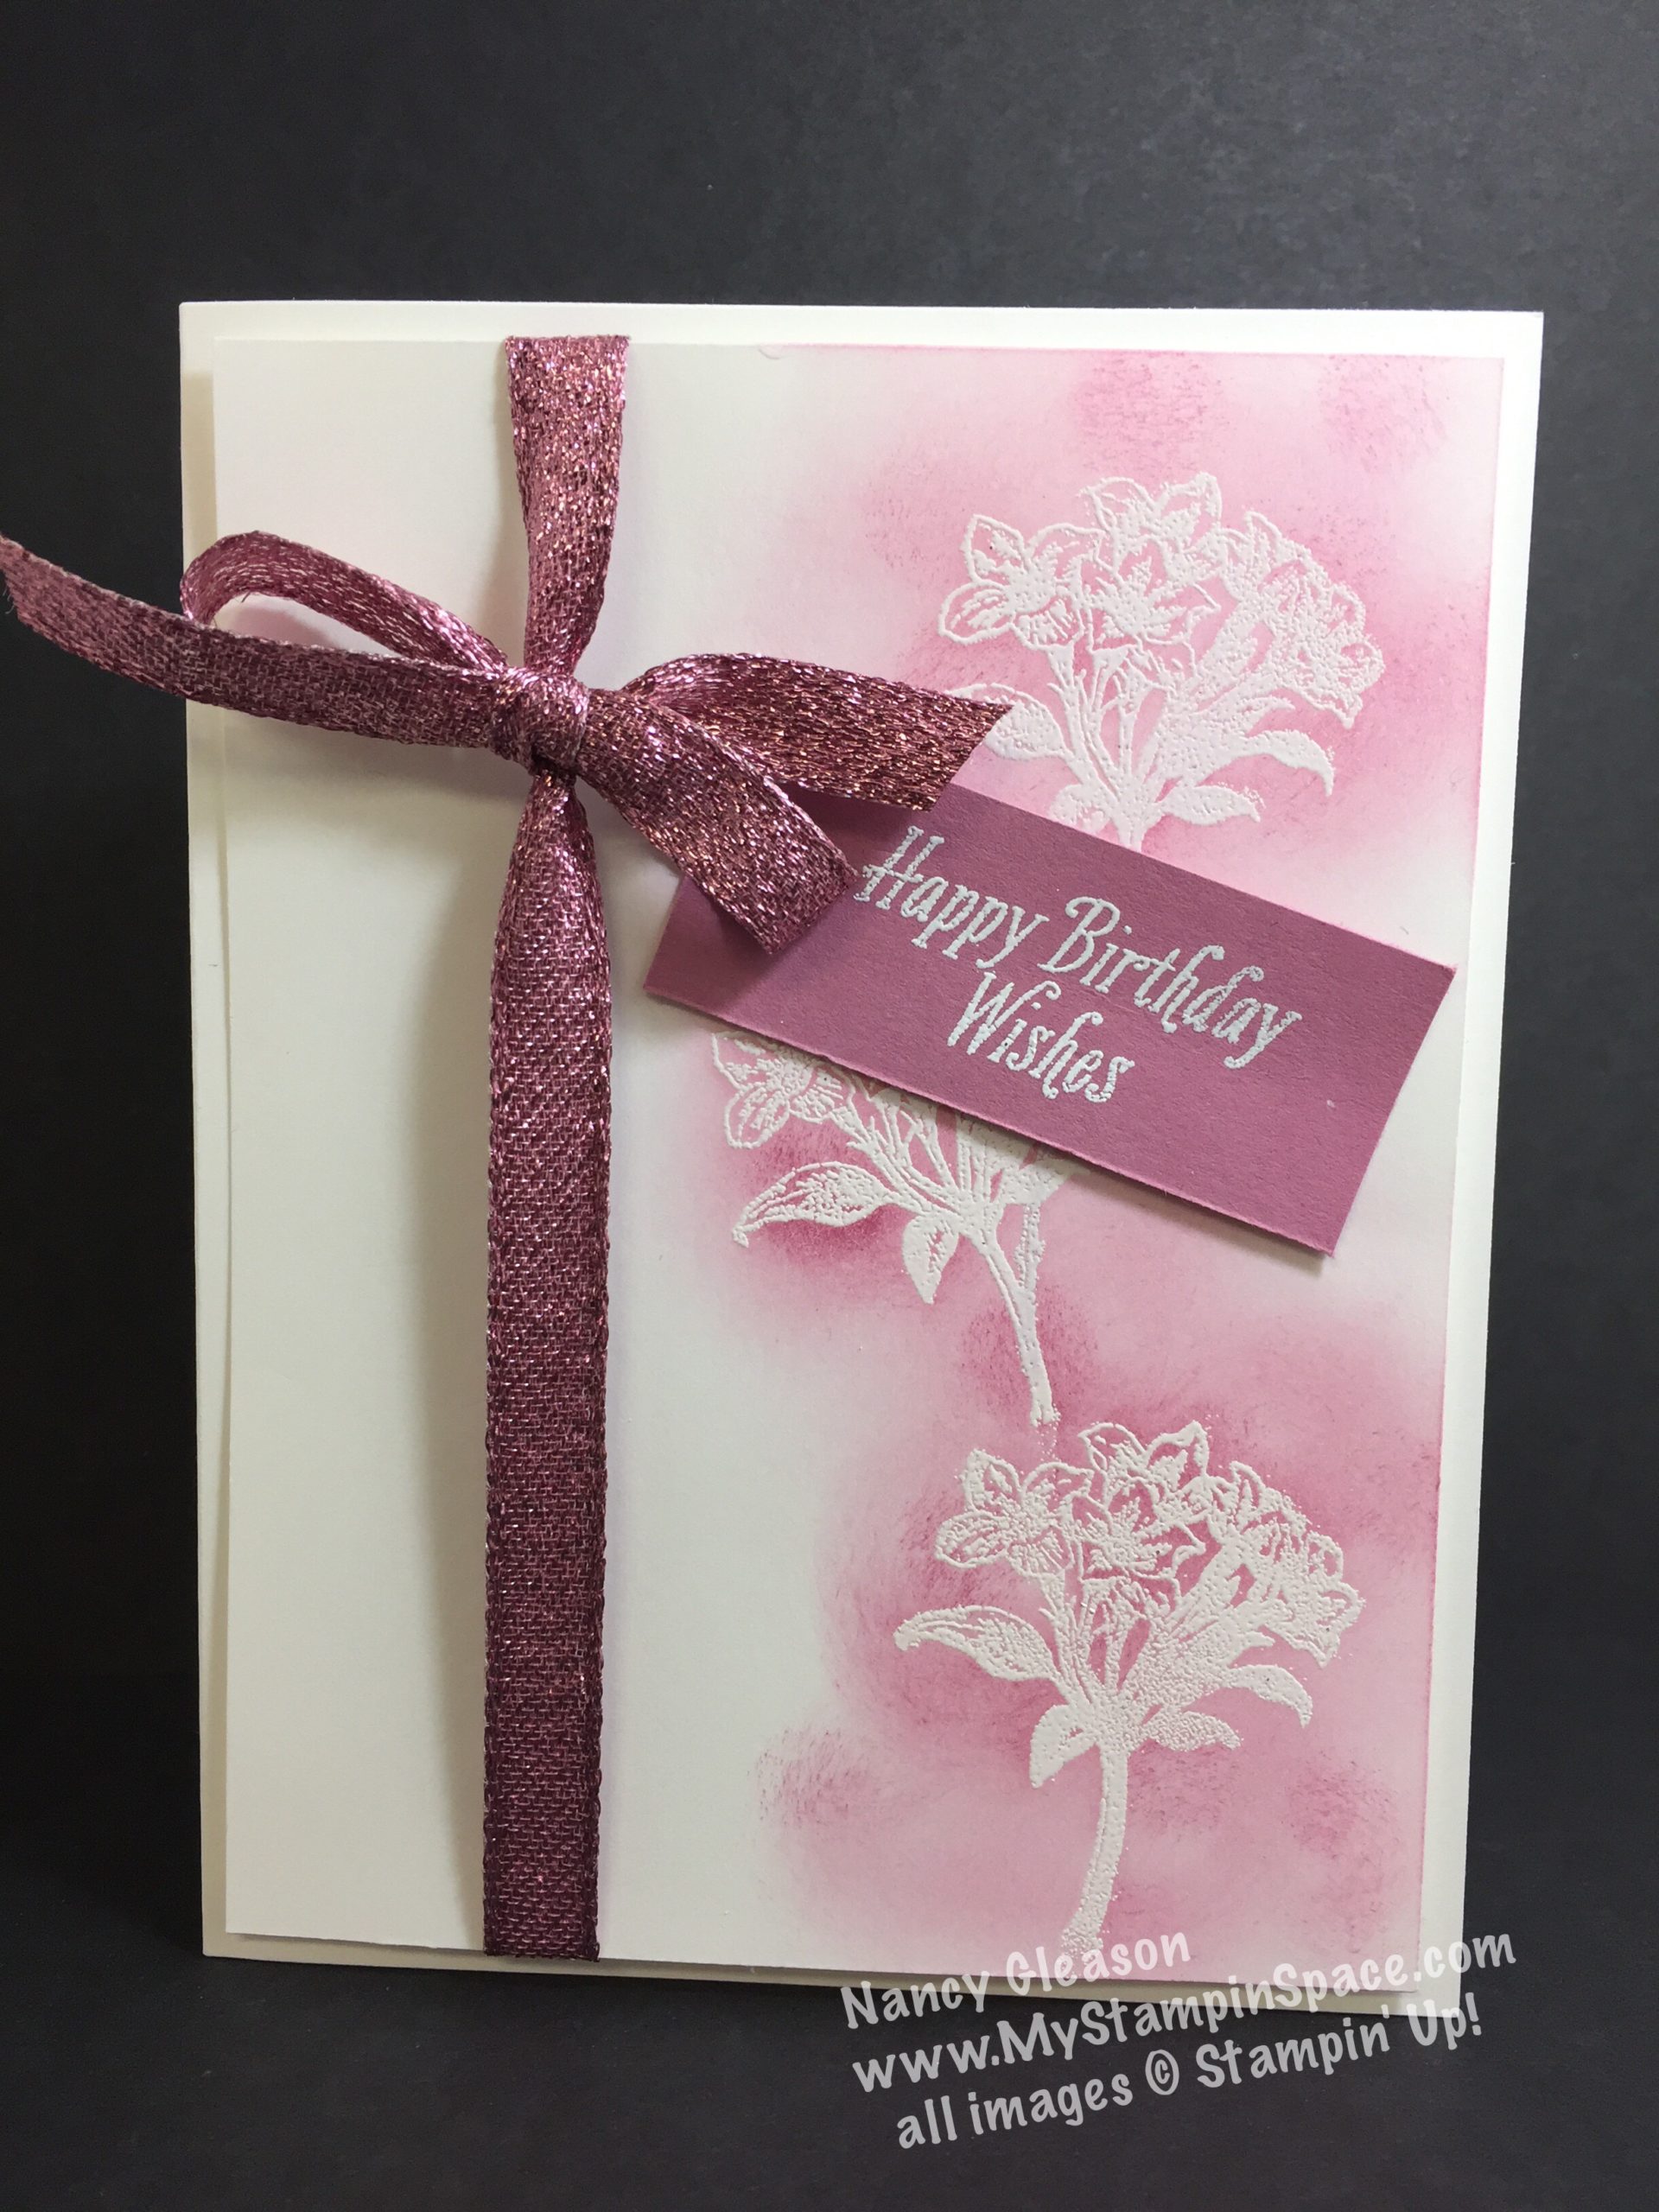
This is the card I made back in 2017. It used a stamp from a Sale-A-Bration set called Avant Garden. I used the Emboss Resist Technique to create the white image and colored background.

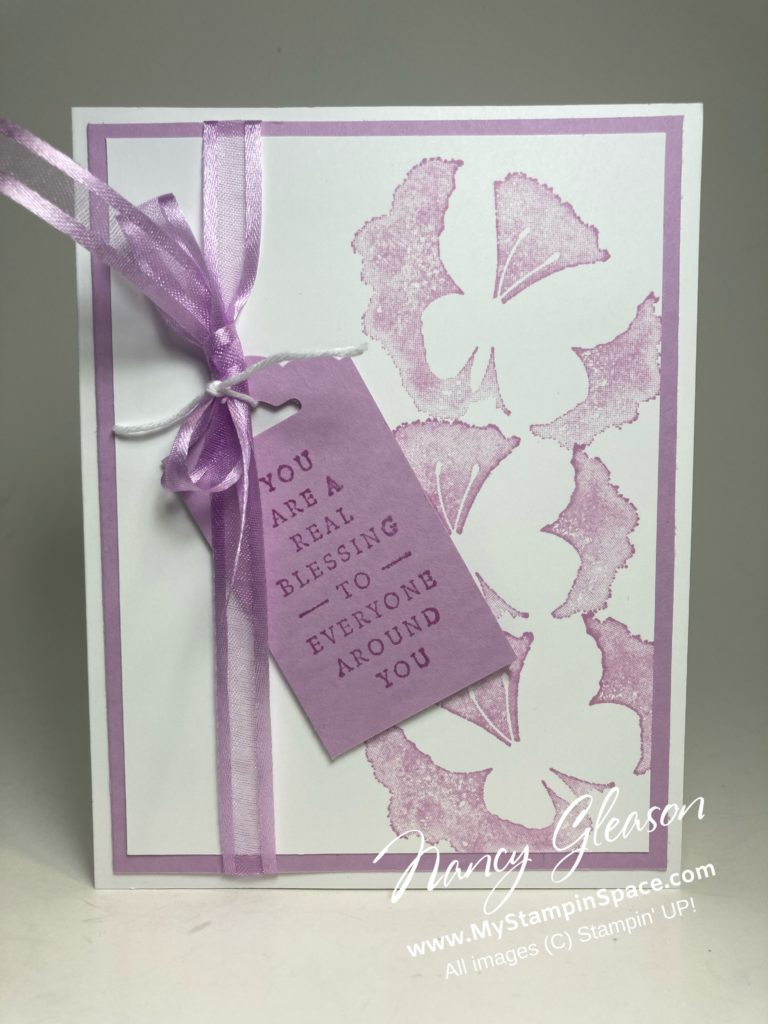
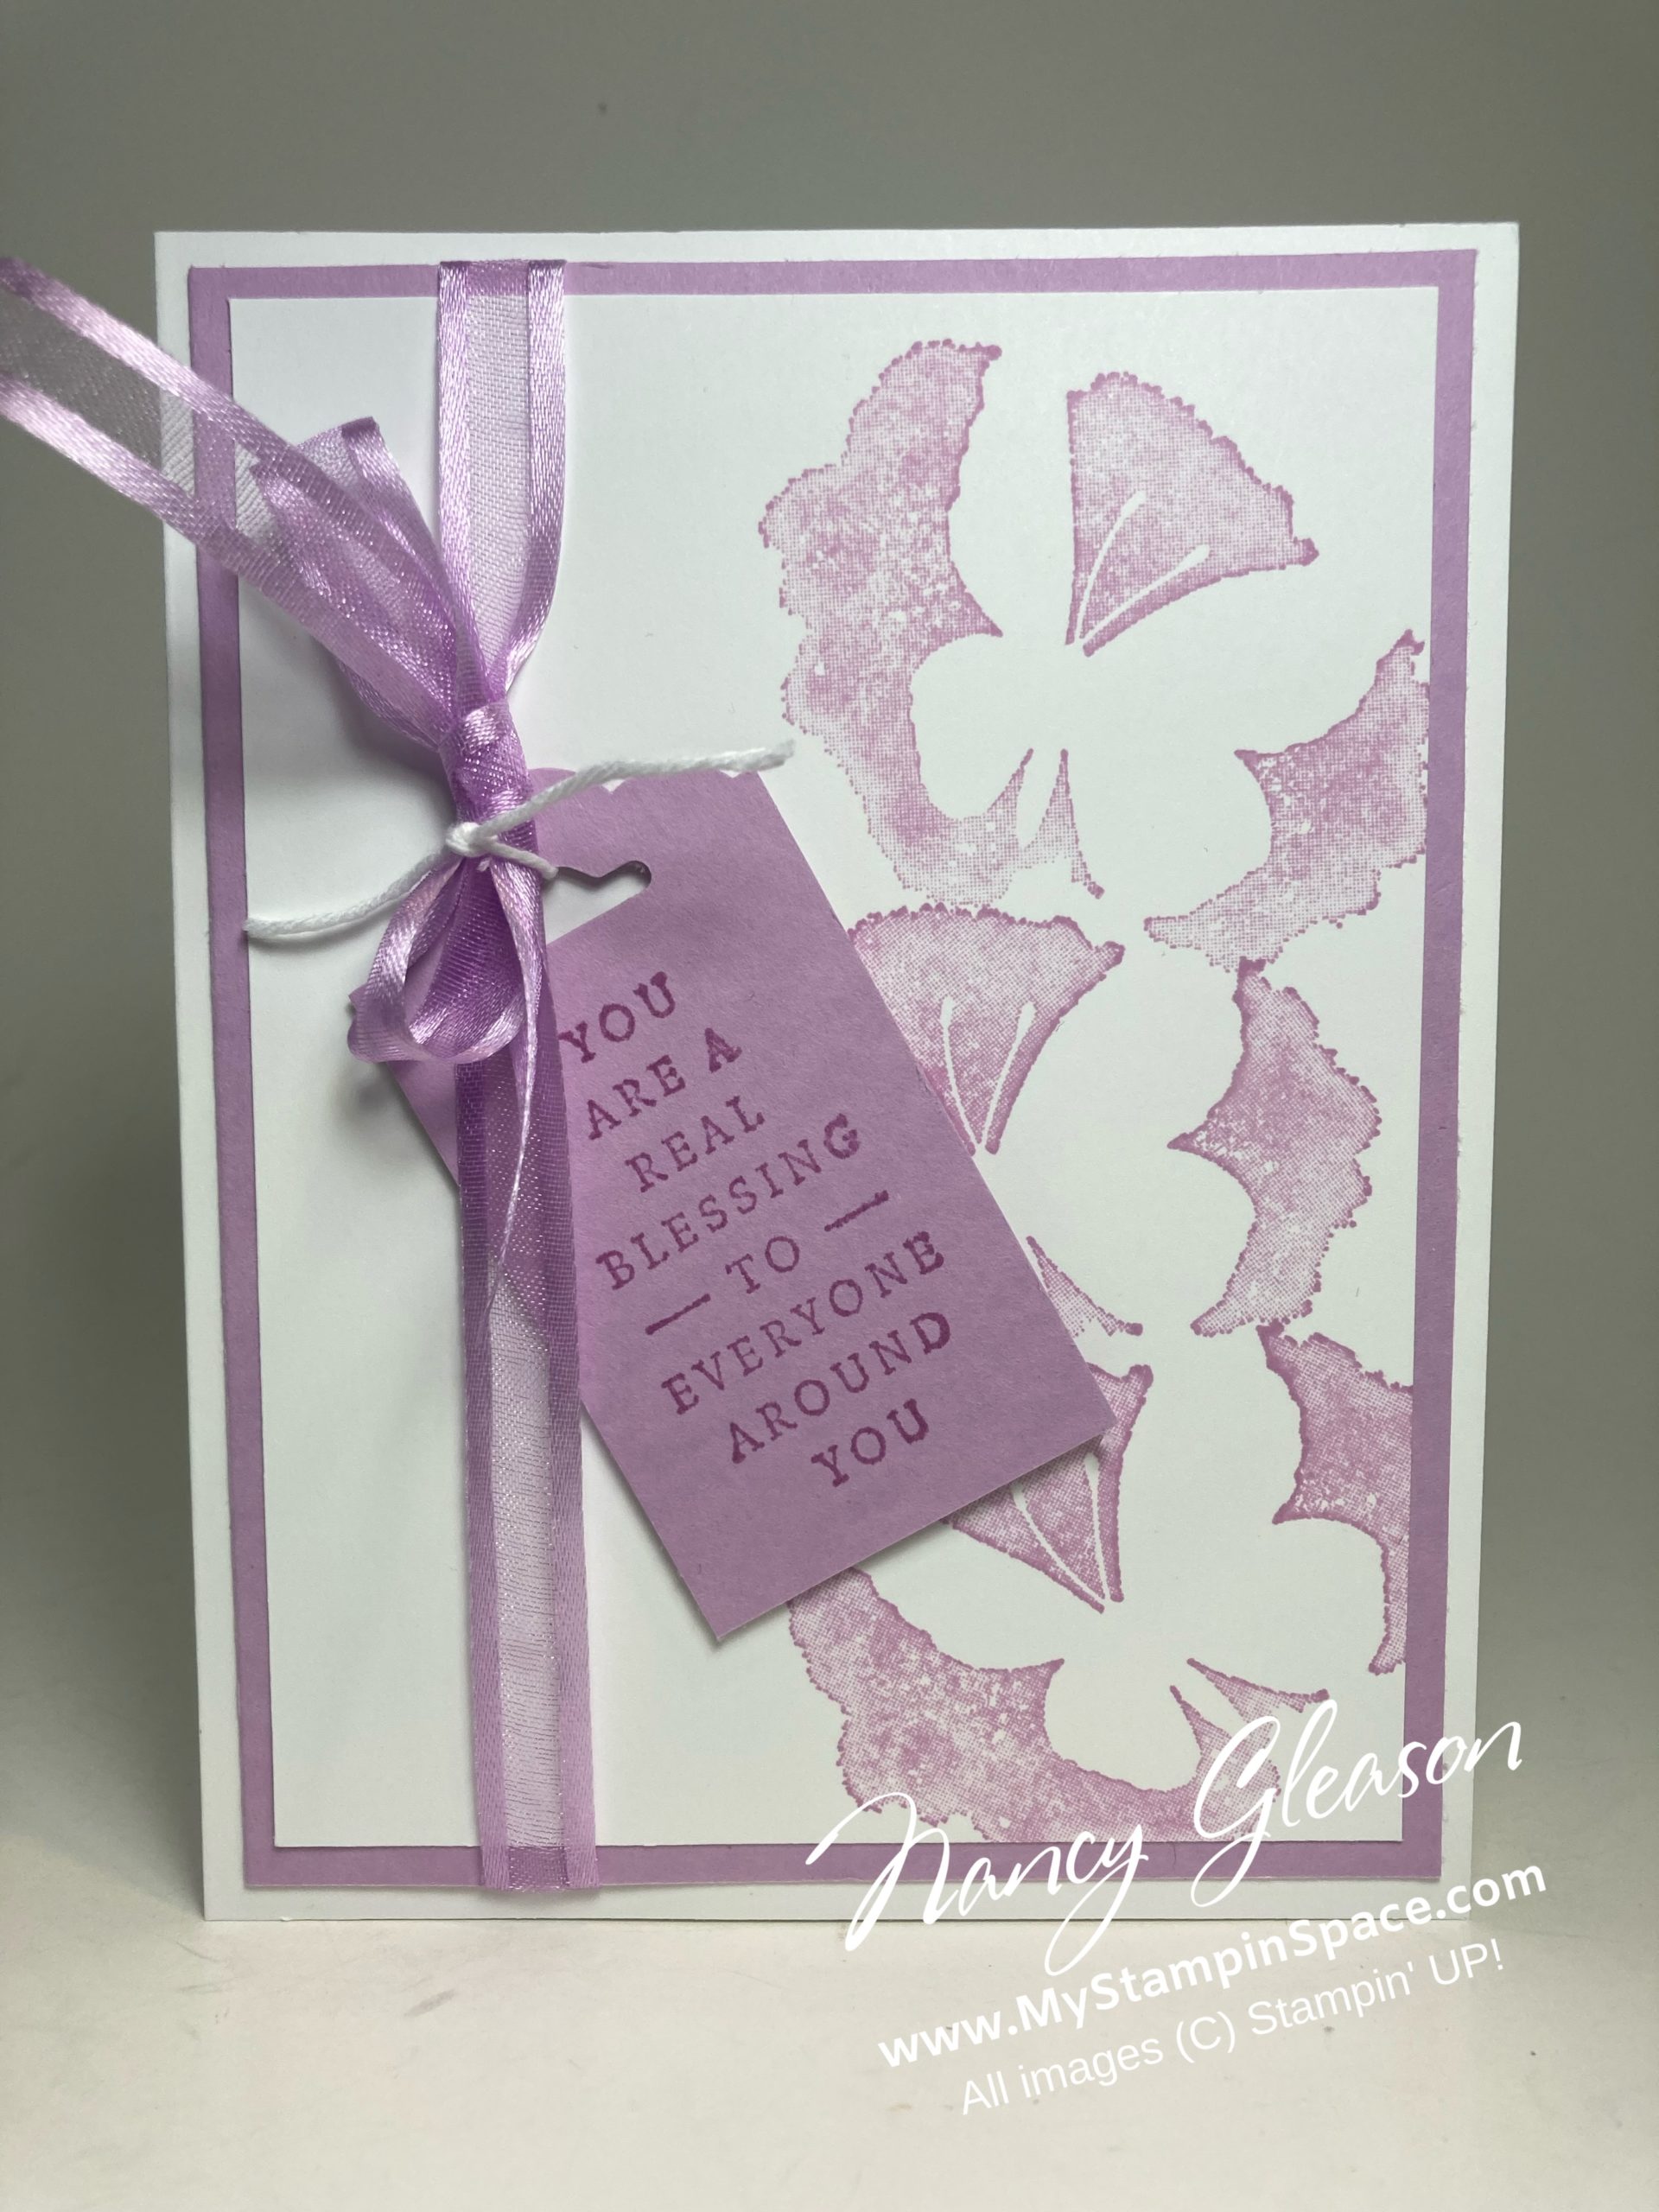
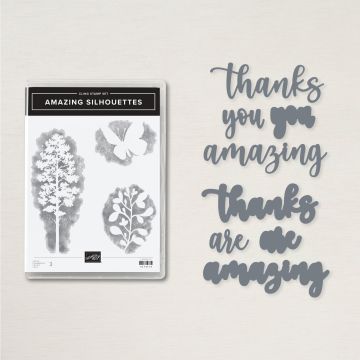
Now here is the card I just made. It uses the Amazing Silhouettes stamp set. The stamp has a reverse image meaning the butterfly image has no ink; just the area behind it.

Let’s take a look at the 2 cards side by side for a closer comparison.

There is inspiration all around us, but I like when I get inspiration from myself. Different images, different techniques but yet the same vibe. And by keeping the vertical ribbon with tag, it keeps the same feeling. I’m sure if you go through your stash of cards you’ve made, you’ll find a favorite that you can recreate with a current stamp set as well. If you try that, let me know and share a picture of the card you make, and the one that inspired it.

Watch me!

I had just used this same stamp set, Amazing Silhouettes, to make some quick and easy birthday cards to have on hand. In fact, I made a Facebook Live video to share how I used that stamp to make those birthday cards. You can watch that replay on Facebook here, or on YouTube here.

So after seeing this stamp set used several ways, if you want the Amazing Silhouettes stamp set, you can order it here. It is also part of bundle with a coordinating die set, and you can order that here and save 10% when you buy the bundle.

Sale-A-Bration

Don’t forget Sale-A-Bration is going on through Feb 28th. With every $50 in product that you buy, you can earn a Free Sale-A-Bration item. There are several items that can be earned with a $100 purchase, and an exclusive Host only stamp set that you can get with a qualifying workshop or individual order of $300 or more. At this point, the Sale-A-Bration items are while supplies last, so if you have your heart set on something, get your order in as quickly as you can before an item sells out.

You can view the Sale-A-Bration catalog here. Or, you can watch a video walk through the catalog here;

And don’t forget about the limited time promotion All Together Collection. You can read all about that in yesterdays blog post which you can see here.

Thanks for stopping by My Stampin Space today. Come back tomorrow and I’ll share a project I made with my team of demonstrators yesterday during our monthly Team Meeting. In the meantime, if you’d like to order any Stampin’ Up! products, please order from my online store here.

Thanks friends! Hoping you found some inspiration here today.

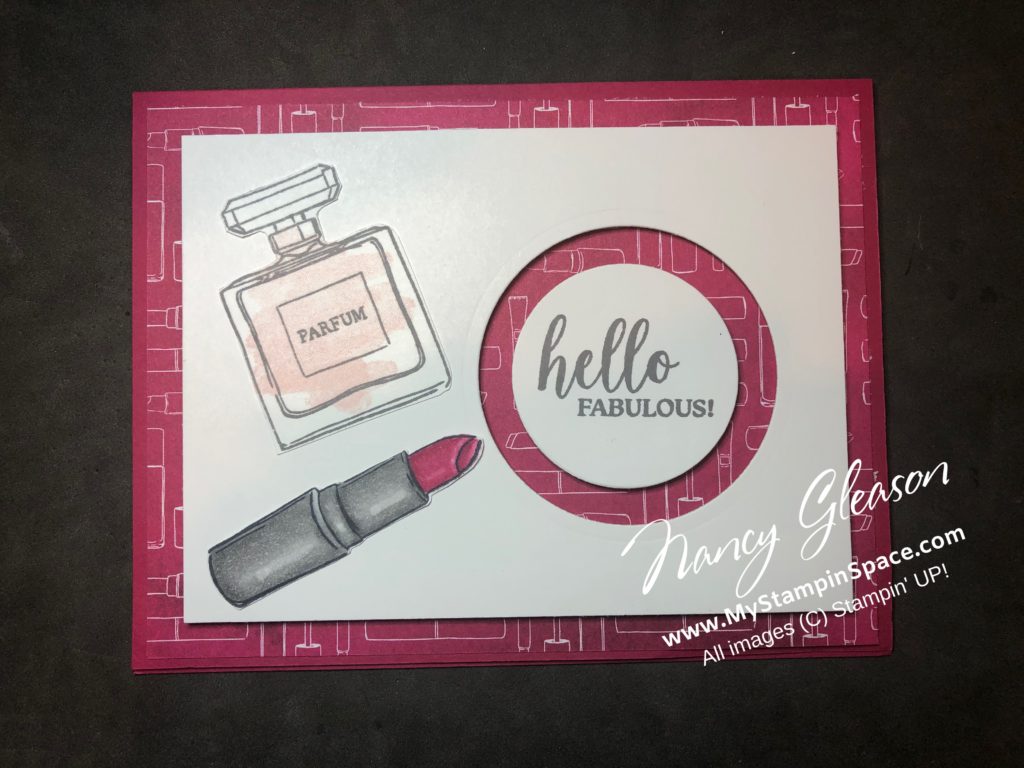
Hello Fabulous!

So once a month I host a Club; nick-named the “Craft Cult” by one of the ladies’ husband! The name stuck and we’ve been calling ourselves the Craft Cult ever since! Well both last month and this month, we’ve had to meet via Zoom. It’s been fun trying to come up with projects that we can all make together, separately from our own homes, using whatever cardstock, stamp sets, inks, & embellishments we each have.

This past weekend, I made two projects for our Craft Cult; each with a new technique, and I’d like to share one of those with you here.

Nesting Spotlight Technique

I don’t know if this has a name or not but I’m calling it the Nesting Spotlight. Basically you use any shape of nesting dies; I used the Layering Circle dies here. Simply nest and cut two different sizes at the same time. You’ll be left with a ‘donut’ and a full circle. The donut is garbage but you keep the smaller circle. You may want to use tiny strips of Washi Tape to hold your nesting dies in place as it running through the die cutting machine.

How to make this card:

I used Lovely Lipstick ( a Retiring 2018-2020 In Color – you can see my tribute post to all the Retiring 2018-2020 In Colors here) cardstock as my card base. My card base is an 8-1/2″ x 5-1/2″ piece of cardstock scored & folded in half. I used a piece of Best Dressed DSP cut to 5-1/4″ x 4″ on top of the card base. Then I used a piece of Whisper White 3-1/2″ x 4-3/4″. This is layer that I cut my nesting circles out of. I decorated this with stamped images from the Dressed To Impress stamp set and I stamped the Hello Fabulous greeting onto the small circle left behind. Then I propped this up on the card base with stamping dimensionals, added the circle, also on dimensionals. The negative space around the smaller circle just causes your eye to laser in on the sentiment. Very easy and adaptable to any stamp set and DSP that you have on hand.

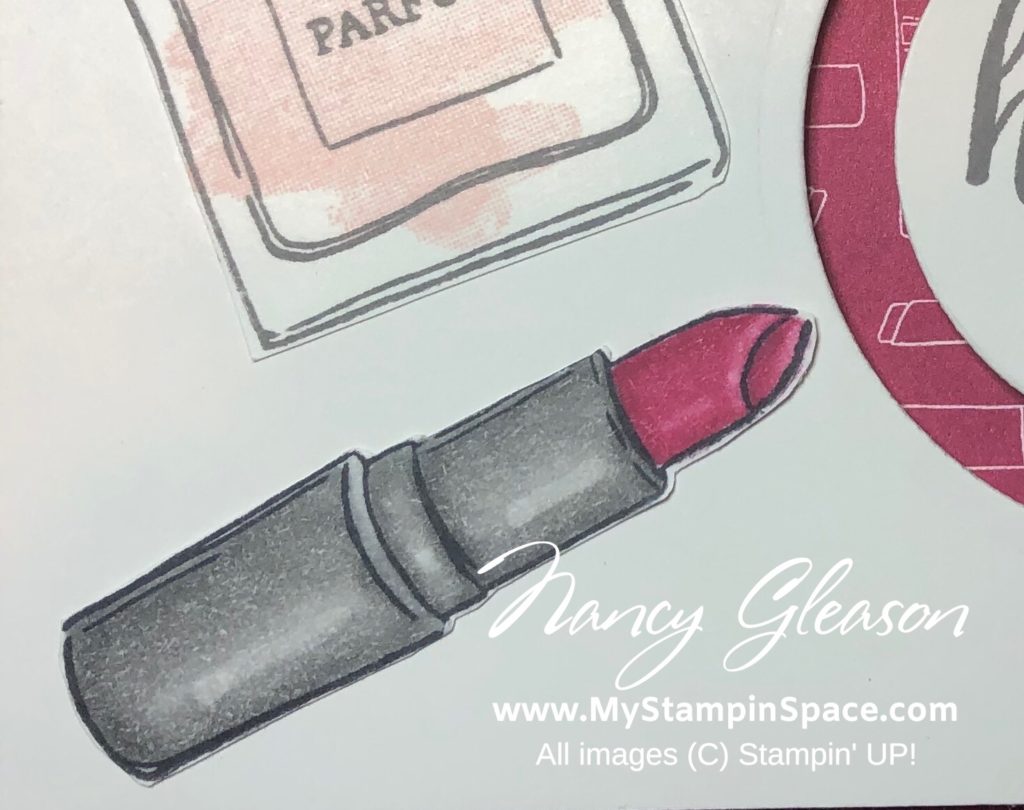
I chose the lipstick patterned sheet of DSP to compliment the tube of lipstick that I decorated the front of the card with. Let’s take a closer look at the lipstick:

Stampin’ Blends

I colored this lipstick tube with the Stampin’ Blends markers. If you would like to learn to use the Stampin’ Blends to color like this, I just announced that I am starting an Online Class Series called “How to Use Your Stampin’ Blends”. If you are interested in this class, you can get all the details and register for that class here.

Please leave me a comment and let me know what you think of this technique. Is this a technique that you’d like to try? I’d love to hear your thoughts.

And now Hello Fabulous needs to jump into an envelope and head on over to a lovely lady who needs some cheering up while she’s isolating at home alone.

Nancy

Farewell 2018-2020 InColors

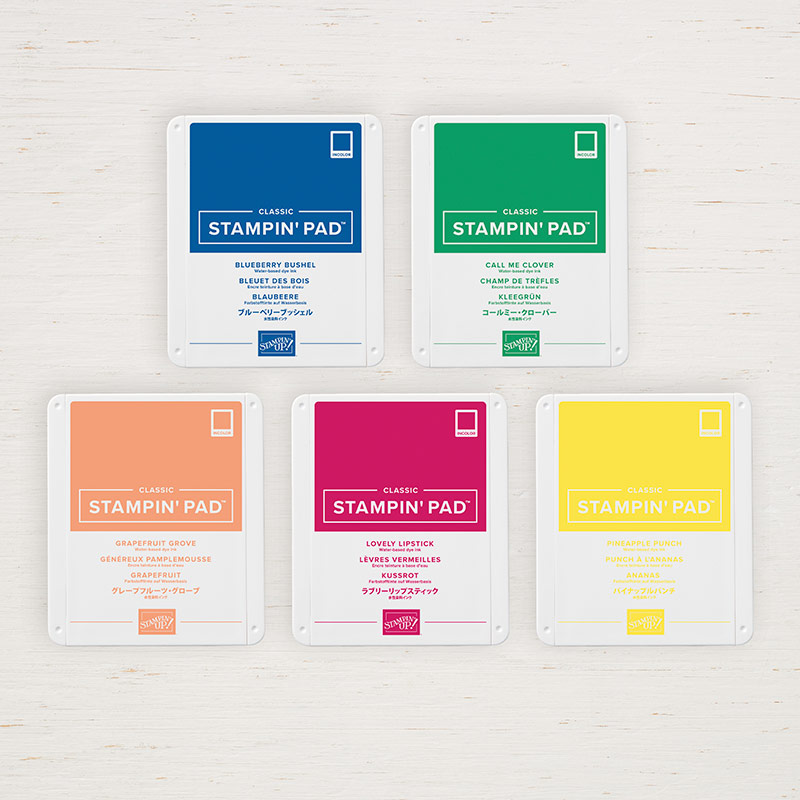
Each year around this time I begin to say farewell to the soon to be retired set of 5 colors from the Stampin’ Up! color family. Today I want to say Farewell 2018-2020 InColors. This color family will be going away in order to make room for an incoming set of 5 colors – the 2020-2022 InColors.

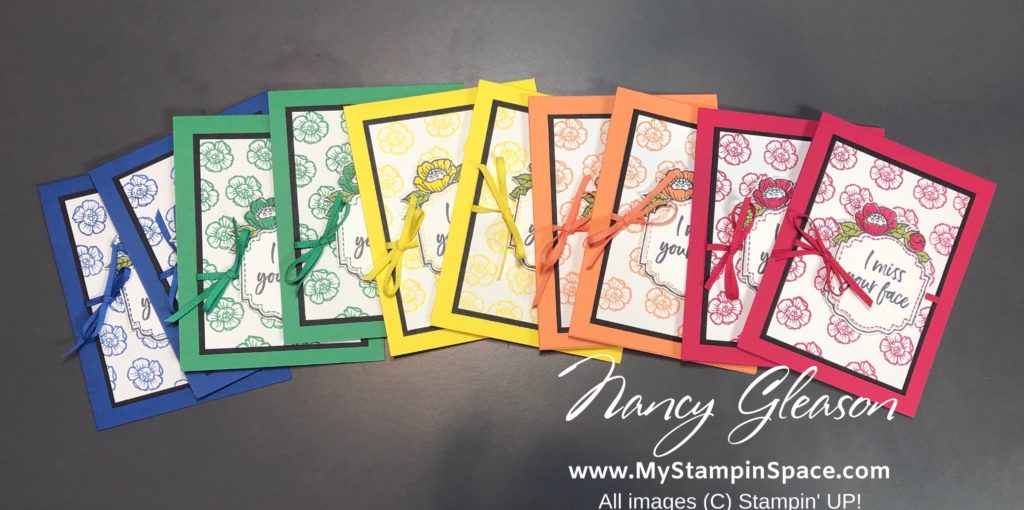
I Miss Your Face InColors

This is a rainbow of colors that form the 2018-2020 InColor Collection. I used this color palette in my free class that you can view here.

Let’s take a look at each color:

I made this set of mini cards when this color collection was introduced back in 2018. You can see that original post here.

SHOP NOW

Each of these colors are available in Card Stock, Ink Pads, Ink Refills, Markers, as well as Designer Series Paper, Stampin’ Blends, and embellishments such as ribbon. When these colors retire, all of the above will be gone! Now is the time to grab these colors and stock up.

Shop the Entire 2018-2020 In Color Collection here.

2018-2020 InColor Ink Collection

SHOP QUICKLY: When these colors sell out, they will be gone for good. From now until June 1st, these are available only while supplies last. Inventory will NOT be replenished during this time so please stock up now while you still can.

I want you to say Farewell 2018-2020 InColors, but I don’t want you to lose out.

Nancy Gleason

I CASE’d Myself!

In the Stampin’ UP! world, CASE means to Copy And Share Everything and it’s really just another way of saying we can find inspiration all around us. Sometimes, we just see a project that someone else made and we just love something about it so much it calls us to grab our supplies and make a project too. Maybe it’s the layout, or the colors, or the stamp set, or the way the sentiment is placed, or anything at all.

Well, today I CASE’d myself! Yes, my most popular PIN on Pinterest is a card I made at the beginning of the year for my downline meeting. I needed to make a number of Thank You cards and I wanted to use the Peaceful Moments stamp set which has a nice Thank You. When I grabbed that set, I thought back to that card I made and decided to remake that card, but in a different color.

You can see my original post with that card here, and instructions on how to make it.

It has also become my most popular Pin on Pinterest!

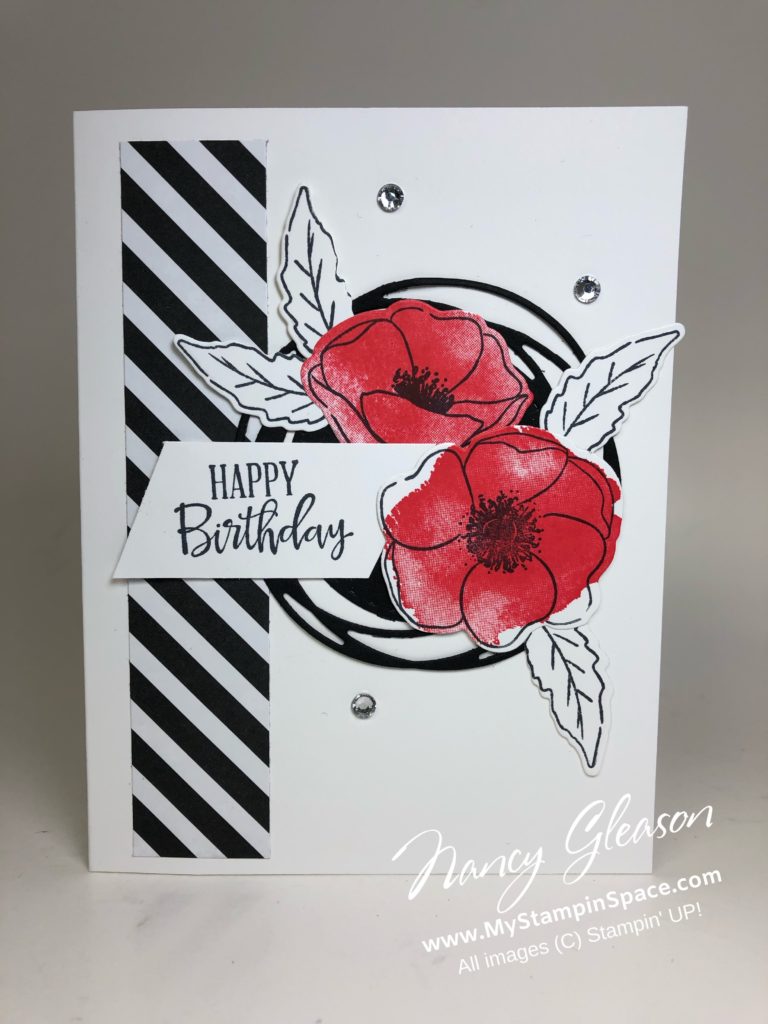
Painted Poppies B&W Birthday

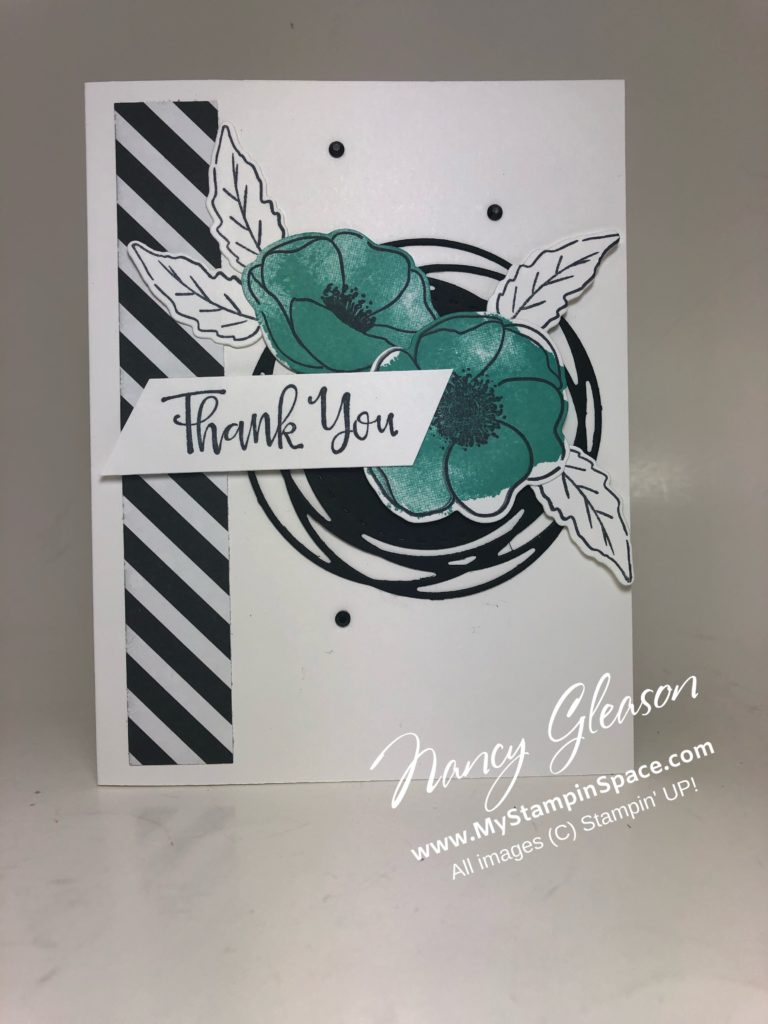
And here is the card I made today:

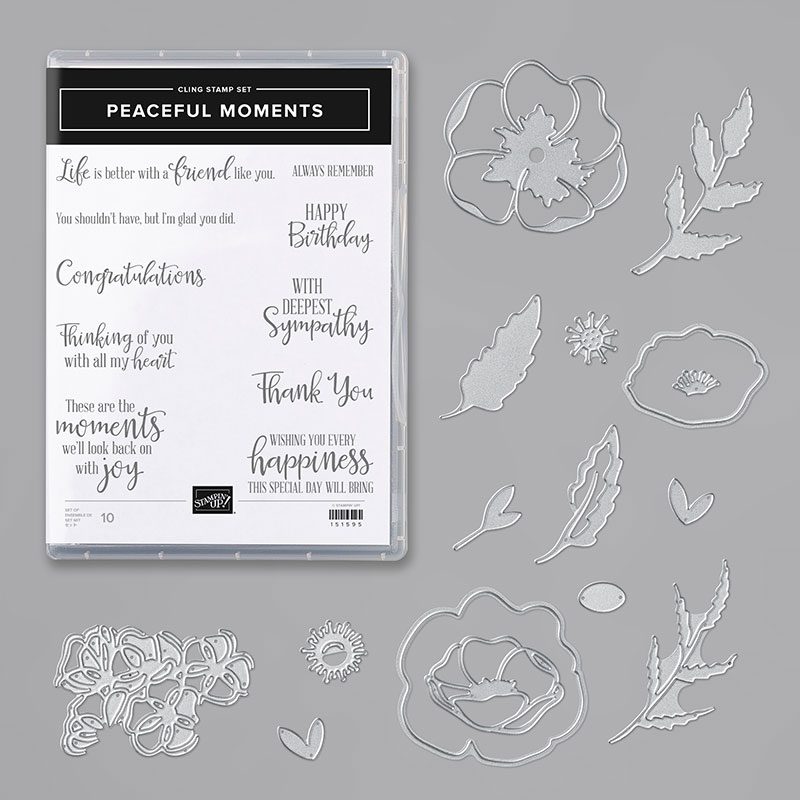
a simple Thank You Card made with the Peaceful Moments and Painted Poppies stamp set and the Painted Labels and Poppy Moments dies.

Do you see what I did? Same card, different color. I basically kept the card layout the same, except I used Bermuda Bay ink instead of Poppy Parade, and swapped out the sentiment. A couple of Black Rhinestones were added for some bling.

And just like that, I CASE’d myself! Have you ever made a card you liked so much that you CASE’d yourself? I’ve made several cards that I’ve like so much, I made them in several colors. Actually, my last class was a Facebook Live and I made a card in all 5 of the retiring 2018-2020 In Colors. You can watch that class recording on my Facebook page by clicking here.

Let’s Compare Side by Side

So which do you like better? Please leave me a comment with your choice of favorite color. I love to hear from you.

If you want to CASE this card from me, I’d be honored! And to help you, you can shop my online store here to grab any or all of the Peaceful Poppies Suite of products. These bundles are just back in stock!

Don’t forget to sign up for my mailing list– you’ll receive a free PDF Tutorial when you do, and you’ll continue to get free project tutorials and lots of useful information to help you in your papercrafting journey as well. Follow me on Social Media too. I’ll be hosting online classes on my Facebook page.

Nancy Gleason

Are you a DSP Hoarder?

The Designer Series Paper by Stampin UP! is so pretty, it’s easy to want to hoard it rather than cut it, but…it’s so much better to cut this beautiful paper, make a card and mail it than it is to keep it in a package on the shelf. So, that’s exactly what I did! #LoveItChopIt I’ve actually challenged myself to stop being a DSP Hoarder, so I’ve come up with a brilliant compromise: I buy 2 packages of DSP and I keep one on the shelf and cut and use the other one. Then I don’t feel bad about cutting it and using. I actually feel better because I love the cards I make more than the package sitting on a shelf. And I’m pretty sure the people who receive the cards I make like that too!

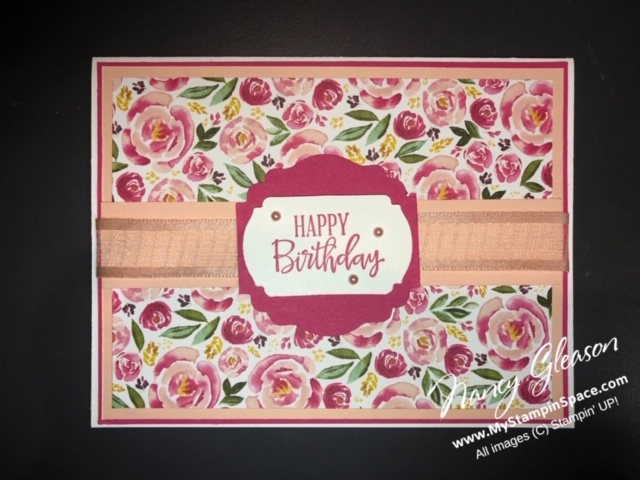
The Best Dressed Designer Series Paper has such beautiful designs – florals, stripes and yes shoes, purses, lipstick and parfum bottles! Each sheet is as pretty as the next. When I saw the challenge from the Paper Players “Spring Flowers” I knew I had to break out my Best Dressed DSP and play along! I also just received the new “Label Me Lovely” punch and “Label Me Fancy” punch that were just yearning to be played with! So put them all together and this is what I made:

Best Dressed DSP for the Paper Players PP482

So, what do you think? Better than leaving this beautiful DSP in the package on a shelf, right? I’m glad that the Paper Players Challenge got me cutting my paper and making a pretty birthday card. Be sure to head over to the Paper Players page to see the Design Team cards that inspired me.

So simple and easy: I just layered Petal Pink and Melon Mambo cardstock underneath my DSP. A 1″ strip of Petal Pink cardstock served as a background for the 5/8″ Organdy Striped Ribbon. A layer of punched shapes showcase a simple sentiment from Peaceful Moments stamp set.

Sale-A-Bration Perks

So if you are like me, I challenge YOU to use your beautiful Designer Series Paper; don’t just hoard it! But if you must hoard it, buy 2 packages. One to use and one to keep! Now is great time to stock up too because you can earn FREE Sale-A-Bration items with every $50 you purchase in product. Click here to shop my online store. SaleABration ends on March 31st.

$99 Ultimate Stater Kit with SaleABration special

And if you really love DSP and want to get some for free, and a mini paper cutter to help you #LoveItChopIt, then you’ll want to check out the $99 Starter Kit Special. You’ll get to choose $125 worth of products, AND get a Free Mini Paper Cutter, a 6×6 DSP paper stack, and a Stamp Set of your choice, along with $50 of business supplies and free shipping! Sweet right? Buy the $99 Starter Kit here. Sale-A-Bration ends March 31st and so does this offer so buy the starter kit today.

I know the struggle is real, but I challenge you to stop being a DSP Hoarder! Maybe my “buy 2 compromise” will help you to #LoveItChopIt . To your continued success! – Nancy

Simple or Stepped Up? You Decide! – Part 1

Simple Happy Birthday to you

Sometimes Simple is best.

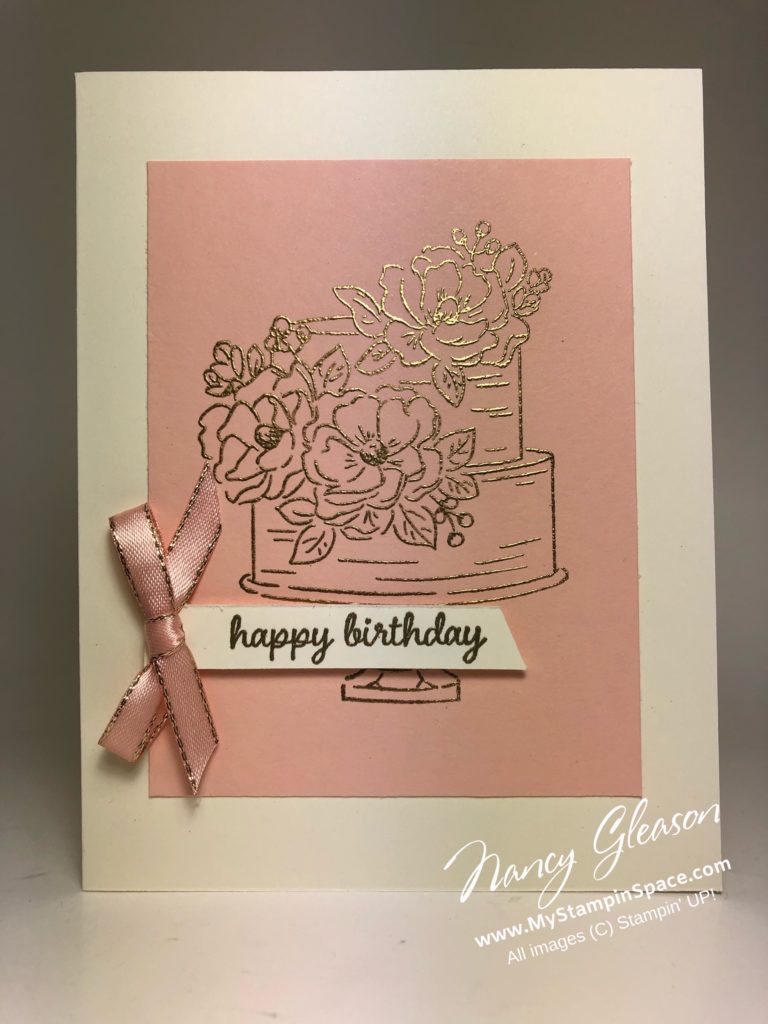
I love the classic look of pale pink and gold – it’s so rich looking. Todays Simple Birthday card was inspired by this gorgeous 1/4″ Petal Pink Metallic Edge Ribbon. This ribbon is so satiny and just flows so nicely. So I designed a simple card just to show off the petal pink and gold.

My card base is Whisper White with a Petal Pink layer. I stamped the layer cake from Happy Birthday to You (free during SaleABration with a $50 order) in Versamark ink and heat embossed with gold embossing powder. The outline image of this stamp set is so pretty it works well on its own (although the outline image also works well with all sorts of coloring techniques. I’ll be featuring the same image colored with the Stampin’ Blends tomorrow so stop back then.) A quick little sentiment from the Timeless Tulip stamp set was added and it was topped with the bow.

Quick and easy! Elegant and rich looking.

Tomorrow, I’ll be featuring the same image but stepped up for a totally different look. Please tell me what you think of this card, but then stop back tomorrow and let me know what you think of the stepped up card and then let me know if you prefer Simple or Stepped Up. Either way, you should make an effort to grab this Happy Birthday To You stamp set during Sale-A-Bration. It is FREE with a level 1 qualifying order.

Sale-A-Bration

I love Sale-A-Bration! Did you know that you can earn free products with every qualifying purchase, you can earn more when you Host during Sale-A-Bration, and you really score big when you Join during Sale-A-Bration! Click here to see the Sale-A-Bration catalog. Which way(s) are you going to save during Sale-A-Bration?

SPOILER ALERT: A Sale-A-Bration Product Coordination will be released on Feb 4th and coordinating dies for the Happy Birthday to You stamp set will be available!

My class schedule has just been updated too. Click here to see upcoming classes and register for a class today.

It only took me 10 minutes

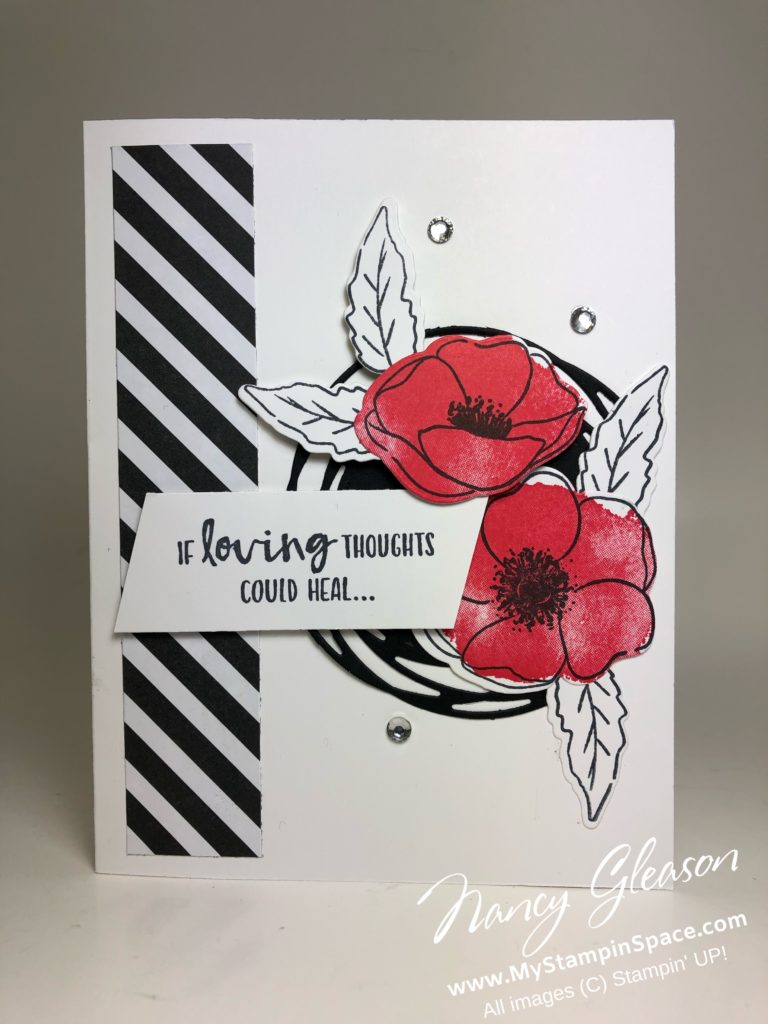
I held my monthly team meeting yesterday and about 1/2 hour before the meeting began, I decided I wanted to provide a quick make & take card for everyone to make using the Peaceful Poppies Suite from the 2020 Mini Catalog. I sat down and made this card and it only took me 10 minutes to make from start to finish!

This is truly the kind of card that you can whip up just 1 or 2, or mass produce a large quantity. Furthermore, you can easily swap out the sentiment for any occasion; birthday, get well, thank you, thinking of you, etc. Heck, you could even make the card and not add a sentiment panel until you need a card to send and then just stamp a sentiment.

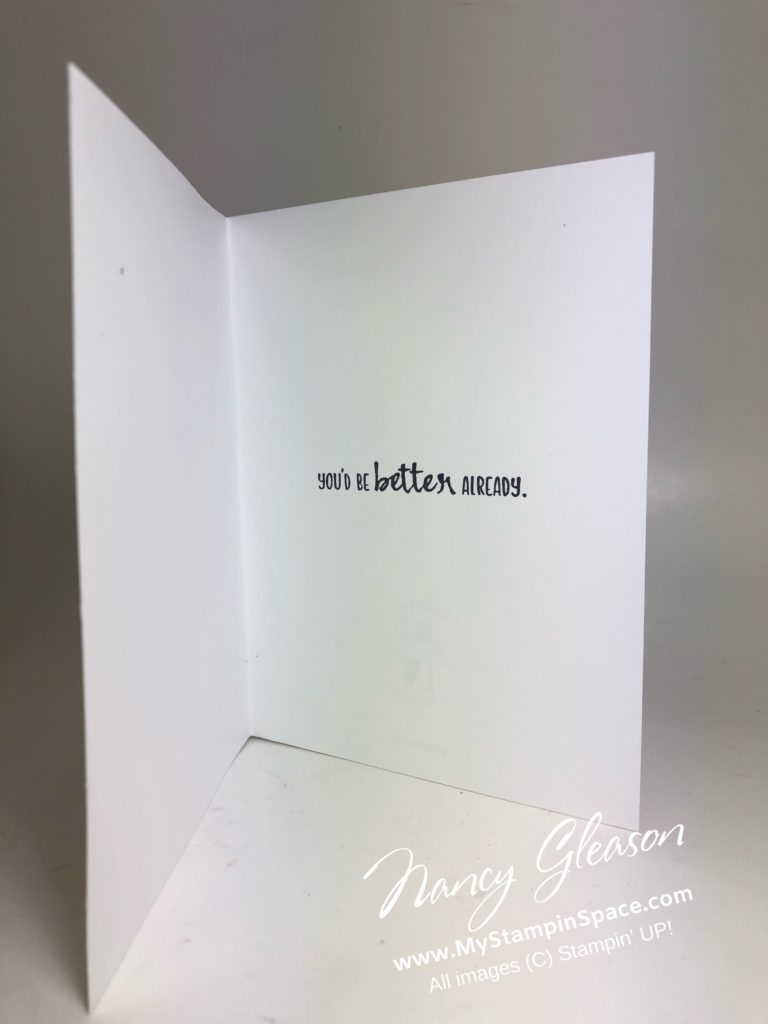
You could always stamp the inside too, as I did here:

Card Recipe

Want to know how to make this card? Of course you do! So I will tell you. This card features products from the new Peaceful Poppies product suite (pages 24-27 of the 2020 Mini Catalog). I started with a piece Whisper White Cardstock cut to 5-1/2″ x 8-1/2″, scored and folded in half for the card base.

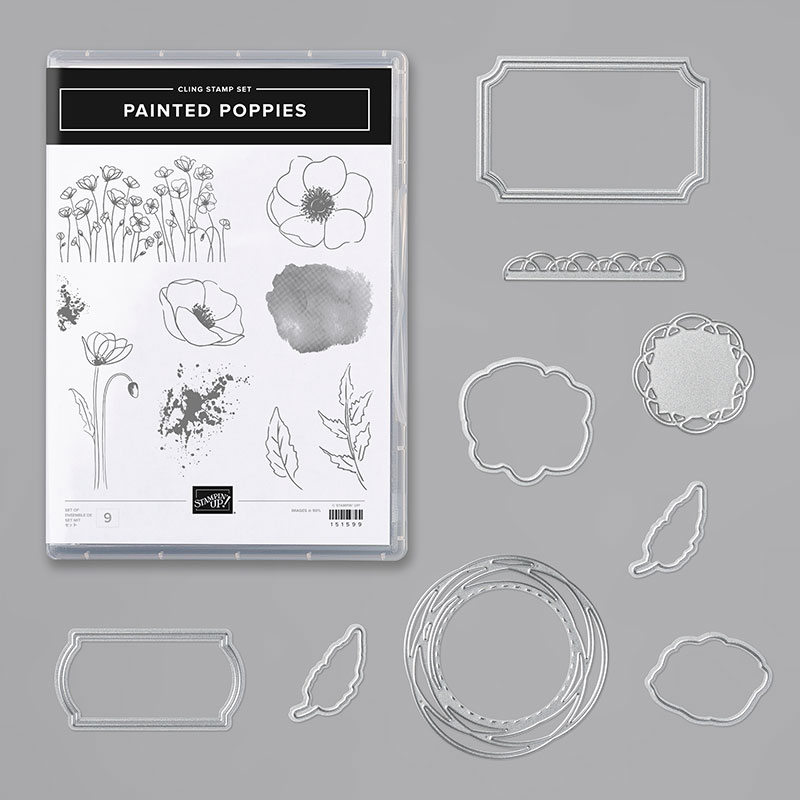
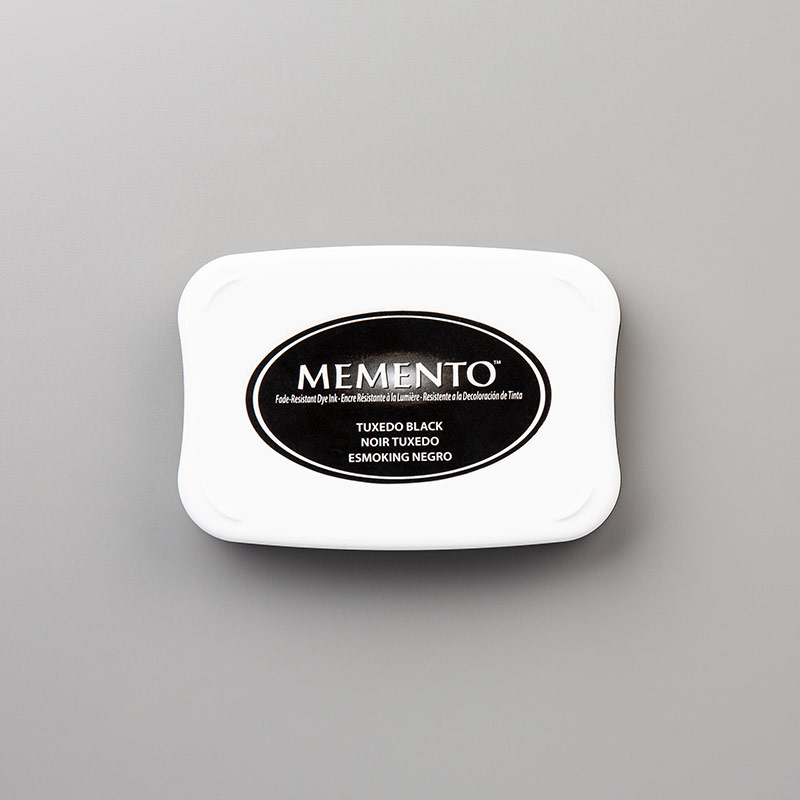
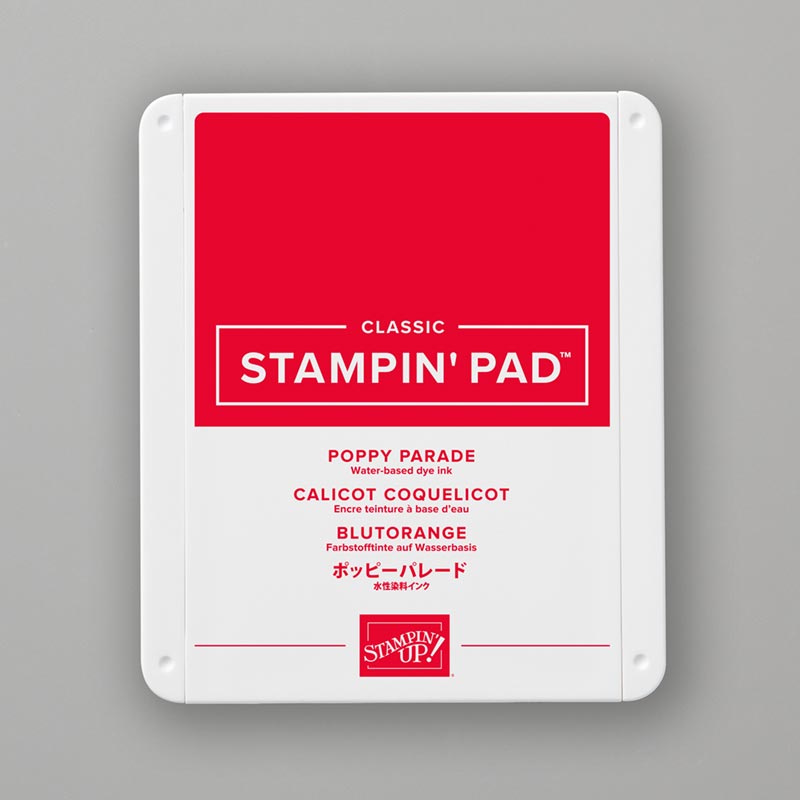
I used scraps of Whisper White to stamp the large poppy, the smaller poppy and 4 leaves from the Painted Poppies stamp set using Tuxedo Black Momento ink. I stamped the watercolor image over the flowers using Poppy Parade ink to color in the flowers.

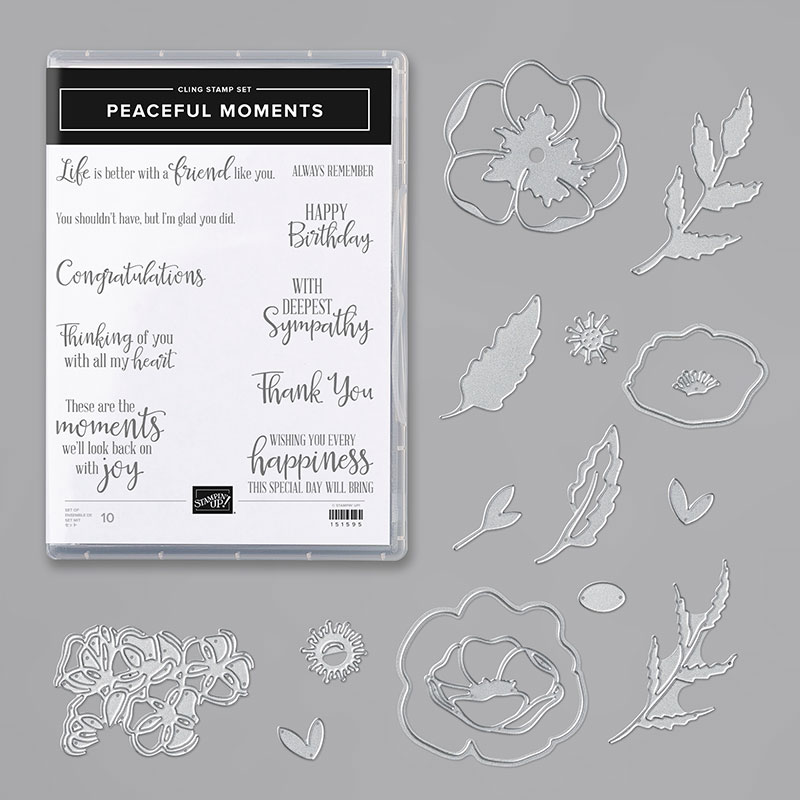
Then I cropped the flowers and leaves out using the coordinating Painted Labels dies. The swirly circle was cut from Basic Black cardstock. The Happy Birthday sentiment was stamped on a scrap of Whisper White Cardstock using the companion stamp set Peaceful Moments. A 1″ x 5″ strip of B&W DSP adds some visual interest and a few Rhinestone Jewels add some bling.

And did I mention that it only took me 10 minutes to make this card from start to finish! Pretty sweet, right? With all the layers and elements, it looks like this card would have taken a pretty long to create, but the coordinating stamps and dies make it so easy. When you combine the use of black & white with just 1 color it makes a pretty dramatic statement.

You can purchase all the supplies to make this card right here from my online store, or just click the product name above. And when you purchase the stamp set and dies as a bundle you save 10%. Both the Painted Poppies Bundle and the Peaceful Moments bundle are $52 which qualify for a FREE Sale-A-Bration item! Buy both bundles and get 2 FREE Sale-A-Bration items.

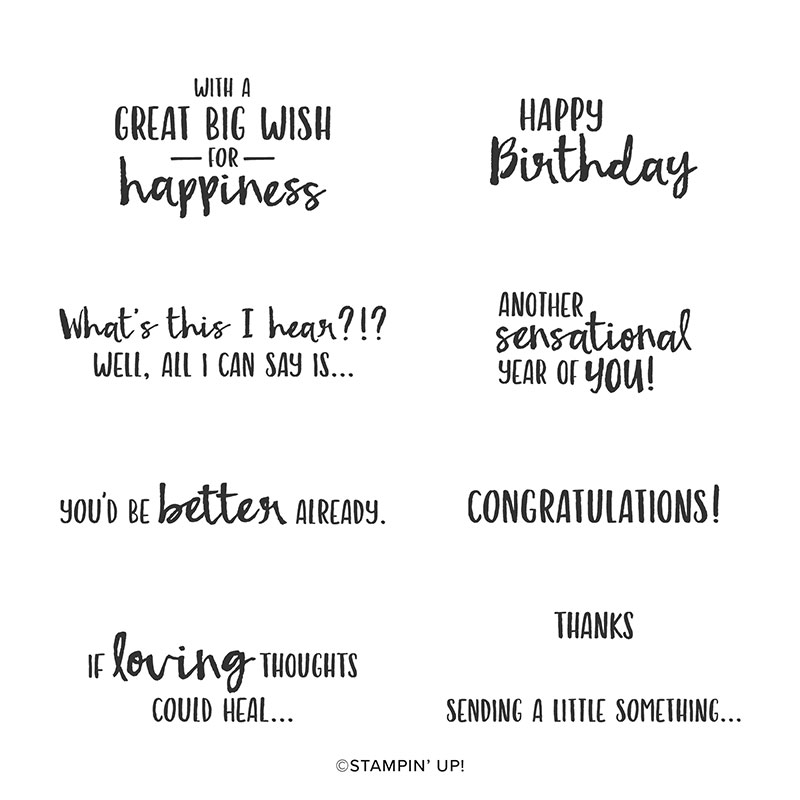
For the Get Well card above, I used the sentiment from the Sending You Thoughts stamp set which is a FREE Sale-A-Bration stamp set.

So which card do you like better? The Happy Birthday card on the left or the “If Loving Thoughts could heal…” card on the right? Please leave me a comment and let me know. (Shh, don’t tell anyone but the card on the right is slightly different. Can you tell that the smaller flower on top is popped up on stampin’ dimensionals? At my team meeting, one of my members asked where the dimensionals were because I always add them. She lifted up the little flowers and the leaves, and when I got home, I made 2 get well cards for the 2 gals who weren’t there because they were sick, and I popped them up on dimensionals too! Thanks Brienne!)

SUBSCRIBE to my FREE monthly newsletter & exclusive offers.

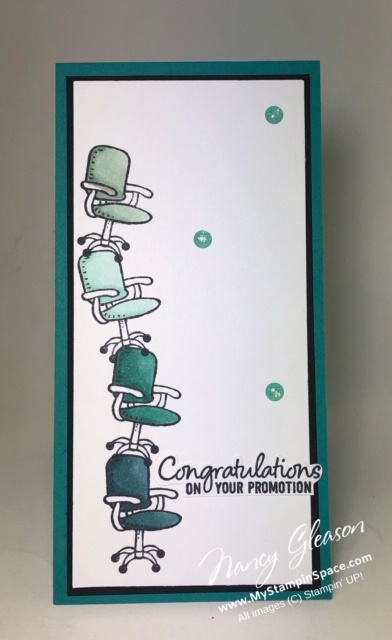
Stackin’ ‘Em Up! – a card for a co-worker who got a promotion

Today’s project is for the Paper Players Challenge – a tall and skinny card. It’s the perfect layout as I need to make a card for a co-worker who got a promotion. Actually, it is my boss who just got promoted and she’ll soon be leaving us and moving on to bigger and better places. I quickly added the “Welcome to the Team” stamp set to my order as I knew it would get a workout with my boss leaving, and a new person coming in to take her place. Plus it has several sentiments perfect for co-workers in many situations. You can see the Welcome to the Team stamp set here.

Now let’s take a look at my card:

All Stacked Up for a Promotion -a tall and skinny card by Nancy Gleason for the Paper Players Challenge #460

The tall and skinny layout is perfect for stacking the chairs up. I thought the stacked chairs represented moving up in the world, which is what happens when you get a promotion, right?

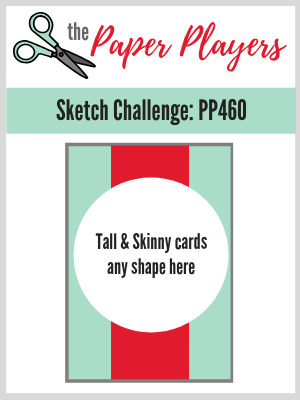
The Paper Players Challenge # PP460

Click on the challenge picture to head over the Paper Players blog and play along.

Paper Players Challenge #PP460

Stampin’ Blends were called in to create an ombre effect of office chairs. I love coloring with the Stampin’ Blends. I’ve been teaching a Stampin’ Blends Color Club Class, once a month for the past 8 months and the more I use them, and work with them, the more I love them! (Spoiler Alert – I’m going to start offering the Stampin’ Blends Color Club Class as an online class! If this interests you, let me know). Take a closer look at the shading and blending:

Stampin' Blends create an ombre effect in the stack of office chairs

The Details

I used a different color of Stampin’ Blends markers on each chair, from the top I used Mint Macaron, Pool Party, Bermuda Bay and Pretty Peacock. Using the darkest color on the bottom visually ‘grounds’ your elements. I stamped the chairs in Momento ink (perfect when using the Stampin’ Blends), and the sentiment on a scrap of cardstock. I used my paper snips to fussy cut the sentiment- this made it fit better and gave the visual interest of overhanging the layer as well. A few Glimmer Enamel Dots add some bling.

To create the Tall & Skinny, I started with a piece of Bermuda Bay cardstock 2-3/4″ x 11″ scored and folded in half. Then a piece of Basic Black cardstock cut to 2-1/4″ x 5-1/4″, and finally Whisper White Cardstock cut to 2-3/8″ x 5-1/8″.

This card was so fun to make! I hope that you enjoy it, and even more so, I hope that I inspired you to make a card like this yourself if you need to make a card for a co-worker who got a promotion. To order any of the supplies I used to make this card, visit my online store here.

If you are placing an order, don’t forget to visit the Clearance Rack, it was just recently re-loaded with lots of items which are available at deep discounts while supplies last.

Update: Purple Posy Ink is now available to order! You can order an individual Purple Posy ink pad, or the 2019-21 InColor Ink Pad Collection.

Have you signed up for my Mailing List? My mailing list subscribers get members only exclusive project tutorials, tool tips and more! Click here to sign up for my Mailing List.

Like me on Facebook to follow me on Social Media.

Thanks for stopping by My Stampin’ Space. See ya soon! – Nancy

Let It Shine!

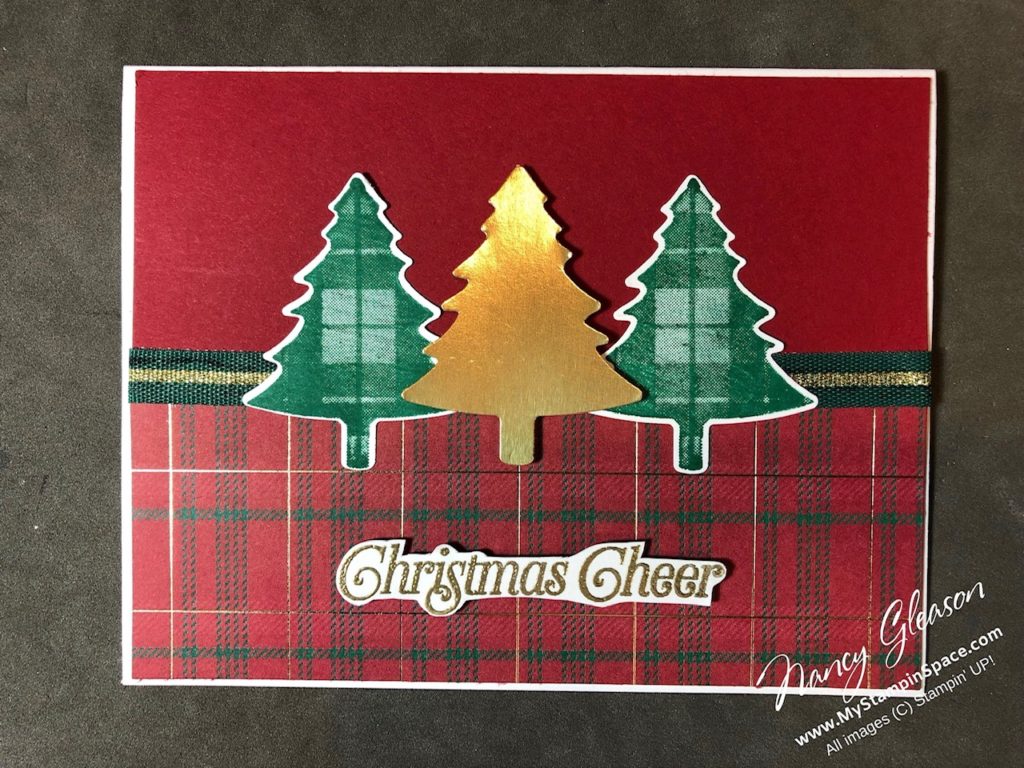
Metallic accents add so much class and bling to any project – I say “Let it Shine!” One of favorites from the new 2019 Stampin’ UP! catalog is the Wrapped in Plaid Specialty Designer Series Paper. What makes it special is the gold foil accents in the paper. And nothing says Christmas to me like plaid – win/win! Let’s take a look”

Between the plaid paper and the plaid Christmas Tree stamp from the Perfectly Plaid stamp set, I’m in Christmas plaid Heaven! And the metallic gold foil accents of the DSP repeat the gold in the Shaded Spruce/Gold Striped Ribbon. The main focal point is a Christmas tree cropped from a sheet of gold foil and the sentiment is embossed with Gold Embossing powder.

The Paper Players Challenge

I’m not the only one who is liking all these metallic accents – the Paper Players like them too as is evident by this weeks challenge which is all about Marvelous Metallics.

You call see all the submissions for the Paper Players Challenge here.

I love that I could use 3 different metallics (Gold Foil, gold foil accents in the DSP and gold embossing powder) on 1 project and have perfect coordination! The product coordination is what hooked me on Stampin’ Up! many years ago and I’m still hooked! The stamps and punches are perfectly coordinated to crop out those trees. The plaids coordinate and so do the colors.

My trusty paper snips made easy work of cropping out Christmas Cheer from the sentiment after heat embossing it with gold embossing powder.

Let’s Go Shopping!

If you want to purchase any of the products I used here today, please click here to shop my online store.

If you are shopping and your order is less than $150 (before shipping and tax), please use Host Code MYVYJSQY.

Buy 3 Get 1 FREE Designer Paper Sale is going on now thru Sept. 30th! Shop Bundles and save 10%

I hope I’ve inspired you to break out some metallics to add to your next project and Let it Shine!

Thanks for stopping by My Stampin Space! While you’re here, please leave me a comment and tell me what you think of my project today.

Christmas in July

Who doesn’t love Christmas? And who doesn’t love making Christmas cards? There are several really nice Christmas stamps and dies in the 2019-20 Annual Stampin’ UP! catalog for you to use right now! Who needs to wait until Christmas?

Last week, I made two Christmas cards for my Christmas in July stamp class. And I’m going to share one of those cards with you today.

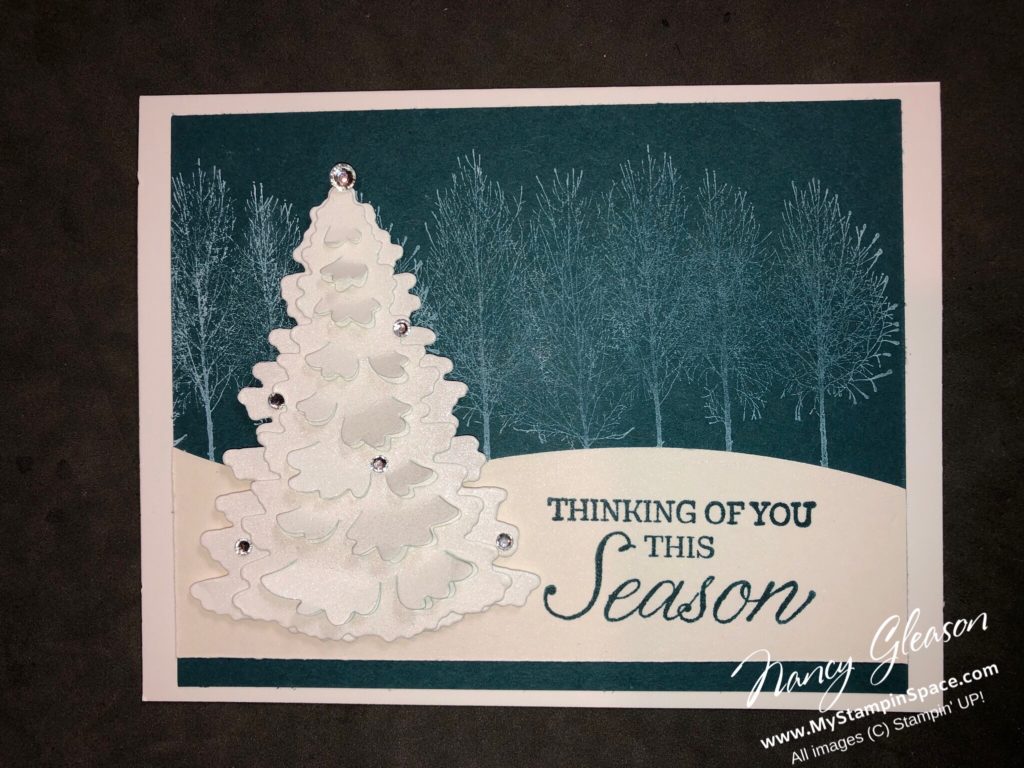
Winter Woods

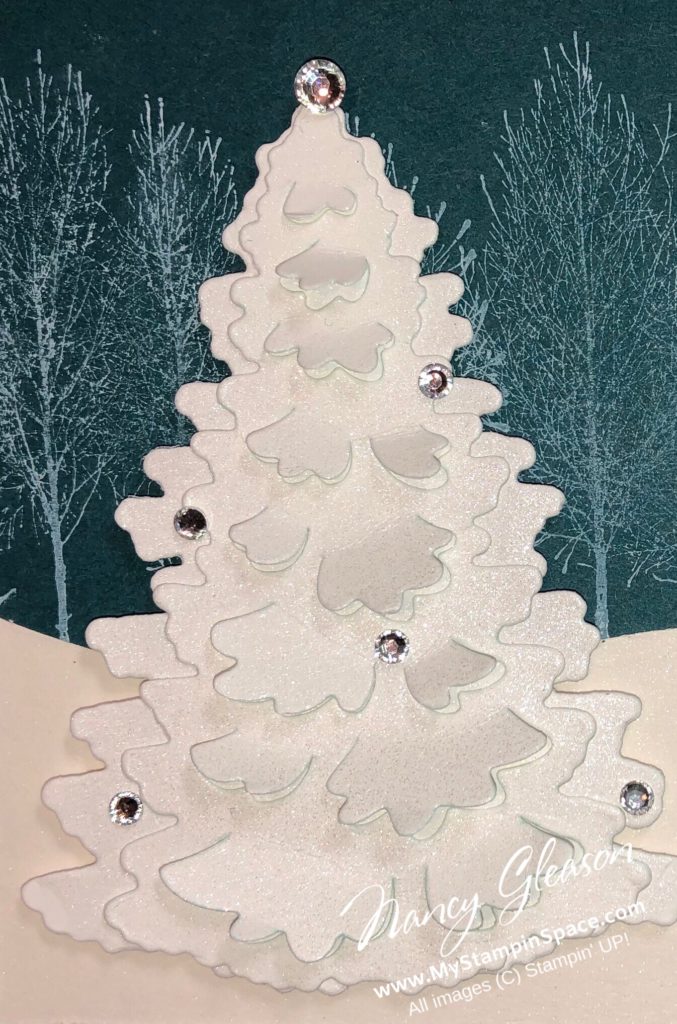
Pretty Peacock sets the stage for all of the white elements in this card. It provides a great contrast for the various shades of white. We start with a Whisper White card stock base. The snowy hill was created from Shimmery White Cardstock, and the rolling hill was cut from the In The Woods die. There is a line of trees in the background that were stamped very lightly with white craft ink using the Winter Woods stamp set. The focal point, that gorgeous tree, was cropped from Whisper White cardstock and the In The Woods dies. A Bone Folder was used to fold up the boughs and create dimension. Then the entire tree was spritzed with Frost White Shimmer Paint mixed with a little rubbing alcohol in a Stampin’ Spritzer. That tree was finished with a few Rhinestones. The sentiment was stamped in Pretty Peacock ink.

Let’s take a close-up look at that tree! Do you see the shimmer?

Winter Woods and In The Woods dies come together to create this Christmas tree
Winter Woods and In The Woods dies come together to create this beautiful tree with lots of dimension. Frost White Shimmer paint and Rhinestone Jewels embellish the tree to give it a beautiful shine!

This card would be very easy to recreate. I am planning on making several of these and get a jump start on my Christmas cards now, because, let’s be honest, who has lots of extra time during the holidays? Better to get a head start now, right?

Ready to Shop?

So if you would like to make this card, just click here to start shopping. If you are placing an order with me and it’s less than $150, please use Host Code AW2KJ9Q4 . If your order is over $150 (before tax and shipping), do not use the Host Code, but rather take the Stampin’ Rewards for yourself. Either way, you’ll earn a $5 Bonus Day Coupon for each $50 worth of products you order, and you’ll get a FREE package of the Rhinestone Jewels (the same ones used in this project!) with every order of $50 or more as my way of saying ‘thanks’ for ordering with me.

So there you have it. Christmas in July! Thanks for stopping by My Stampin’ Space. Please leave me a comment and let me know what you think of my Christmas in July project. Your comments help my blog rank better which means more people will find my blog. And I love hearing from you!

I’m Incredibly Proud of my Husband

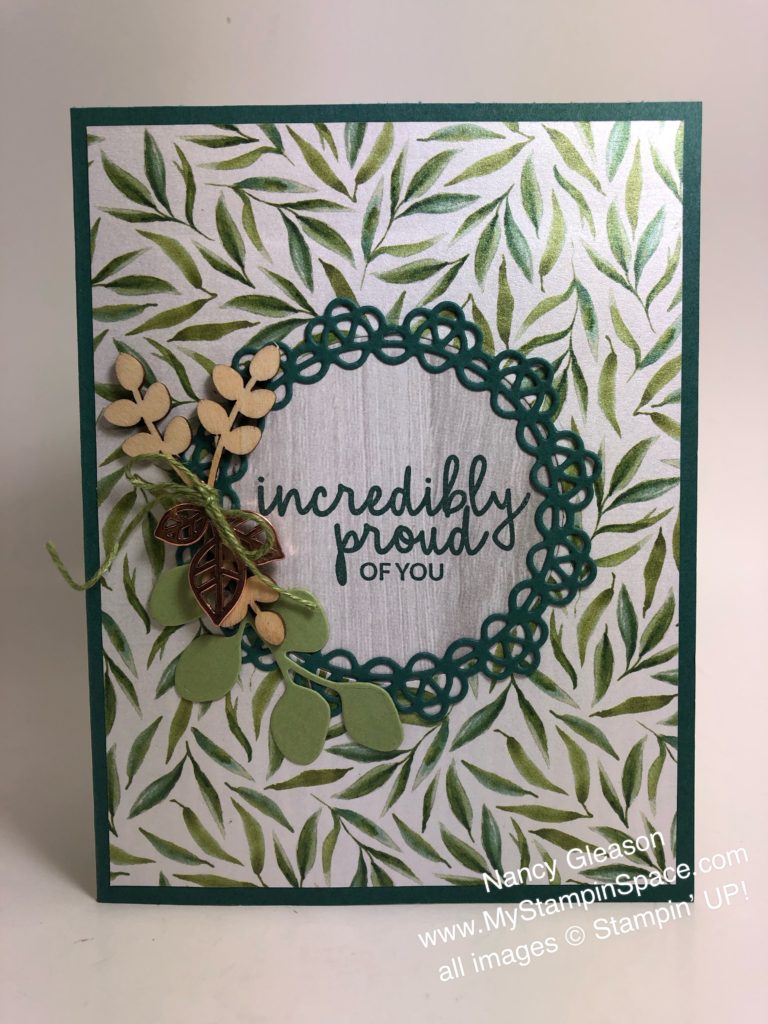
Last week my husband started a new job, which is a total career change for him. I’m incredibly proud of my husband, I’m sure this isn’t easy! I made this card for him, using the Incredible Like You stamp set. The sentiment, “Incredibly Proud of You” was perfect to convey my feelings. Of course I had a little gift for him too, something for his new office.

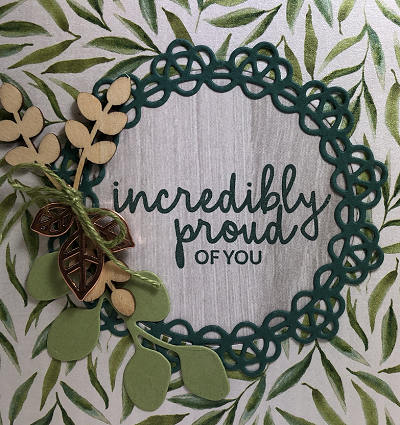
The earthy elements and color scheme lend to the masculine feel. I choose a piece of DSP from the now retired Frosted Floral DSP pack and cropped a circle using the Layering Circles Framelit dies. A piece of woodgrain paper from the Wood Textures DSP was slipped behind this and adhered everything to a Tranquil Tide card base. Then I cropped a detailed circle from Tranquil Tide using the Doily Builder framelit dies. (Heads up: this item is projected to be sold out quite soon and will not be available again before the end of the catalog so grab yours now!) Tranquil Tide ink was used to stamp the sentiment that expressed my feelings exactly!

Next up I decorated around the framed circle. I cropped a leaf from the Winter Woods framelits dies in Old Olive cardstock and added a few wooden elements from the Butterfly Elements (this is already sold out – I’m glad I grabbed them as soon as they came out) and some metal Leaf Trinkets with Old Olive line thread.

And here he is….

Here’s a photo of the dinner I made to celebrate. Note the flowers (they were given to him by the guests at the Mission as a way of saying goodbye) and the gift I had for him.

See the look of joy on his face as he is reading my card:

I made another card for him that I tucked into his briefcase on the first day of work. I’ll share that in another post. But for now, if you’d like to order any thing from Stampin’ UP!, you can go to my online store here. I’d suggest you grab the ultra versatile Doily Builder Framelits dies before they’re gone and the Incredible Like You stamp set.

Incredible LIke You stamp set

If you like this card, please Pin it for future reference. And leave me a comment please. Leaving comments will help my ranking in Google so more folks can find my blog. Thanks!

Nancy

PS – April classes were just added to my class schedule. Check it out here.

Sale-A-Bration Sympathy

I sat down to make a Sympathy card last night expecting to use the Level 2 Sale-A-Bration item “Lasting Lily” because, well, it has a beautiful lily image and several sentiments that are perfect for this occasion.  However, I wound up using the sentiments but taking a totally different direction for the card.  I do that sometimes (after all it is a woman’s prerogative to change her mind, isnt’ it?)  Let’s take a look:  Botanical Butterfly meets Lasting LilyThe beautiful “Botanical Butterfly” DSP is a Level 1 Sale-A-Bration item (meaning you earn it for FREE with a qualifying $50 order).  That paper is just so gorgeous!  I find myself looking at it but not wanting to cut it up and use it.  Does anyone else have that problem?  The prettier the paper, the harder it is to cut it up.   But in my head I know that it looks a lot better in a card that is going to brighten someone’s day when they open their mailbox than sitting on my  shelf. #loveitchopit #makeacardsendacard
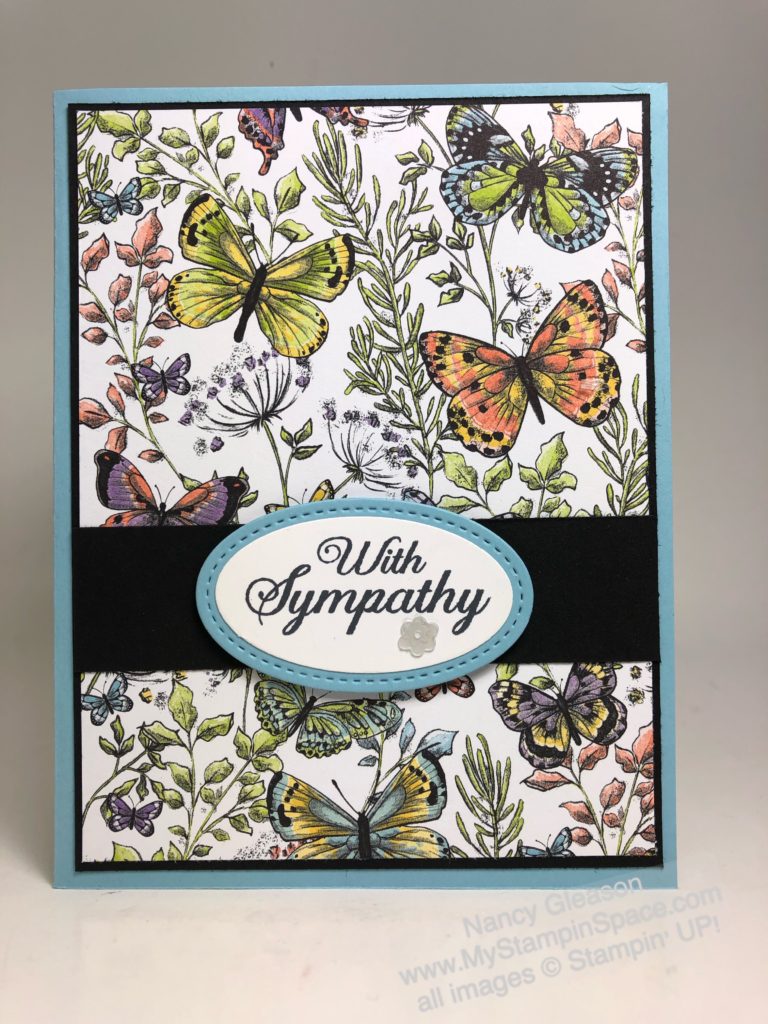
This card is headed for someone special, someone who I refer to as my Stampin’ UP! mom (she introduced me to Stampin’ UP!  many years ago and set my life on a totally different trajectory!  Boy, I’m so glad she did! – But that’s a story for another time).  Her Mom passed away over the weekend.  I definitely needed to chop up my gorgeous DSP  to make a sympathy card for her!

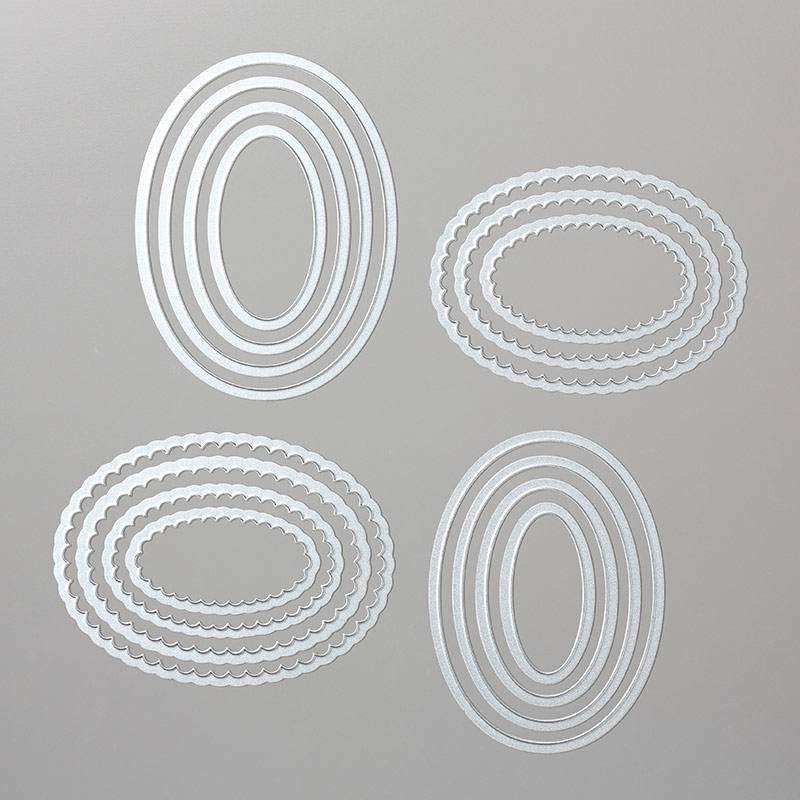
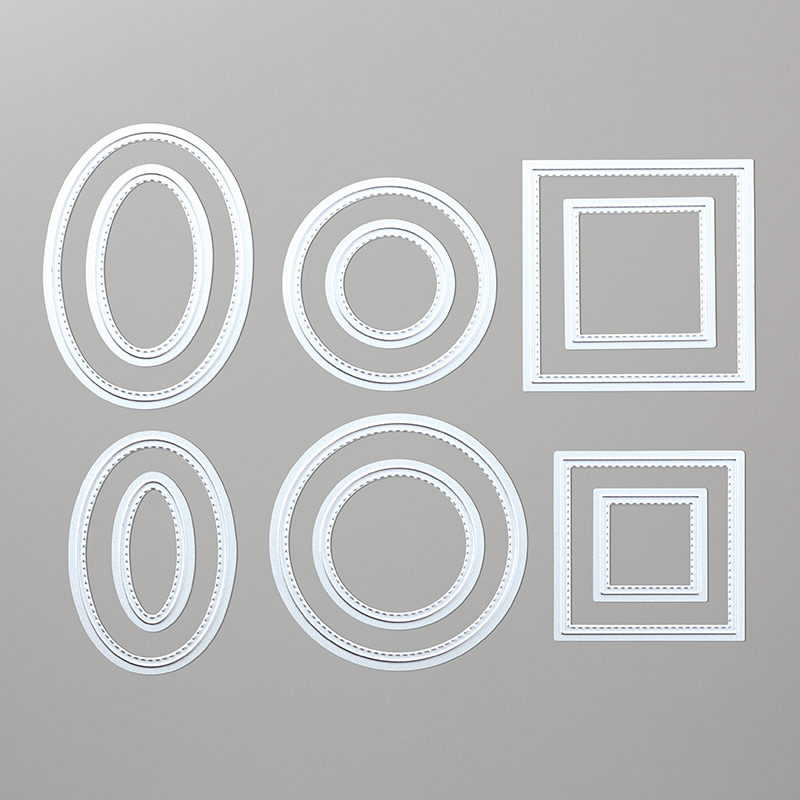
This card is so beautiful because the DSP does all the heavy lifting!  All I had to do was to stamp the sentiment, crop it with an oval framelit, layer it with a stitched oval, place it over a belly band that picks up the tiny black layer, and I was done!  I did use a piece of copier paper on the inside and stamped a sentiment on that.  TIP:  Whenever I use a colored card base, I always add a plain white copier paper insert – it makes it easier to read & write on white than on color. 

I was able to earn both the Botanical Butterfly DSP and the Lasting Lily stamp set at the same time.  I try to make it a habit to never place an order less than $150.  Why?  First of all, shipping is a minimum of $6.95 up to an order of $69.95 (it becomes 10% of the order after that), AND MOST IMPORTANTLY, at $150 you earn Host Rewards EVEN IF THE ENTIRE ORDER IS YOURS (you don’t have to host a party or a workshop to earn those host rewards!)  So if I placed a $150 order, I’d earn 10% in Host Rewards.  If I placed 3 – $50 orders, I’d pay more in shipping and I wouldn’t earn any host rewards.

So, during Sale-A-Bration, you definitely want to place orders in $50 increments so you can earn FREE Sale-A-Bration items.  But if you can, I suggest you place your order for a minimum of $150 to earn those host rewards too.  (I often use those host rewards to stock up on adhesive or envelopes, and occasionally to indulge in  a stamp set I might not otherwise order).  If you really want to maximize your savings, place a $250 order.  These BIG SPENDERS either order all for themselves, or gather a few orders from friends and family.  At $250 you earn a $25 Host Reward Bonus so you’ll get $25 (10% of $250) and $25 for a total of $50 in Free Products, AND 5 -Level 1 Sale-A-Bration rewards!!

Now is also a good time to order a 12 month PrePaid Paper Pumpkin Subscription ($209) because you’ll earn Free Sale-A-Bration items and you’ll get closer to that $250 Big Spender level.

To learn more about Sale-A-Bration, read my blog post here.  Then head over to my online store, and place your order to earn your FREE Sale-A-Bration items.

JANUARY HOST CODE & FREE GIFT WITH ORDER

If you place an order with me during January that is $75 or more (before tax & shipping) and your order is less than $150, please using HOST CODE B3KMJJ23.  If your order is $150 or more, please do not use this Host Code but rather take the Host Rewards for yourself.  If you do place an OnlineOrder of $75 -$149.99 AND use the host code, OR place an order of $150 or more , I will send you the Happiness Blooms Enamel Dots as my way of saying “thank you” for shopping with me.

Here’s the supply list for my card if you want to order these products to create this card for yourself.
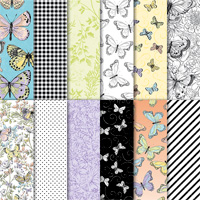
Basic Black 8-1/2" X 11" CardstockBotanical Butterfly Designer Series PaperBalmy Blue 8-1/2 x 11 Cardstock


     Stitched Shapes Framelits DiesTuxedo Black Memento Ink Pad

Thanks friends, for stopping into My StampinSpace today!
Sunday Stamps Challenge

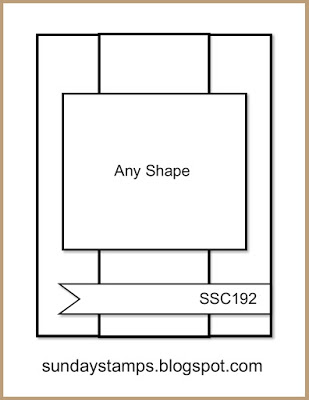
I think challenges are a great way to stretch your creativity, and so I am endeavoring to play along with 2 challenges each week.  This week, I chose to play along with The Sunday Stamps challenge.  The sketch is a great layout which allowed me to showcase our beautiful DSP and the stunning Hibiscus flower from “Humming Along” the soon to be released stamp set from Stampin’ Up!  (Yes, my last blog post featured this flower as well and you can see that here).  Here is the sketch that inspired today’s project:
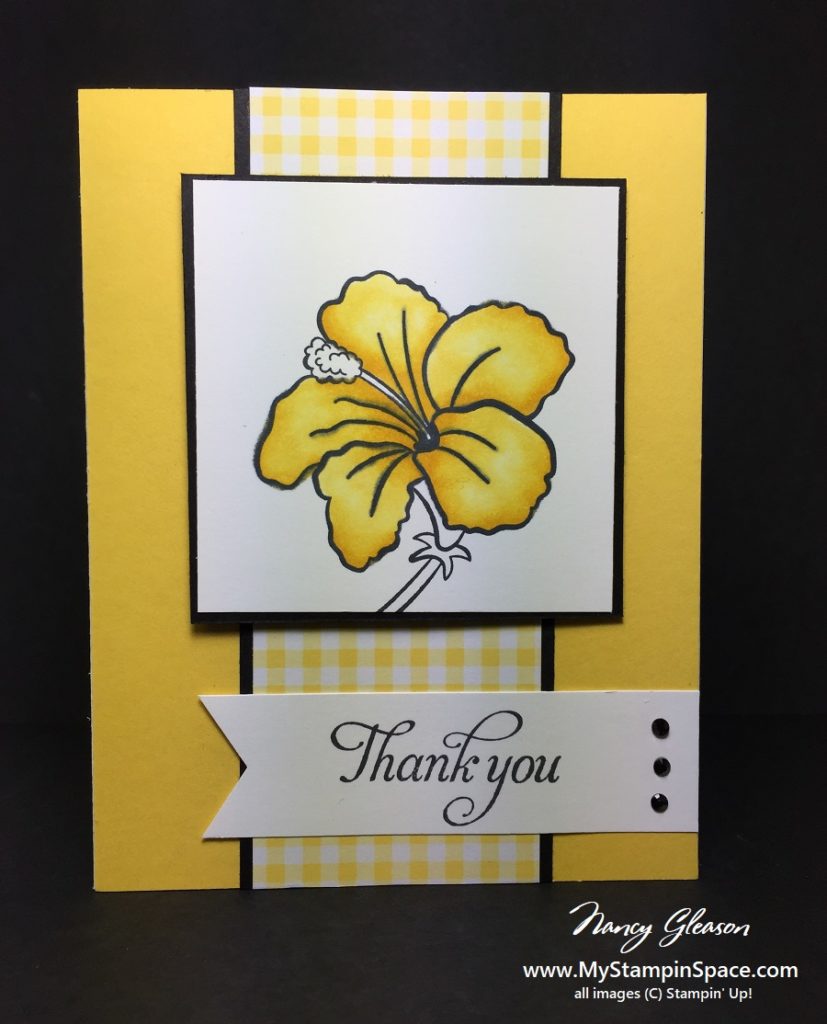
Sunday Stamps Challenge 192And here is my take on it:

The gorgeous gingham DSP is a new paper called Gingham Gala and it will be available in Jan 2019 in Stampin’ Up!’s 2019 Occasions Catalog, along with the “Humming Along” stamp set.  I colored in the Hibiscus with our Stampin’ Blends markers in Daffodil Delight.     I love how the darling gingham just pops against a the tiniest bit of Basic  Black.  And because no envelope should be left naked…

Humming Along Yellow Hibiscus

The gingham paper has a larger check on one side, and a smaller check on the other.  I used the larger check to dress up the envelope flap so it coordinates perfectly but isn’t an exact match.

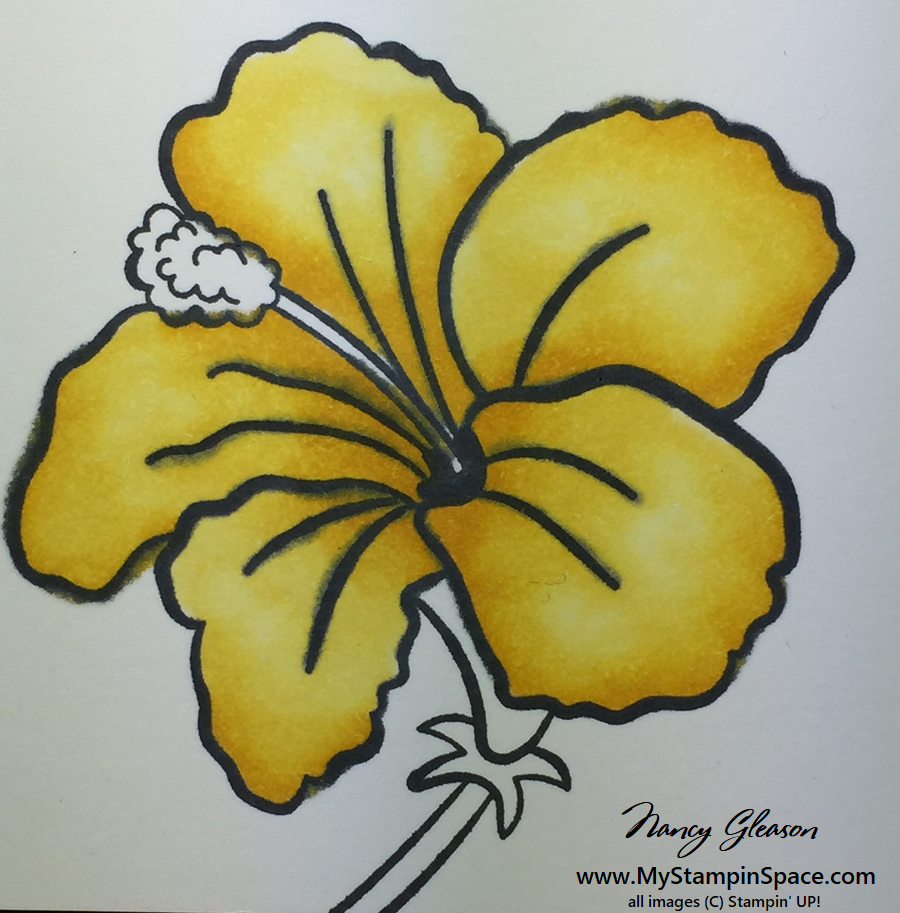
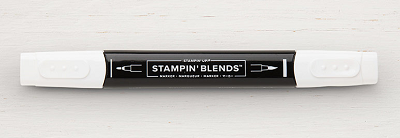
I hope you like my project today.  I encourage you to play with the Stampin’ Blends markers.  It is so easy to create a perfectly shaded and hi-lighted image with our Stampin’ Blends alcohol markers.  Here’s an up-close of the flower colored with the Stampin’ Blends so you can see the shaded and hi-lighted areas.

a yellow colored Hibiscus flower colored with Stampin Blends

Start practicing and you’ll be coloring and shading like a pro in no time!  To help you get started check out my promotion below:

Color lifterGet a Stampin Blends Color Lifter Pen FREE when you place a qualifying order of $75 or  more (before tax and shipping) thru my online store in November and use the Host Code 9ZGDUJ4M.  If your order is $150 or more, do not use the Host Code; you will be automatically qualified to receive the Stampin’ Blends Color Lifter. 

COMING SOON!  OnLine Extravaganza!  Stampin’ Up!s answer to Black Friday, Small Business Saturday and Cyber Monday all wrapped up in one easy to shop sale!  Check back on Friday, Nov.23 when the fun begins!

Thanks for stopping by my blog and taking the time to check out my project.  I love when you tell how you liked a project so please leave me a comment.  And thank you for shopping with me, I appreciate your orders.

Happy Stampin’,

Nancy