How do you say Happy Birthday to Someone Special?

Well, I decided to wish my Mother-in-Law a Happy Birthday with the new Botanical Gardens suite!  Designer Series Papers, stamps, and framelits!

IMG_6282

My Mother-in-Law loves flowers so I knew that this product suite would be the perfect thing to create a card for her.  I started with the soft color of Mint Macaron for the card base.  I then used a strip of Botanical Gardens designer series paper.   I cropped a Whisper White circle and stamped it with the Happy Birthday greeting from the “Sky is the Limit” in Blackberry Bliss ink.

Hello, Honey and Blackberry Bliss cardstock was used to create the beautiful flowers from the Botanical Builder framelits dies.  Look at those flowers; aren’t they beautiful?  These dies create a 3-D type of flower!  It really is like no other die I’ve seen before; almost like a new generation of framelit dies.  It’s like a petal within a petal.

IMG_6283

Mom LOVED her card!   And you?   You’ll love the fact that the Botanical Gardens Suite is a bundle, and this bundle is a triple-play!  This Bundle contains the Botanical Blooms stamp set, the Botanical Builder Framelit dies AND the Botanical Gardens Designer Series Paper!  BONUS!  This bundle, priced at $51.75 earns you a FREE Sale-A-Bration item!   SWEET!!!  I used the Sky is the Limit stamp set, which will be retired on February 15th.  Now is a great time to score this bundle and stamp set, in a few days you will no longer be able to get this stamp set.  And trust me, this is stamp set you’ll want!  It makes great masculine cards, too!

To order any of the products shown here, just click on the product names above or on the pictures below.Built for Free Using: My Stampin Blog

Built for Free Using: My Stampin Blog

Thank you for stopping by My Stampin Space.  Please  leave me a comment and let me know what you think of this card; do you love it as much as Mom did?
I’ve been trying to fill my stash of Birthday Cards, to fill my New Year’s Resolution of sending birthday cards (on time) this year!  You’ll see more birthday cards on my blog in the coming days/weeks.  And you are welcome to join me for my next class, Thursday, Feb. 11th where we will focus on making Birthday Cards.  Email me to RSVP to my class!  If you just want to make your own cards, and want to shop with me, please know that I appreciate each & every order! Thank you 🙂
Come back soon as I’ll be sharing more birthday cards in the next few days.
Nancy

Let the Tradition Continue….

While you may think this post will have something to do with Christmas or Holiday Traditions, it’s not.  December is the time of year Stampin’ UP! demonstrators get to pre-order from the much anticipated Occasions and Sale-A-Bration catalogs set to debut in January.

Last year, I needed to send a birthday card to someone celebrating a Christmas birthday, and I had one ready to go.  But just then, Mr. Brown (aka UPS driver) delivered a package to my doorstep.  Not just any package, but a package from Stampin’ UP! containing NEW PRODUCTS!!!  Well, I looked at the clock and decided I had just enough time to open the box, play with my new goodies and create a card for this dear customer/friend who would appreciate a card made with NEW PRODUCTS more than anyone else.  So I dashed down to My Stampin’ Space and created a masterpiece, with just seconds to spare before I had to leave for work.  I threw my newly created card into an envelope and mailed it, just in the nick of time!  I was so proud of that accomplishment, and still made it to work on time.

Days later, instead of a “Thank you, the card you made for me was beautiful, and I’m drooling over the new products” like I expected, I got a “Are you kidding me?  The card you sent was blank; you never signed it!  Of course you stamped your ‘hand stamped by Nancy’ on the back, but you never signed it!  I couldn’t believe it!  I felt like an idiot!  In my rush to get done, I made and mailed the card but never even signed my name.

So this year, I sent her a card that wasn’t signed ON PURPOSE!  After all, the tradition must go on, right?  And yes, it was made with lots of new products from the new catalogs.

Party Wishes, Confetti TIEF, Nancy Gleason, My Stampin Space

First, there is this awesome Embossing Folder called Confetti TIEF that just looks like a party in progress.  Then then stamp set called Party Wishes;  don’t you just love the cake and the sentiment?  And the candle punch is part of a punch pack trio called Party Punch Pack (and you can bundle and save with this stamp set and punch pack!)  And you noticed that adorable little dot, didn’t you?  That’s from the Love Blossoms Embellishment kit.

And the Icing on the Cake?  Party Wishes, Wink of Stella, Nancy Gleason, My Stampin SpaceIt’s this cool new product called Wink of Stella.  It’s a magical paintbrush that adds glittery glimmer without the mess of glitter!  There’s no glue, no glitter, just a beautiful glittery shine.  See how the candles appear to flicker?  This is going to add so much to so many feature projects, I see it as a go-to project enhancer.  I can’t wait for you to try it.

Tomorrow I have another project to share with you for the New Year and then I’ll share some more birthday cards, including the one I sent that I DID SIGN!

Don’t forget there are still several ways to shop and save right now:

Thanks for stopping by; I welcome your comments so please take a moment and tell what you think of this card.

Nancy

How I Made 26 Cards from 1 Sheet of Paper!

I recently got  my pre-order in, and with lots of new stamp sets, and new DSP, I had lots to choose from when I set down to make some birthday cards.  44 Birthday Cards to be exact.  Yup, that’s right!  The girls from my Stamp Club wanted to do a Card Swap where we would each make 44 of the same card and swap with each other, so we would each go home with 4 sets of 11 cards.  We divied up the occasions so each set would have birthday, get well, sympathy, baby, etc.

So I need to make 44 of the same birthday card and I wanted to use my new papers & stamps.  But since I have limited amount of paper to play with;  I had to make what I had stretch.

So, how DID I make 26 cards from 1 sheet of paper?  Very frugally, of course!  Planning, careful measuring and careful cutting, and only a 1″ x 1″ piece of scrap left over!  So I bet you can’t wait to SEE what I did, right?  I won’t make you wait any longer; here it is:

IMG_6012 (2)I used a 1″  x 5-1/2″ strip of DSP, which is how I was able to get so many out of one sheet of paper.

The paper is Wildflower Fields DSP which I got FREE from the Sale-A-Bration catalog.  The flower is from a set of 7 stamps called Flowering Fields, another freebie from the S-A-B.  I love Sale-A-Bration!   No wonder it’s the most anticipated sale of the year!

Here is a picture of multiple cards:  (not a very good picture, I admit !)

IMG_6013I can’t show all of the 26 cards at once because I don’t have enough room to spread them all out!

So How did I do it?  My trick:  I cut a 1″ strip off the 12″ x 12″ paper, leaving me with a 1″ x 12″ strip and an 11″ x 12″ piece.  I cut the 1″ strip into 2  1″ x 5-1/2″ pieces.   leaving my only scrap of 1″ x 1″.

I cut the remaining 11″ x 12″ piece into 12 pcs.  1″ x 11″.  Then I cut each 11″ strip in half to create the 1″ x 5-1/2″ pieces.

Well, this only about half my cards.  I have one sheet of this paper left (there are 2 each of 6 patterns in a package).  So I can either duplicate this and use up all of this pattern of paper, or make the others with another piece of paper.  You’ll have to stop back to see which way I go!  And next week I will be posting all of the cards that the ladies in my Stamp Club made for the Swap.  I can’t wait to see all the goodness they’ve stamped up for us!

And make sure you stop back on Wednesday.  The Stampin’ Pretty Pals will be hosting our December Blog Hop;  you’ll be inspired and amazed as we hop from blog to blog showcasing our “Winter Wishes”

I’m so blessed by being a part of the Stampin’ Up! family, and specifically the Stampin’ Pretty Pals under Mary Fish.  I have met so many wonderful people thru this gig, and have developed personally in so many ways.  My creative side has certainly flourished, along with my self-confidence.  I’ve taught myself how to blog, and created this blog all by myself – an accomplishment I’m quite proud of!  I’ve honed my skills with teaching, as I love sharing my passion for papercrafting and it has naturally evolved into teaching.  Mostly, I love all of the people I’ve met along the way, and many more to come I’m sure.

If you think you’d like to share in this, please consider joining Stampin’ UP!  Many people join as wholesale customers – just for all the benefits:  the discount, the opportunity to pre-order from new catalogs before they are made public, and the private chat groups with other demos around the country, and many more.  You are under no obligation to ‘sell’ anything, host workshops or anything else.  If you would like to learn more, email me and we’ll talk.  If you’re ready to take the next step, order the starter kit here, it’s only $99 and you fill it with $125 of your choice of products.

Thanks for hanging out with me for a little bit today!

Nancy

A Special Reason to Play with the Pals Paper Arts

Well I needed to make a special card for the person we call ‘Our Fearless Leader’, my upline Mary Fish, of Stampin’ Pretty.  She refers to all of her downline as her Stampin’ Pretty Pals.   It’s her birthday, and I thought what better way to make her a card than to use the sketch challenge from her Pals Paper Arts  challenges.  Here is the sketch that inspired my card:

11-25-PPA-277And here is my card:IMG_5978

Notice anything new?  That’s right.  A new stamp set, new DSP, new baker’s twine.   Some sneak peeks from the new 2016 Occasions catalog that will make it’s debut in January 2016.  Because I attended the Stampin’ UP! OnStage event in Baltimore a few weeks ago, I was able to pre-purchase some items from the new catalog; even before the pre0rder period begins for demonstrators!  Sweet!

Here’s a close-up: IMG_5979This was the first chance I had to use those new goodies (I received them the day before Thanksgiving) but I can assure you, they’ll be getting a workout!  I just love this product suite; you should see all the patterns of the paper in the DSP set!  And the coordinating embossing folder!  OMG!

Well, I hope that Mary enjoys her card, and her birthday.  And I hope that you enjoy this sneak peek!  Seeing the new catalogs before they are revealed, and ordering new products before it is offered to the public, are just some of the perks that I enjoy as a Stampin’ Up! demonstrator.  And YOU can enjoy these perks too! It’s easy to join Stampin’ UP!  – just buy the starter kit for $99 and fill it with your choice of $125 worth of products.  Then sit back and enjoy all the perks!  Like product discounts on all your purchases, pre-orders, and so much more!  We welcome wholesale customers so you can join just to feed your own papercrafting passion without any pressure to sell.  Or set some goals for yourself to earn an income sharing what you love.  Either way, you’ll enjoy the same perks.  And when  you join with me, you’ll instantly become part of the Stampin’ Pretty Pals too so it’s a win-win!  Click here to Join Now!

Don’t forget that we have the Online Extravaganza going on now, and there will be a special 24 hour Flash Sale on Monday, Nov. 30th. TH_Ecard_OnlineX_demo_11.23.15_ENGHead over the Pals Paper Arts and see what the other Pals did with this sketch challenge.

Keep your ink on the rubber!

Nancy

So Who is This Amazing Woman?

When I saw the sketch for the Mojo Monday Sketch #406 challenge, I knew exactly what stamp and punch I would use!  And I had the perfect occasion for that card too!  I can’t believe the week is basically over and I just got finished with my card!  A day late and a dollar short is typically how I roll and this is no different:   Well, her birthday has already passed,  and as I am sitting down to get this blog post written, the link has already closed so I can’t play along with Mojo Monday 🙁  but I wanted to share this with you anyway.

Here is the sketch: Sketch Challenges

And here is my card: IMG_5346

Along with the Happy Birthday, Everyone stamp set, I used one of my very favorite color combos:  Blackberry Bliss & Hello, Honey.  And I did use some retired paper from Moonlight DSP Paper Stack.  I sure hope you stocked up on this before it retired.

This card is intended for wish an amazing woman a Happy Birthday; so to send it to her, I had to custom line an envelope so it would arrive in style.  The Envelope Liner Framelit dies make quick work of that.

IMG_5345See how that adds instant pizzazz to an ordinary envelope?

IMG_5347The flower was cropped using the Pansy Punch (2 layers of Hello, Honey DSP) and the Petite Petals Punch (in Blackberry Bliss) topped with a metal rimmed Pearl (the largest size in the package).  Quick & Easy but it adds so much class!

Great layout for the Happy Birthday, Everyone stamp set, don’t you agree?  This stamp set is a Stampin’ Reward stamp set which means it is only available for purchase with Stampin’ Reward Dollars.  If you place an order of $150 or more (whether by hosting a workshop, or just by placing an order for your own supplies), then you are entitled to Stampin’ Rewards.  Click Here to see the Stampin’ Reward Chart to see how much you can earn when you host a workshop, or place a large order.

If you would like to order any of the products used to create this card; CLICK HERE to shop my online store 24/7, or click on the image below.

 Built for Free Using: My Stampin Blog
Thanks for stopping by My Stampin’ Space.  I hope you enjoyed this card.  I envision this in so many color combo’s, using a variety of our fabulous Designer Series Papers.  I know that I will be making more cards just like this.   What color combo will you choose to make this card?  Please leave me a comment and let me know.
And if you place an order with me, please know that I value each and every customer, and each order you place with me.
Nancy

Money Holder Tutorial

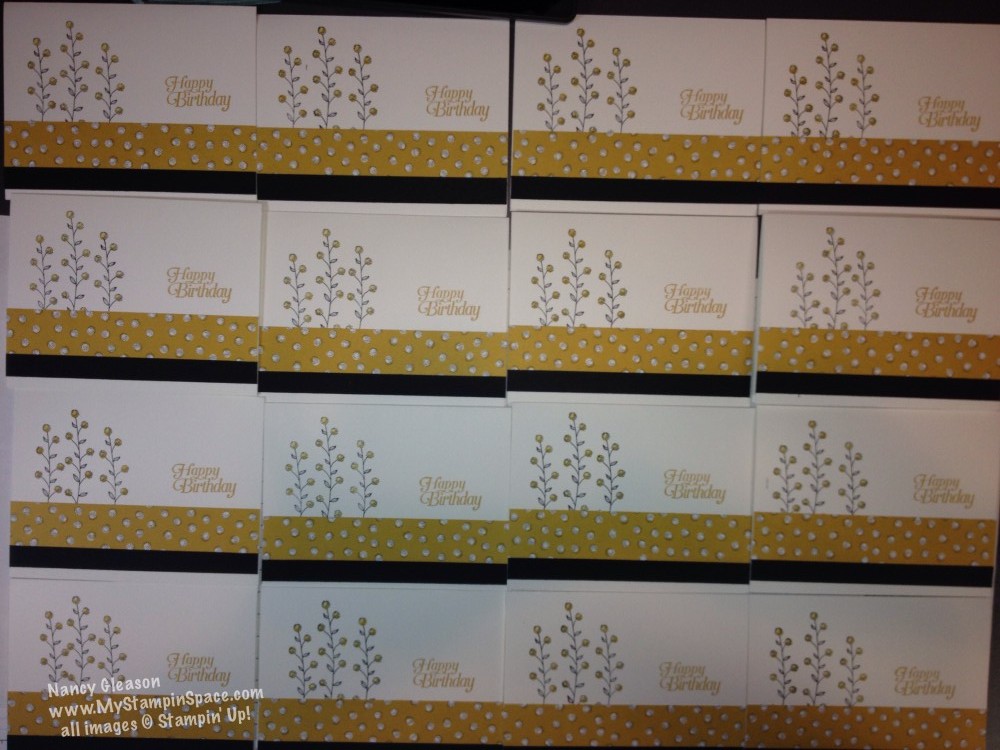
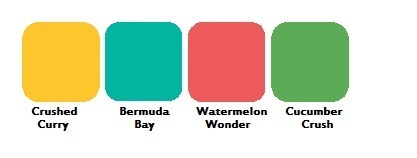
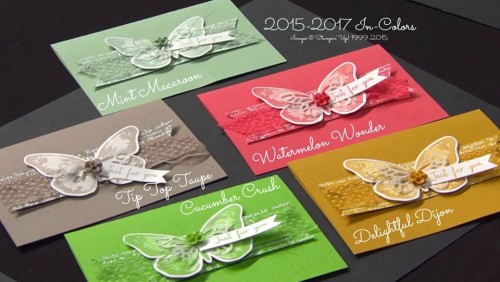
Yesterday was an exciting day, the Pals Blog Hop!  We featured projects showcasing the new 2015-17 In Colors.  I hope you were able to hop from blog to blog and see all the various projects using these colors.   You can see my post here.

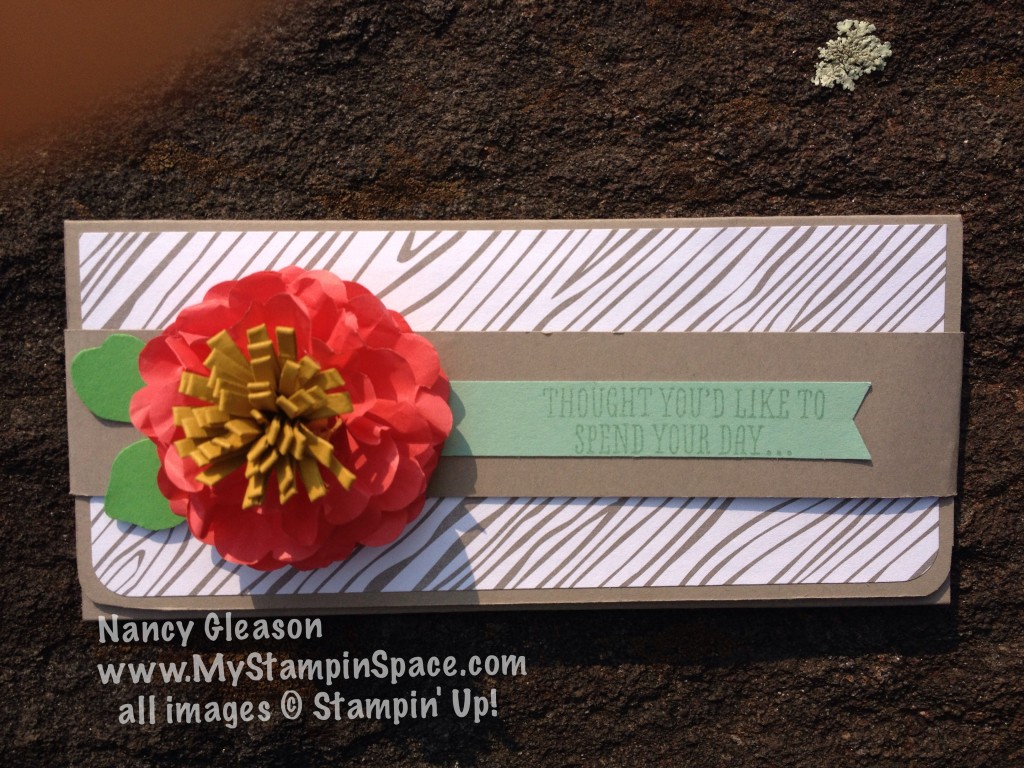
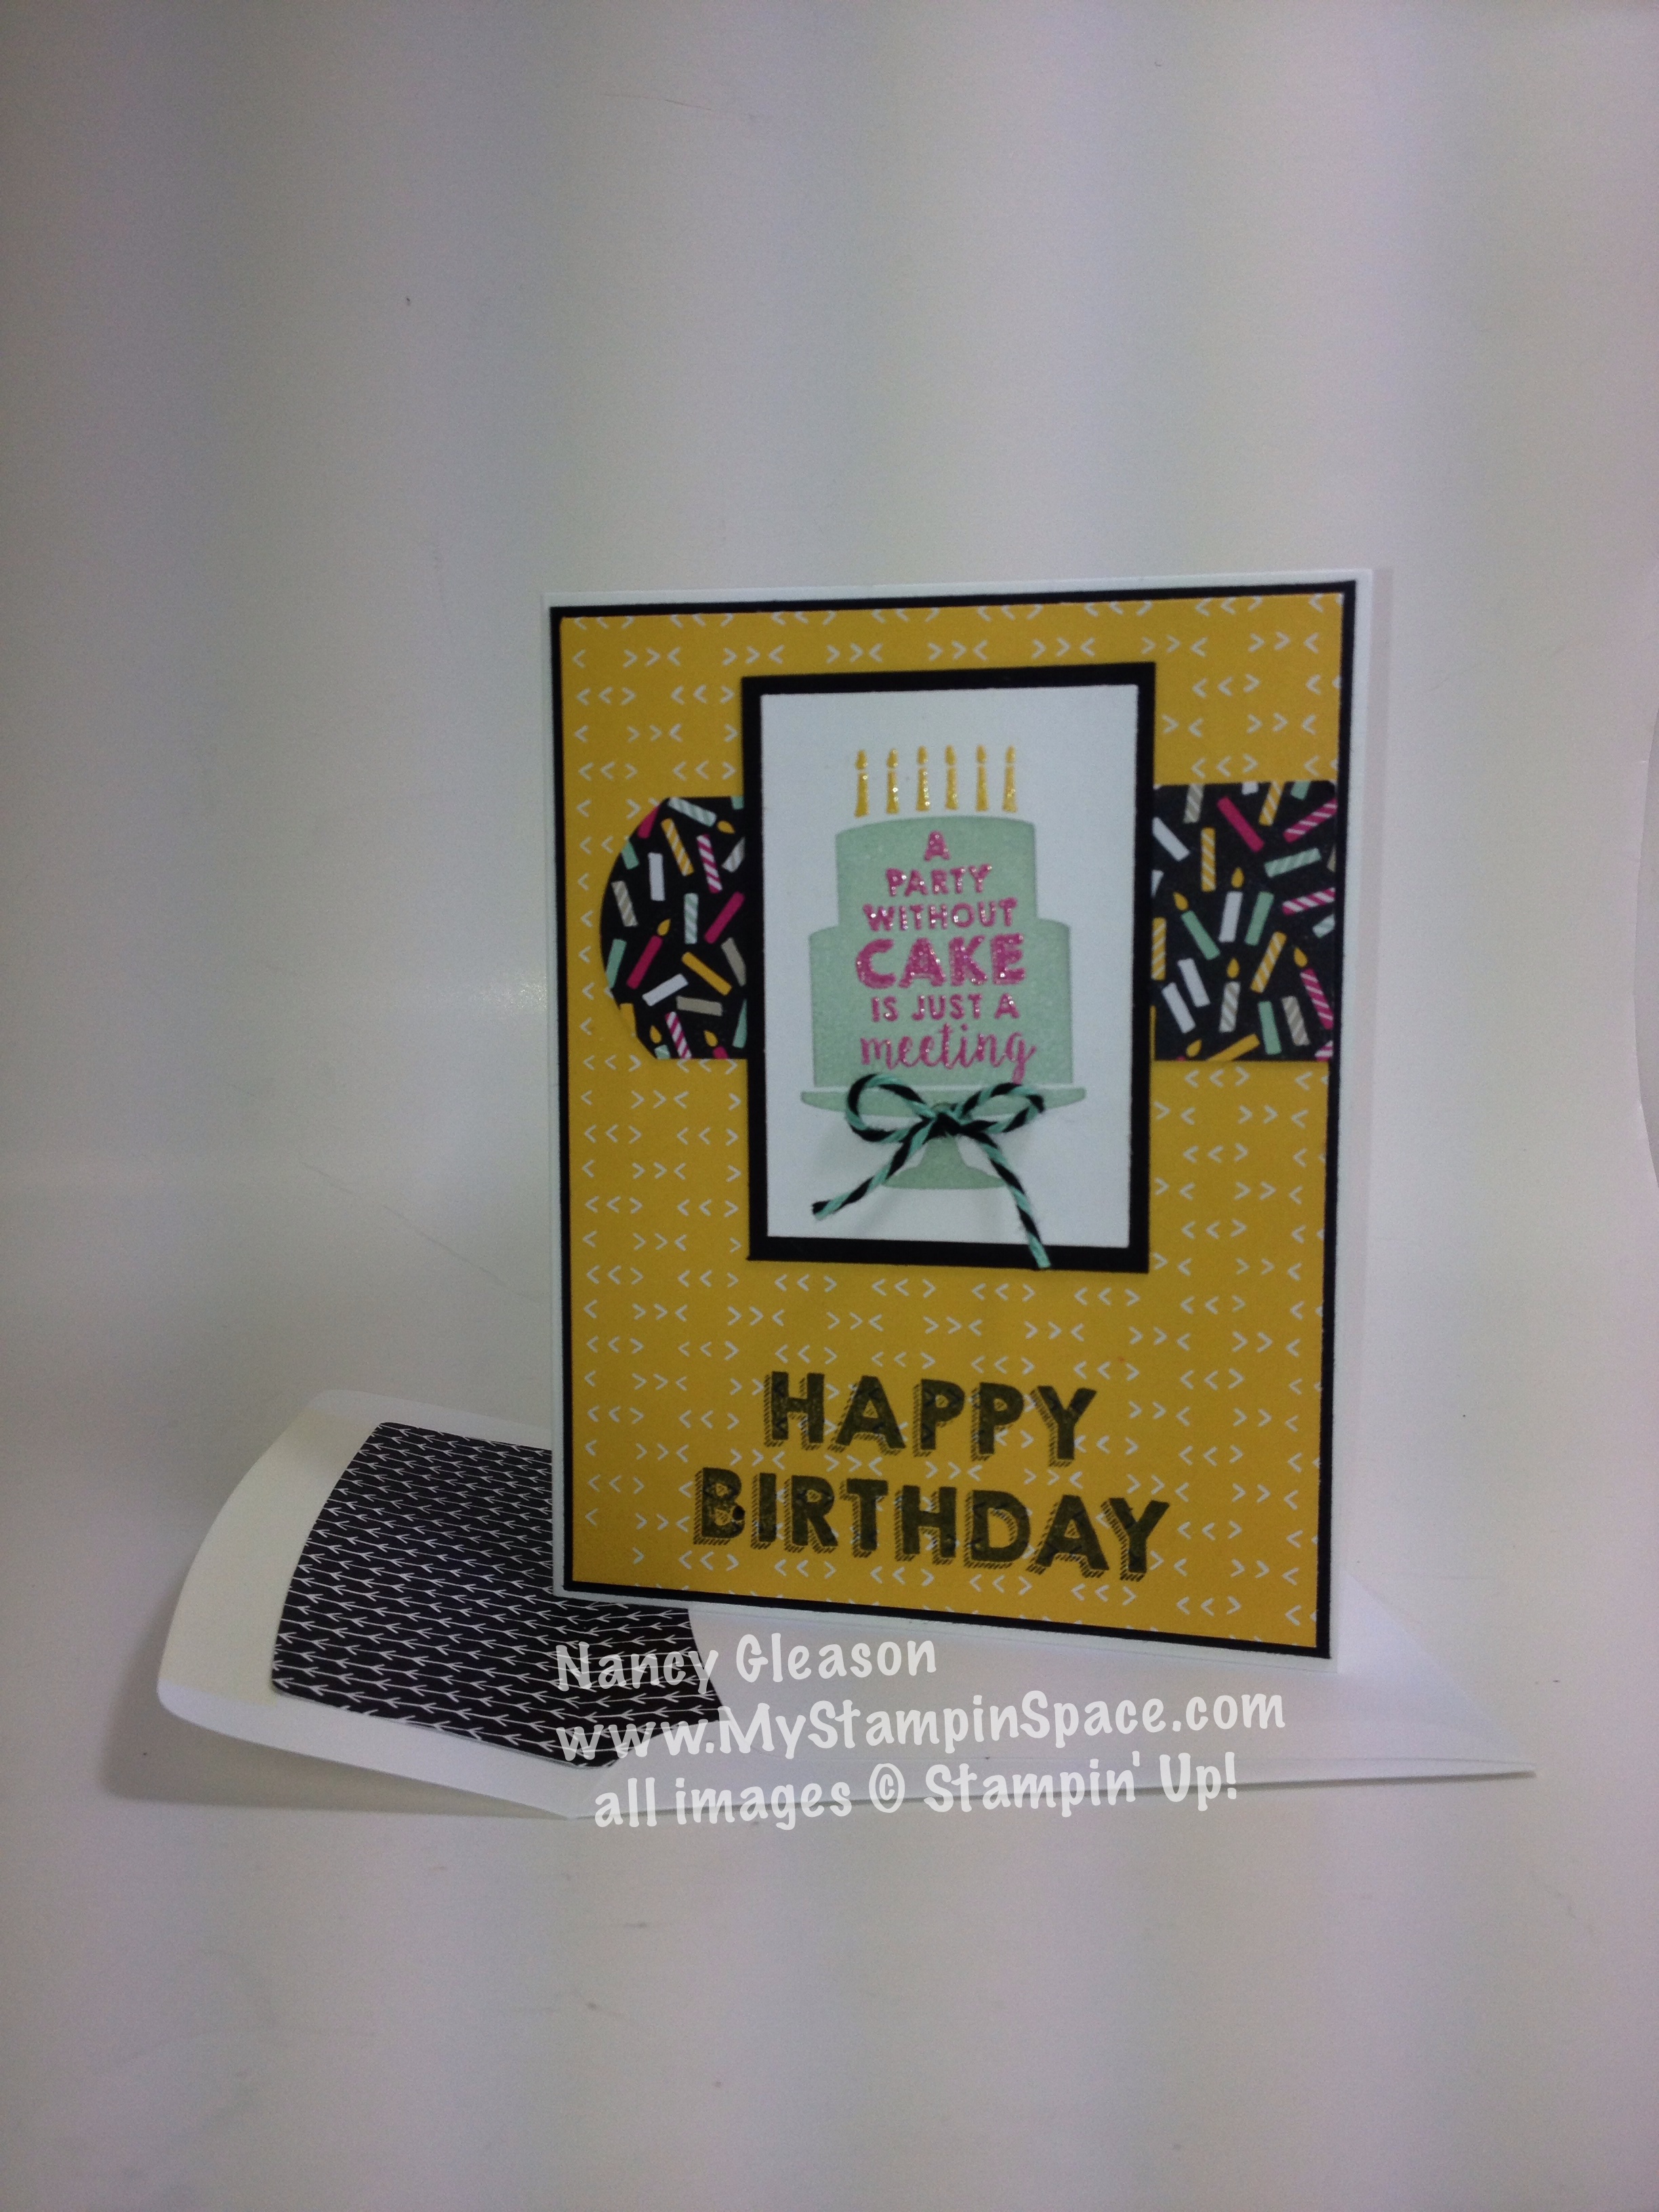
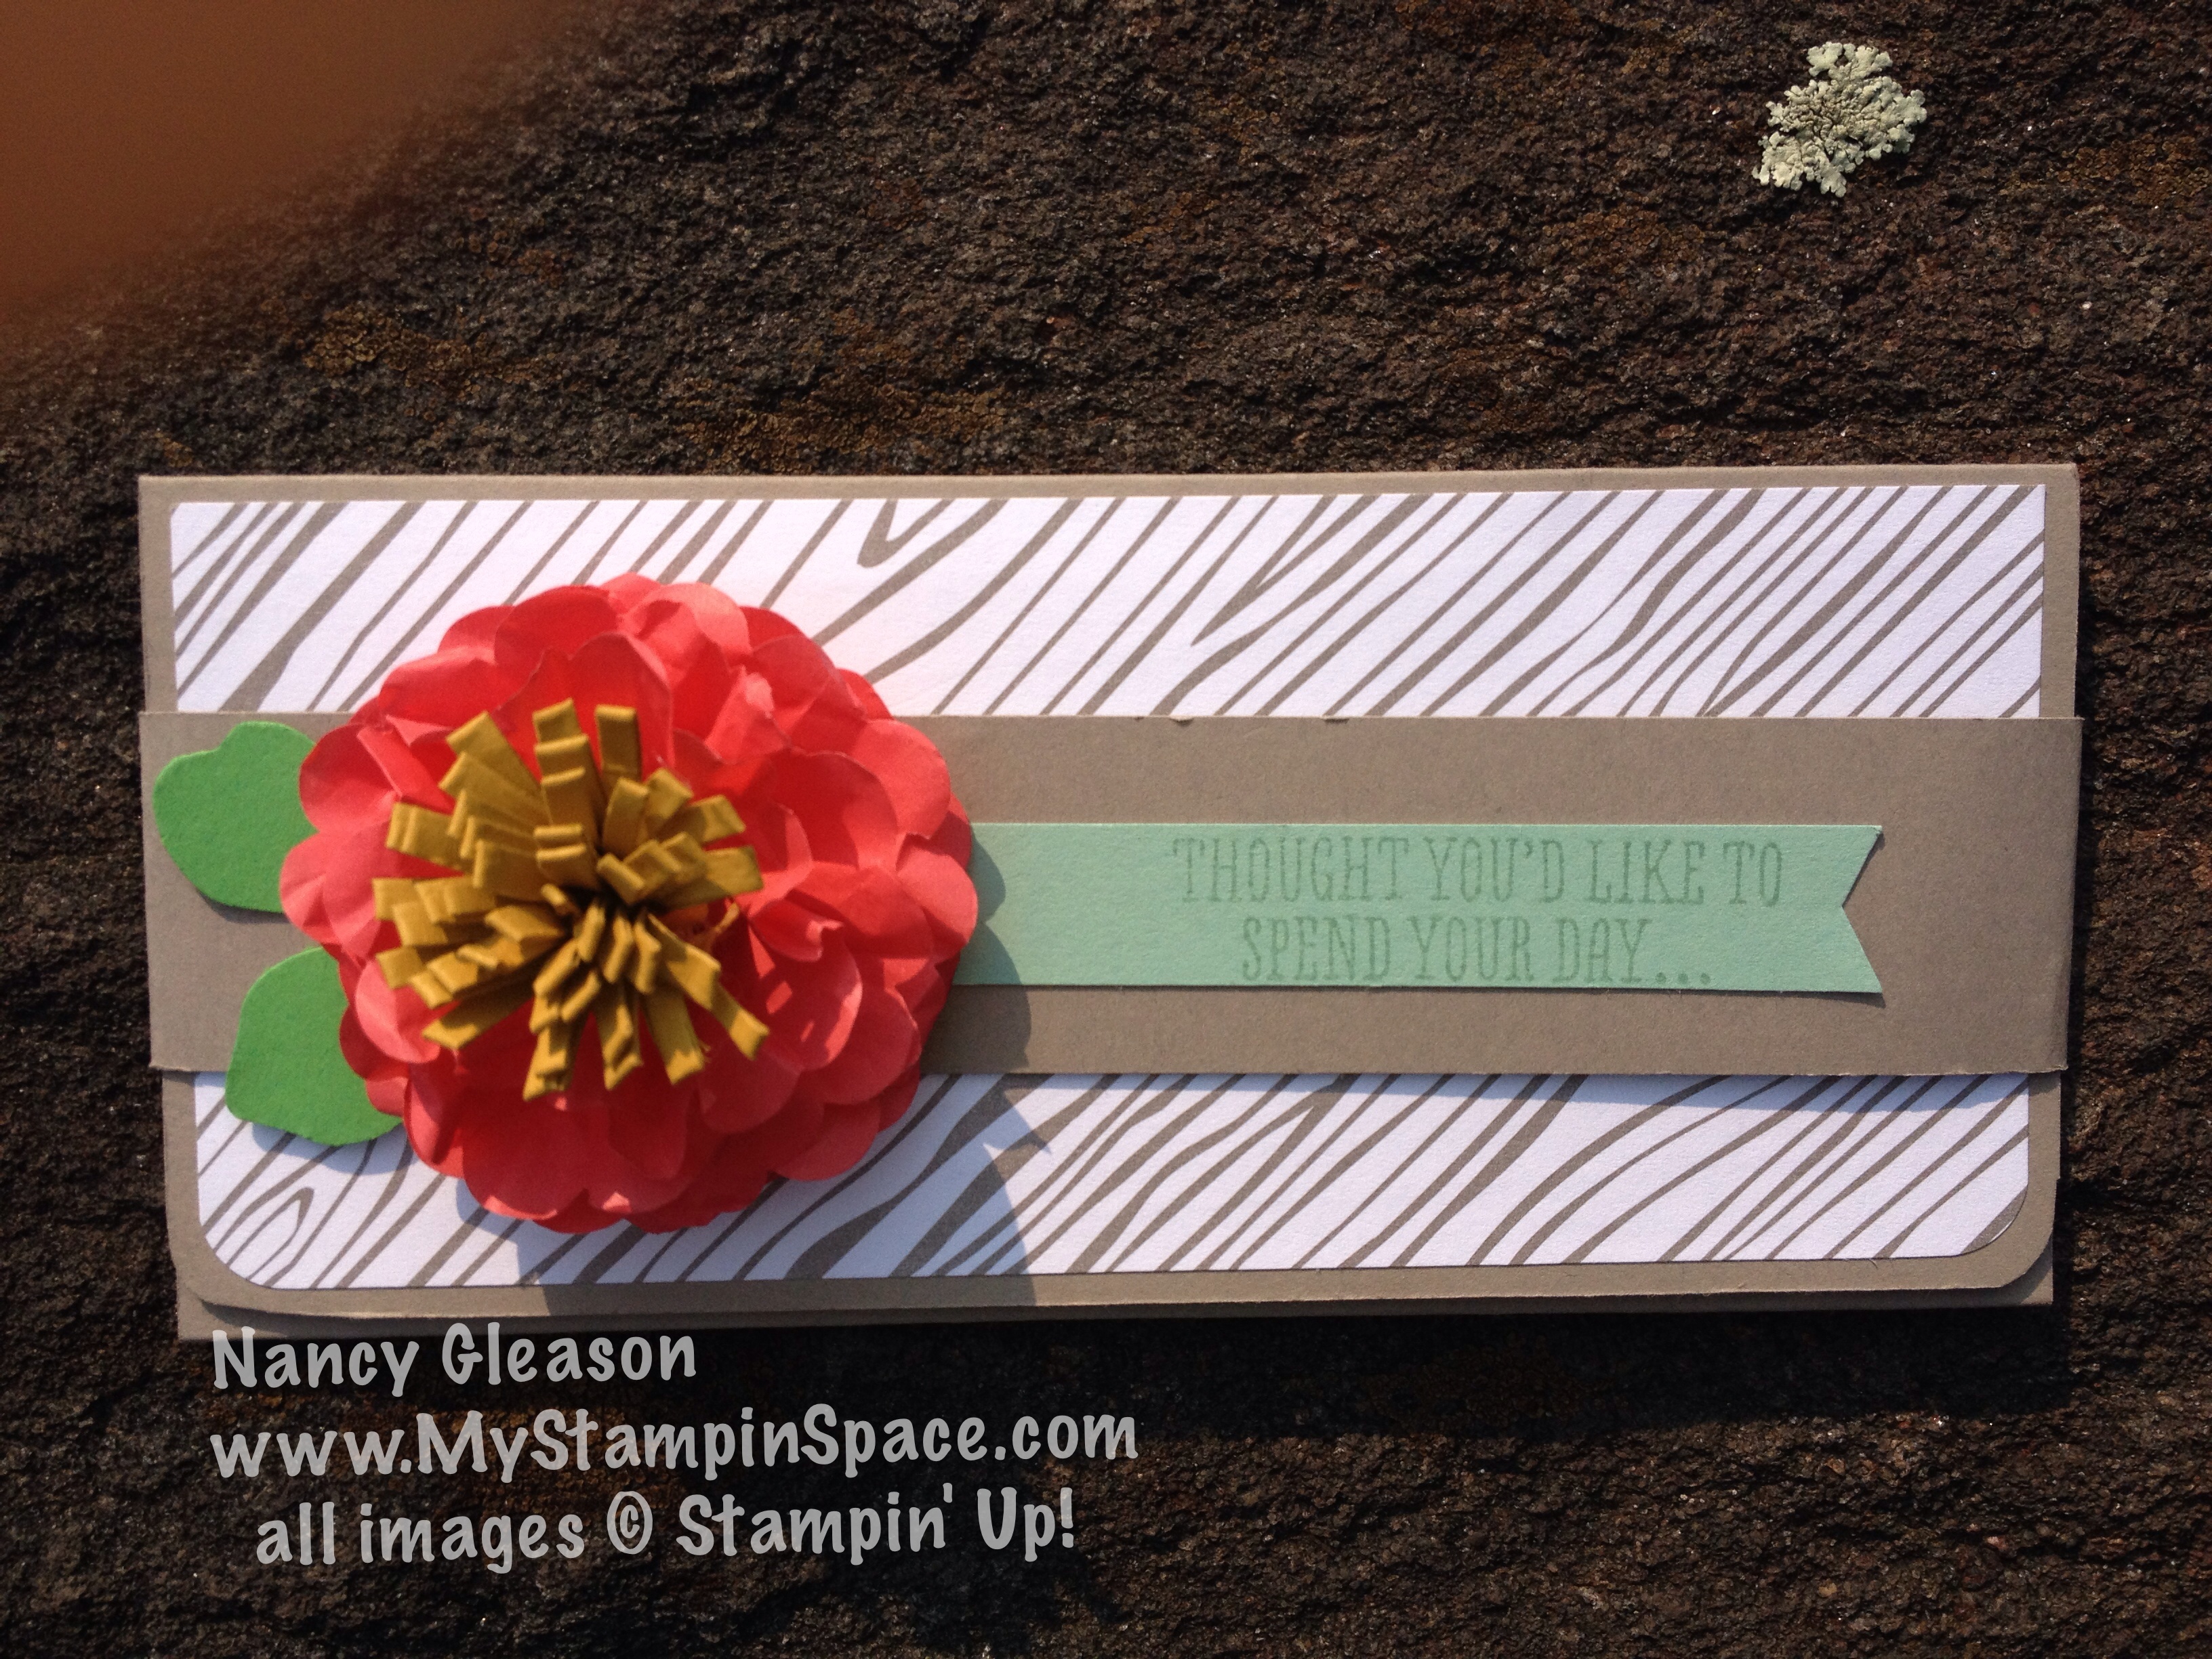
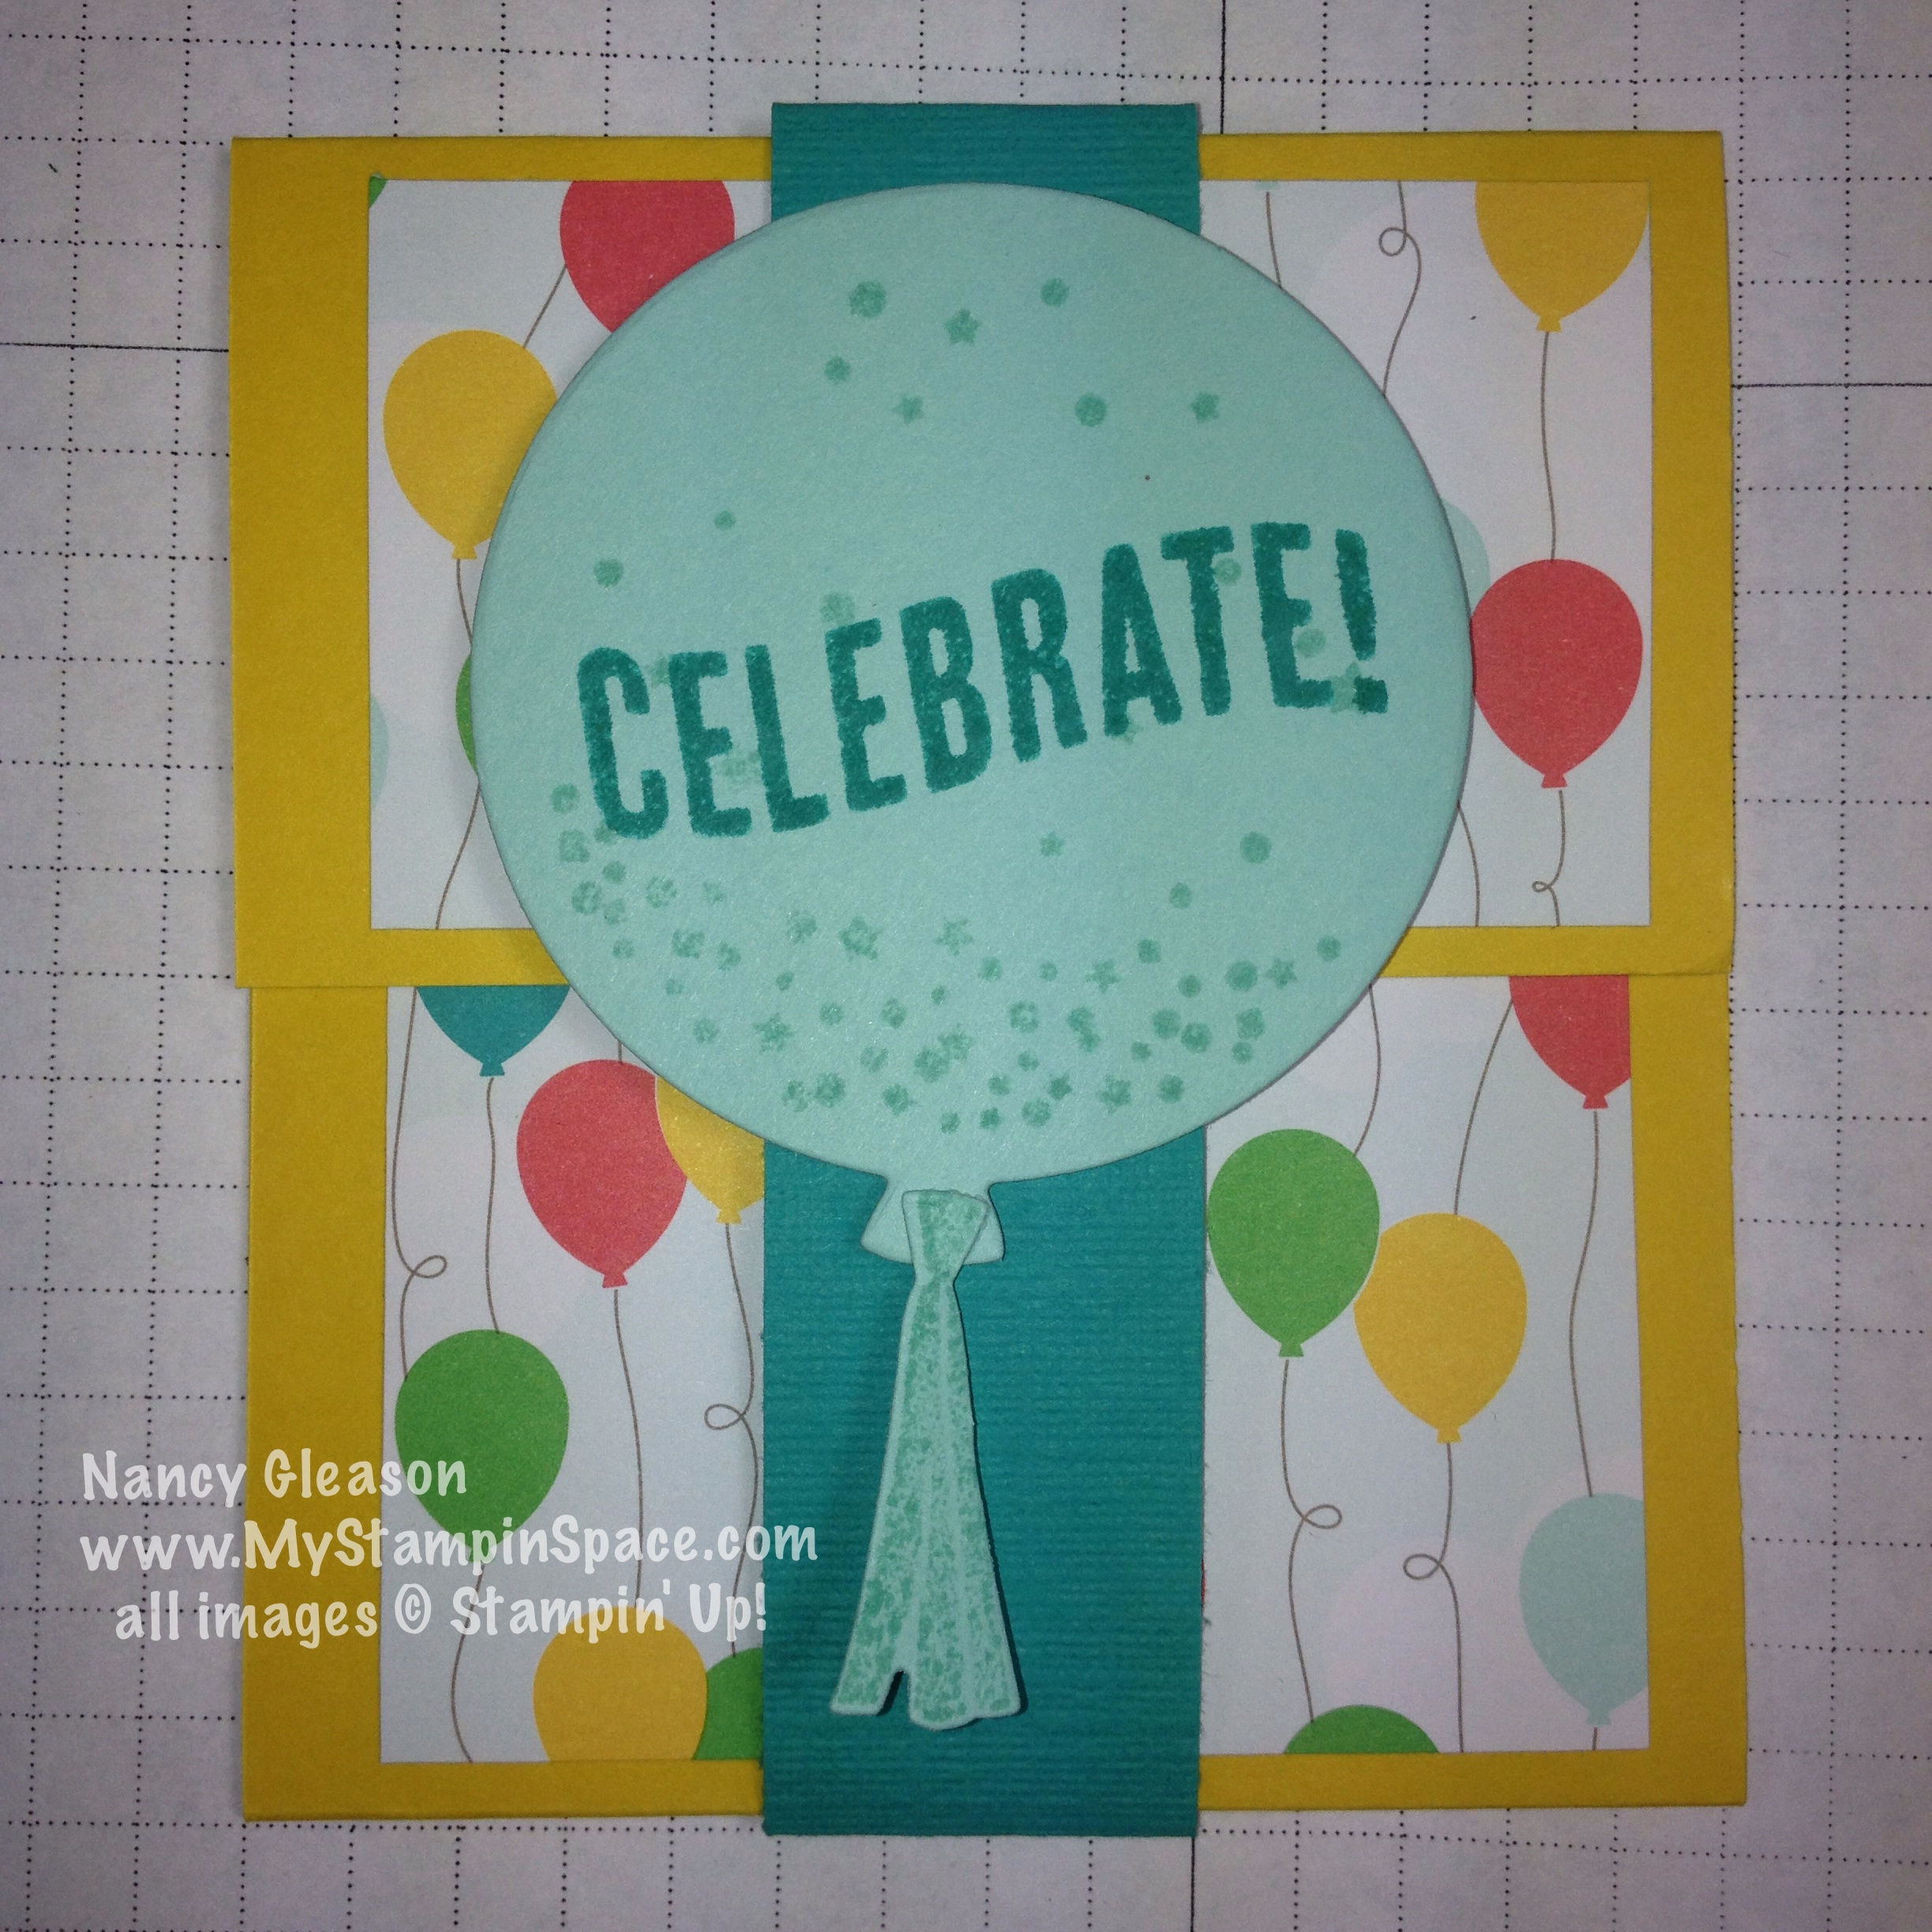
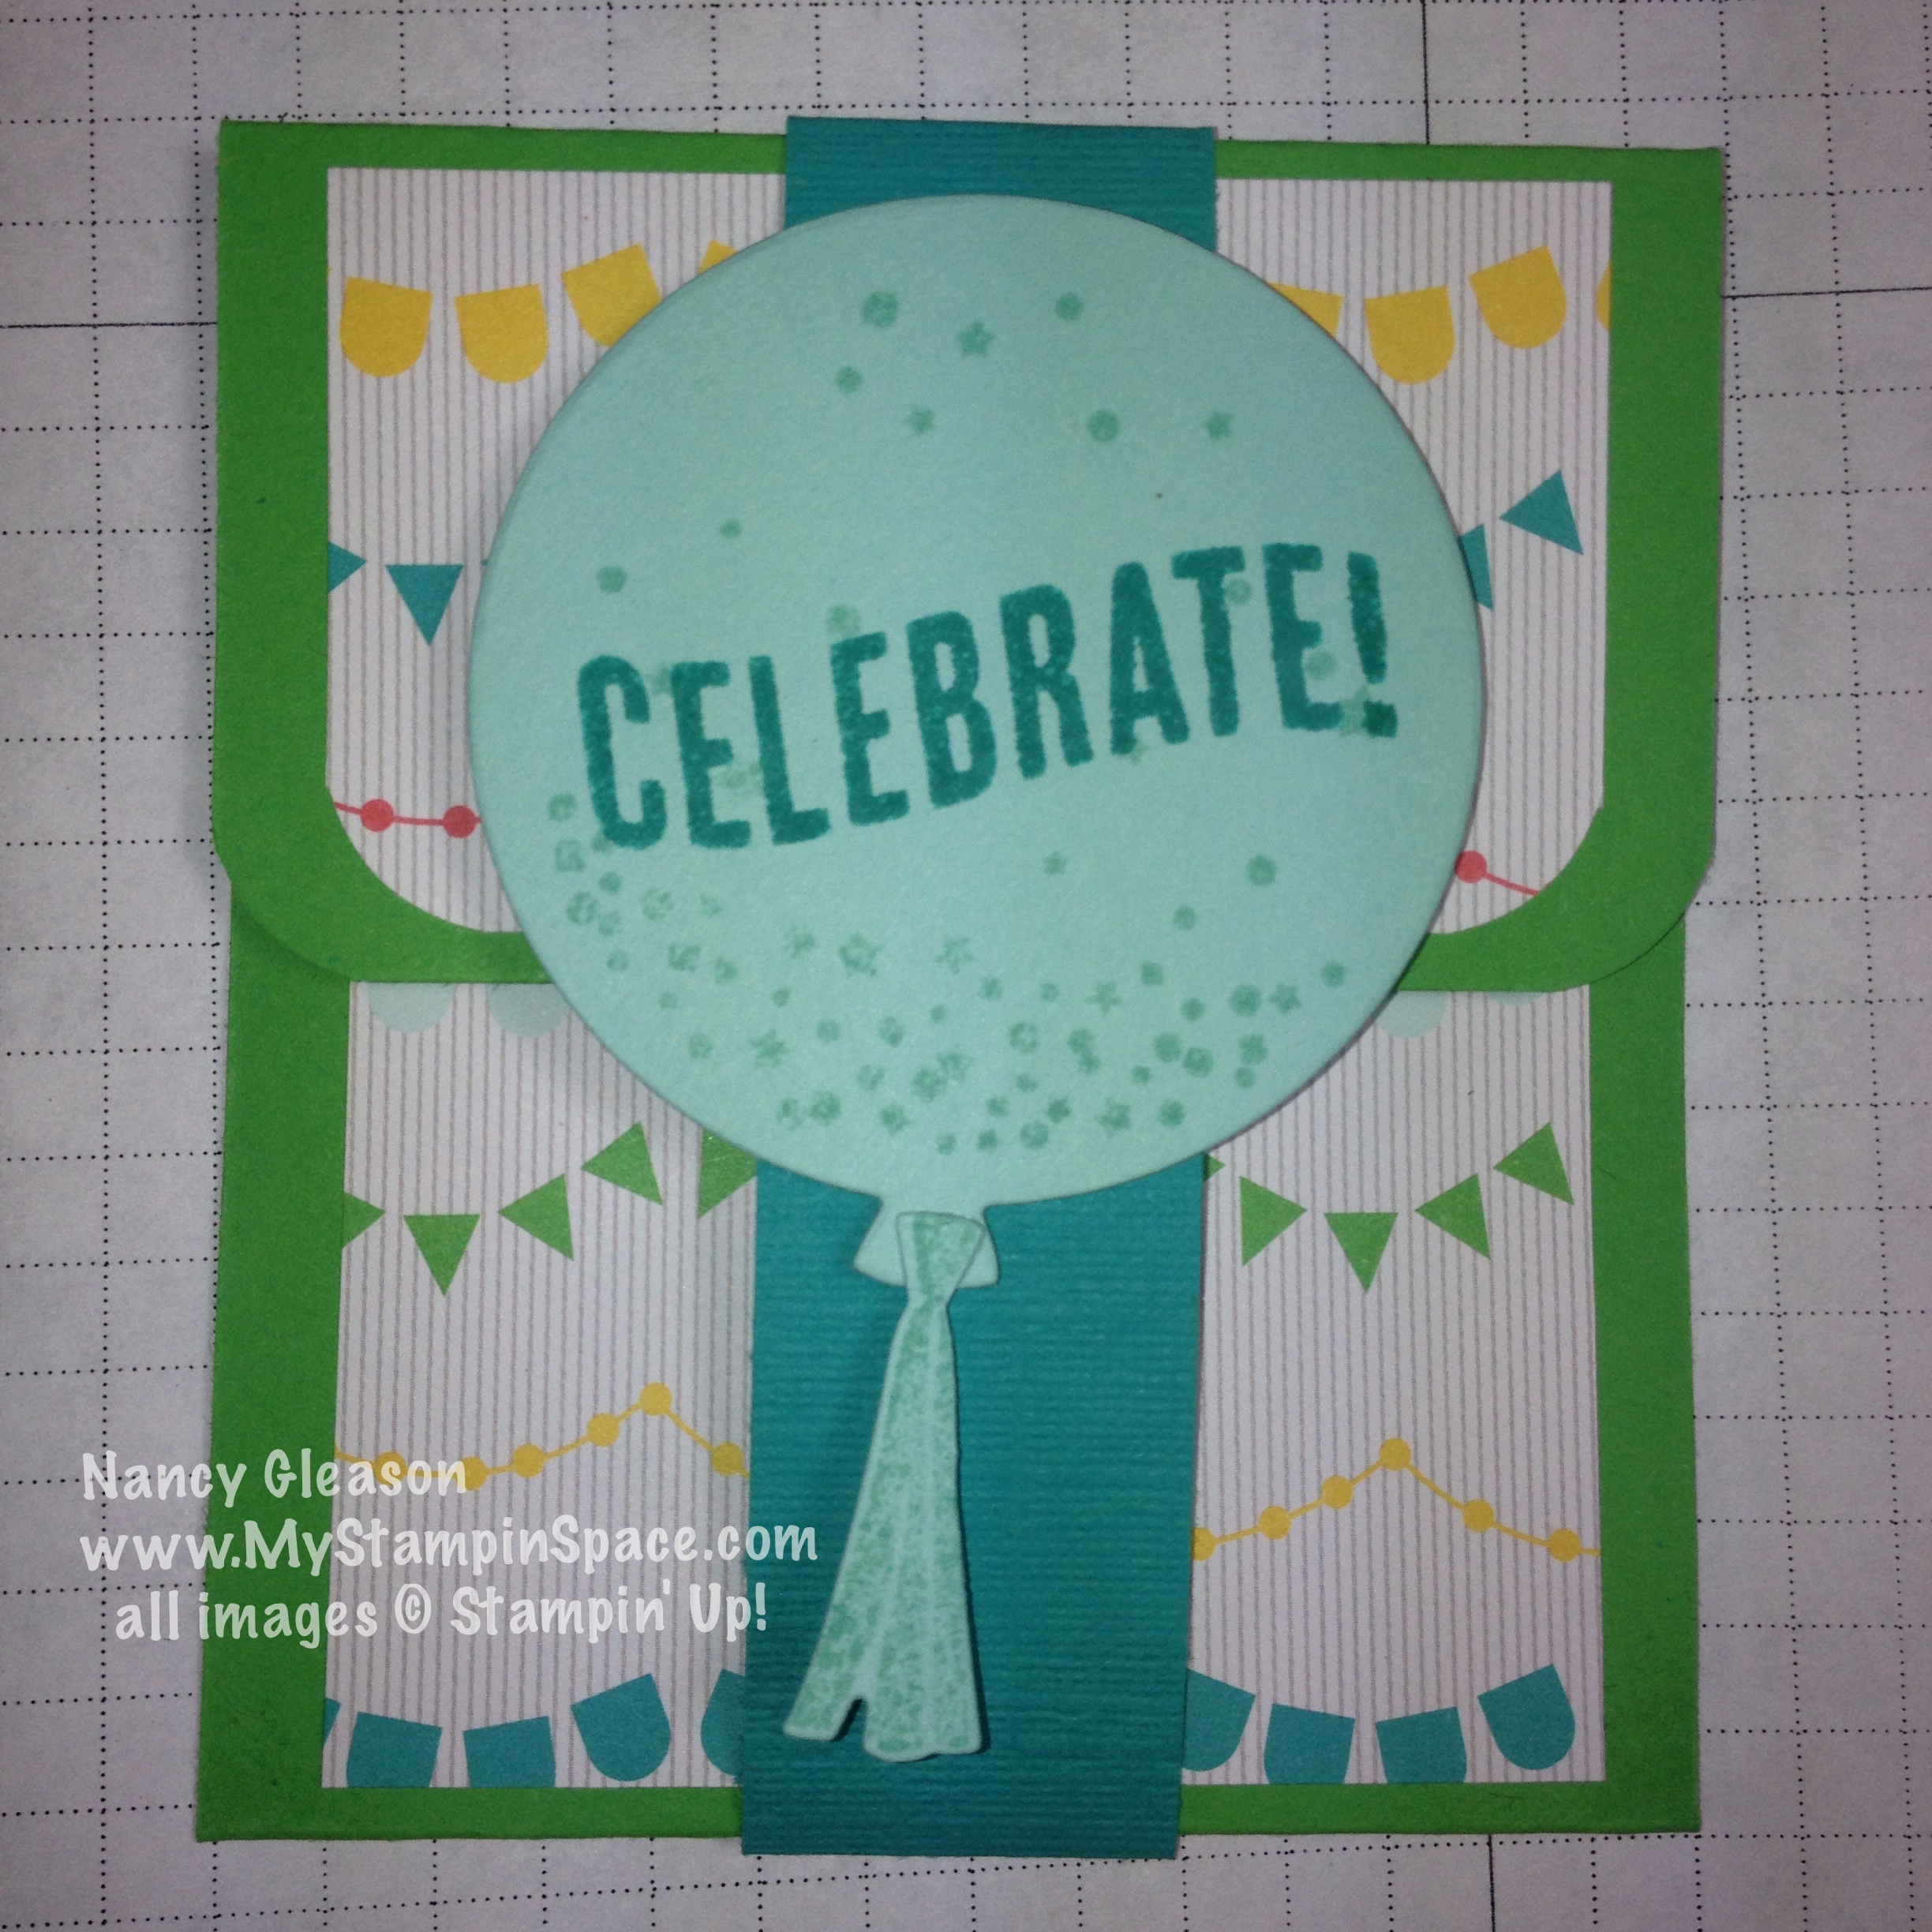
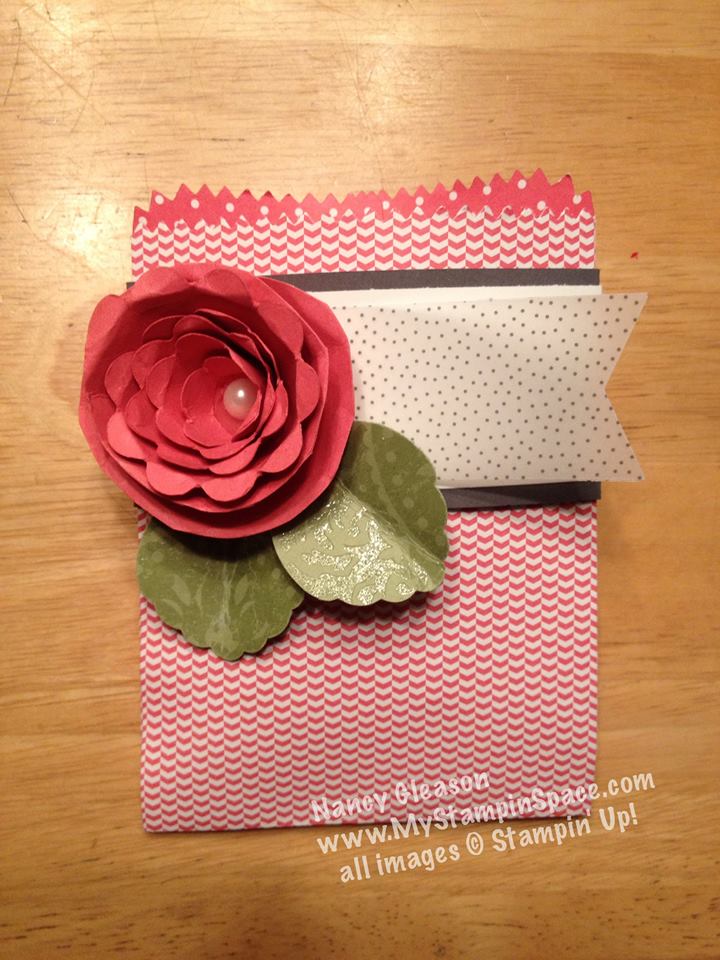
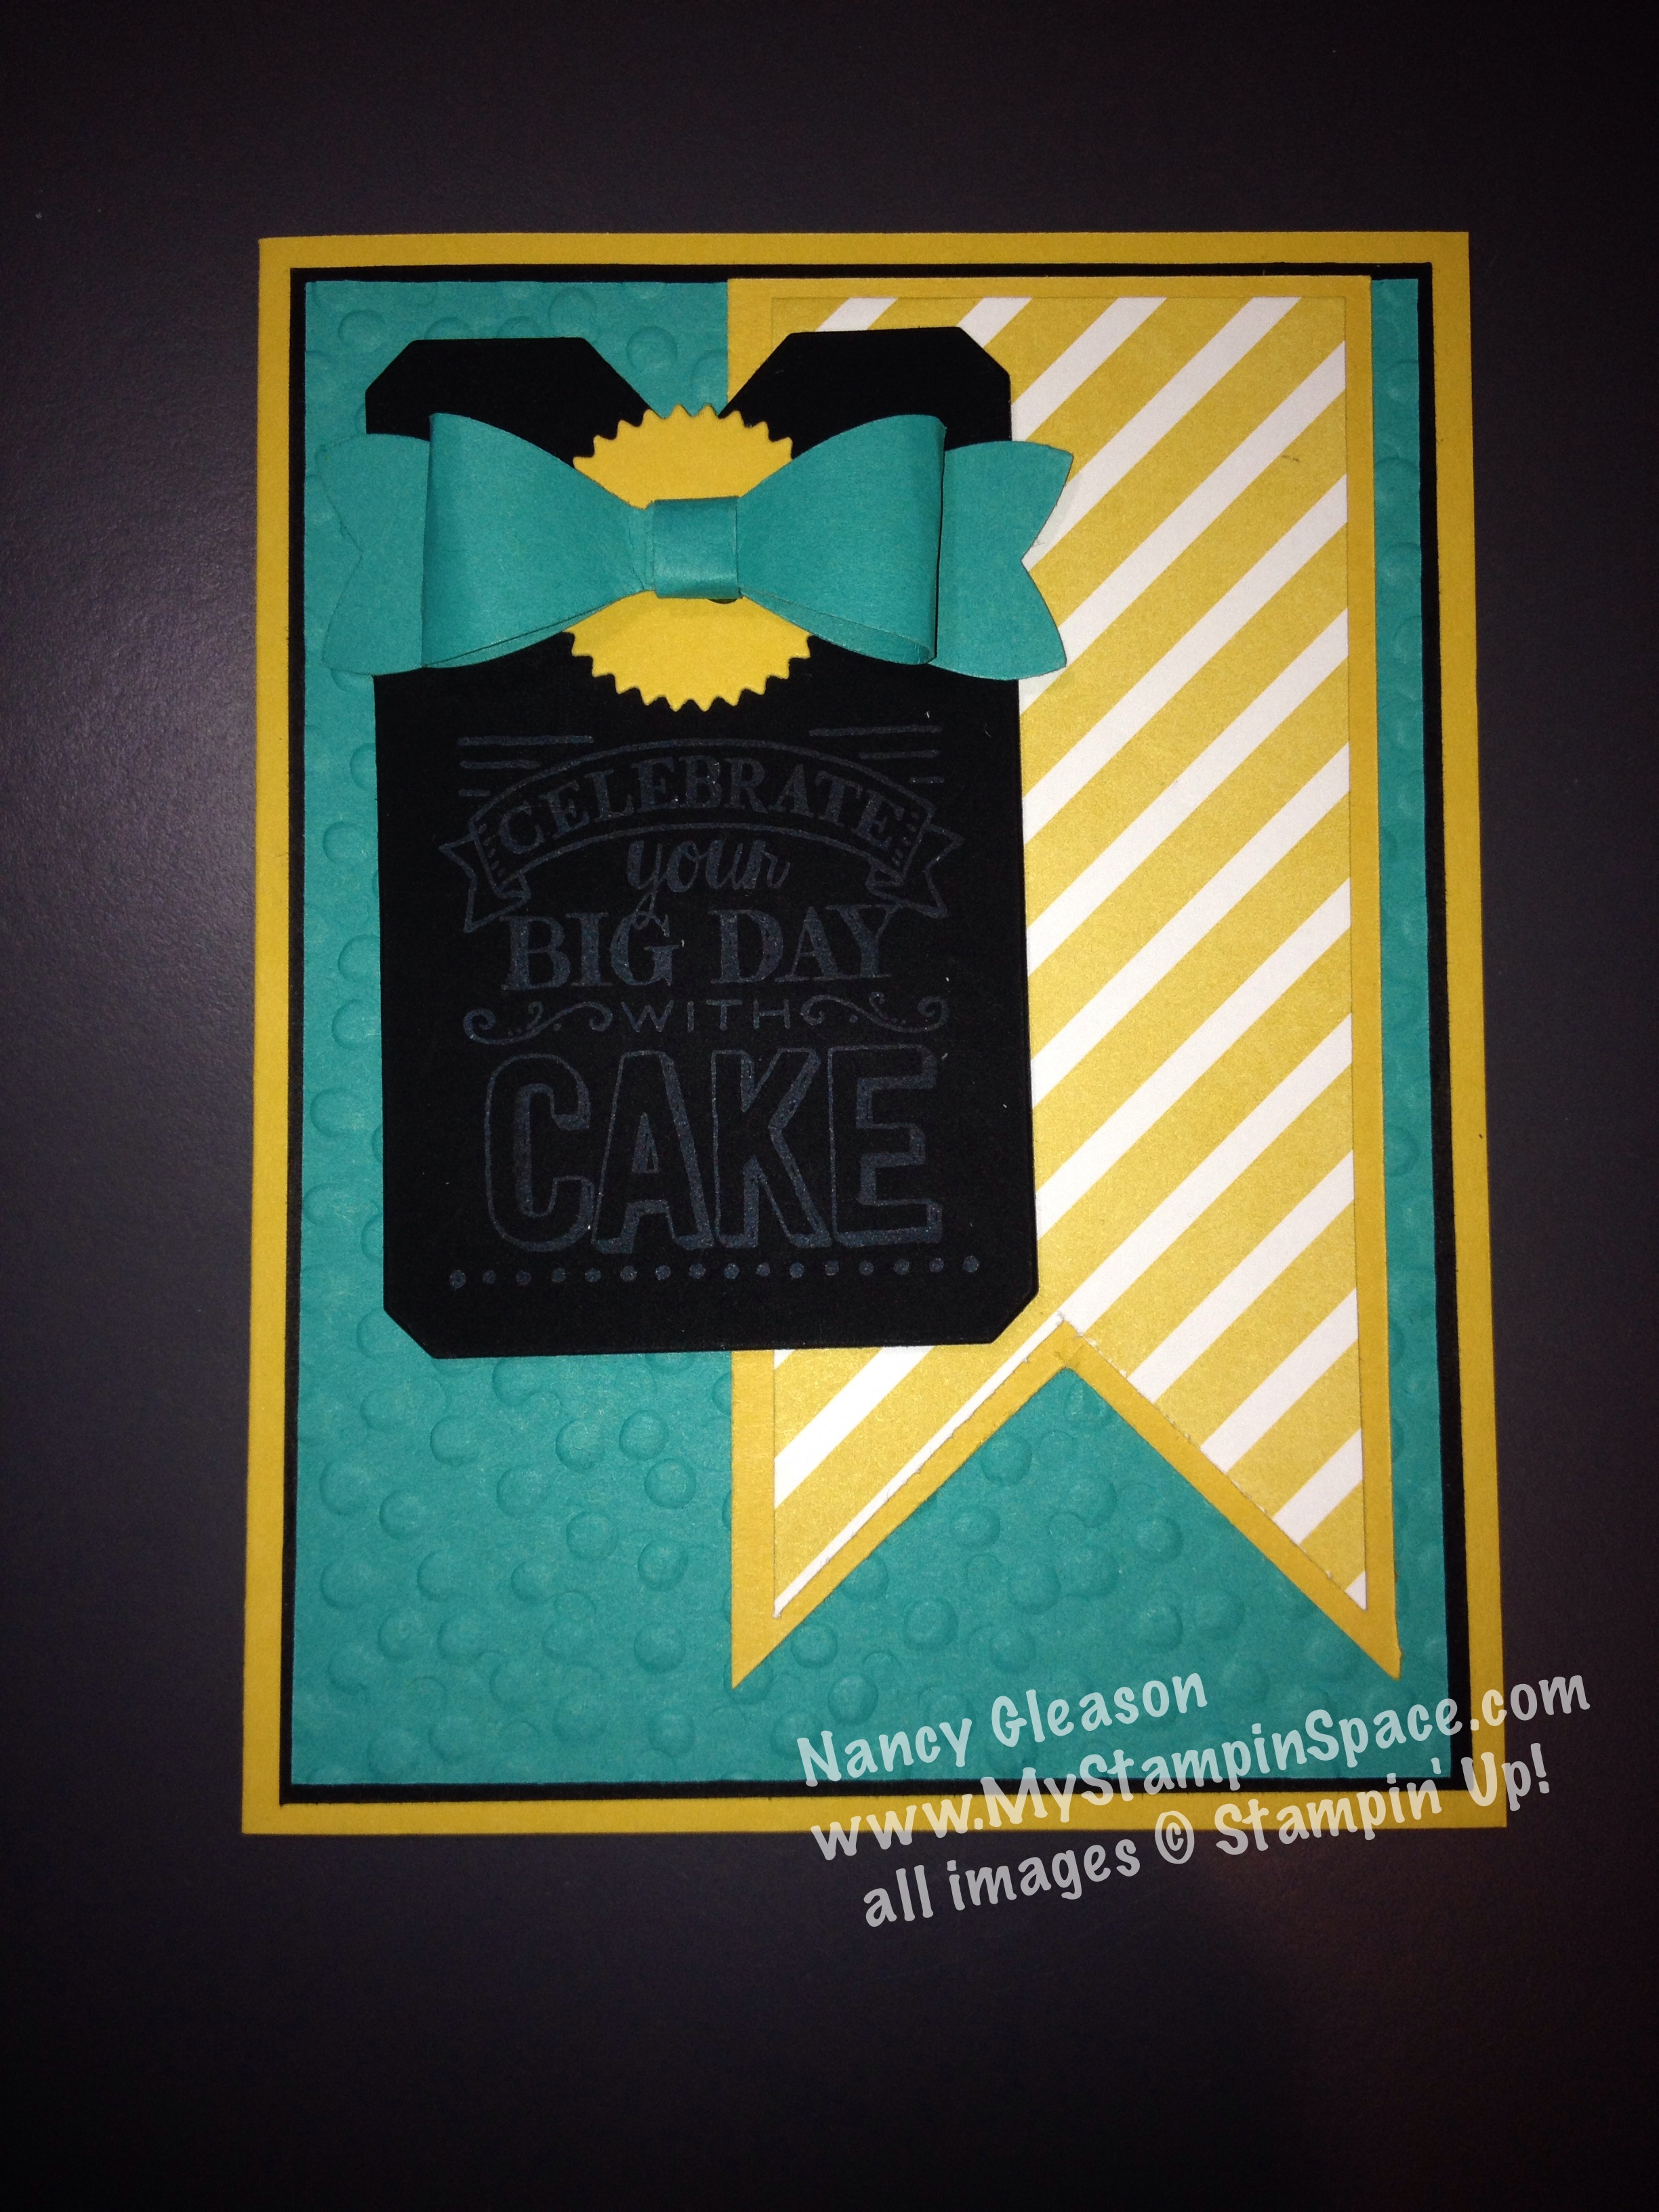
I featured a project modeled after a gift card holder that is my go-to design when I need a quick & easy gift card holder and decorate it for any occasion.  But what about when you want to give cash?  I adapted the gift card holder to fit a dollar bill.  Here it is:

In Color Money Holder

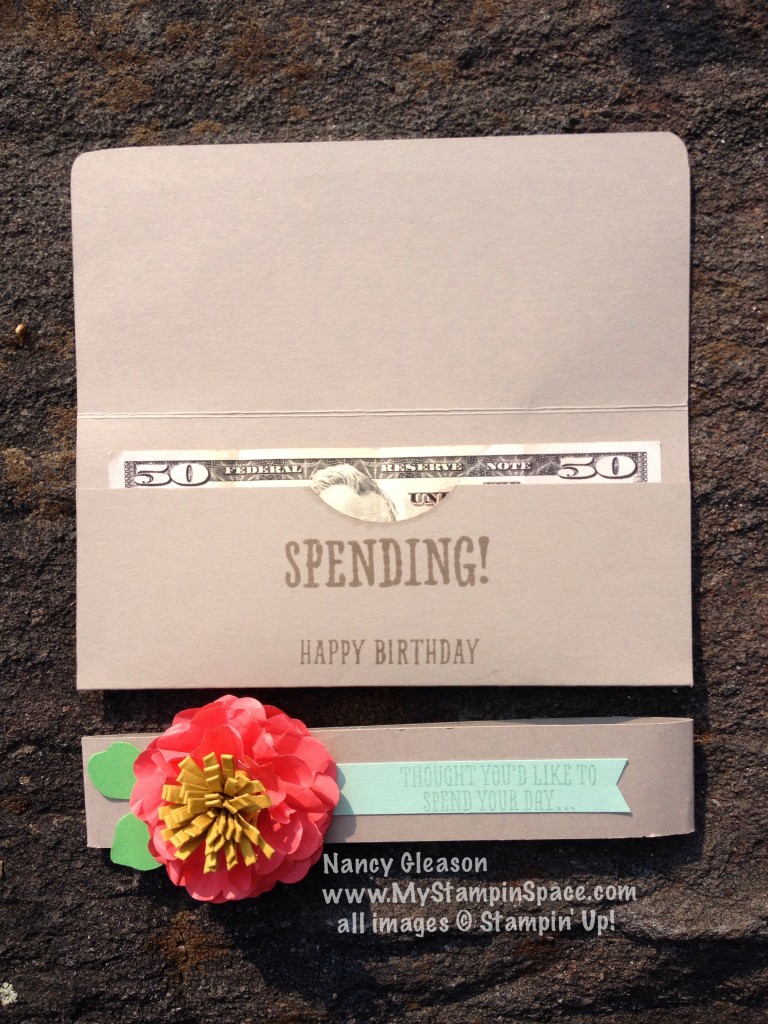
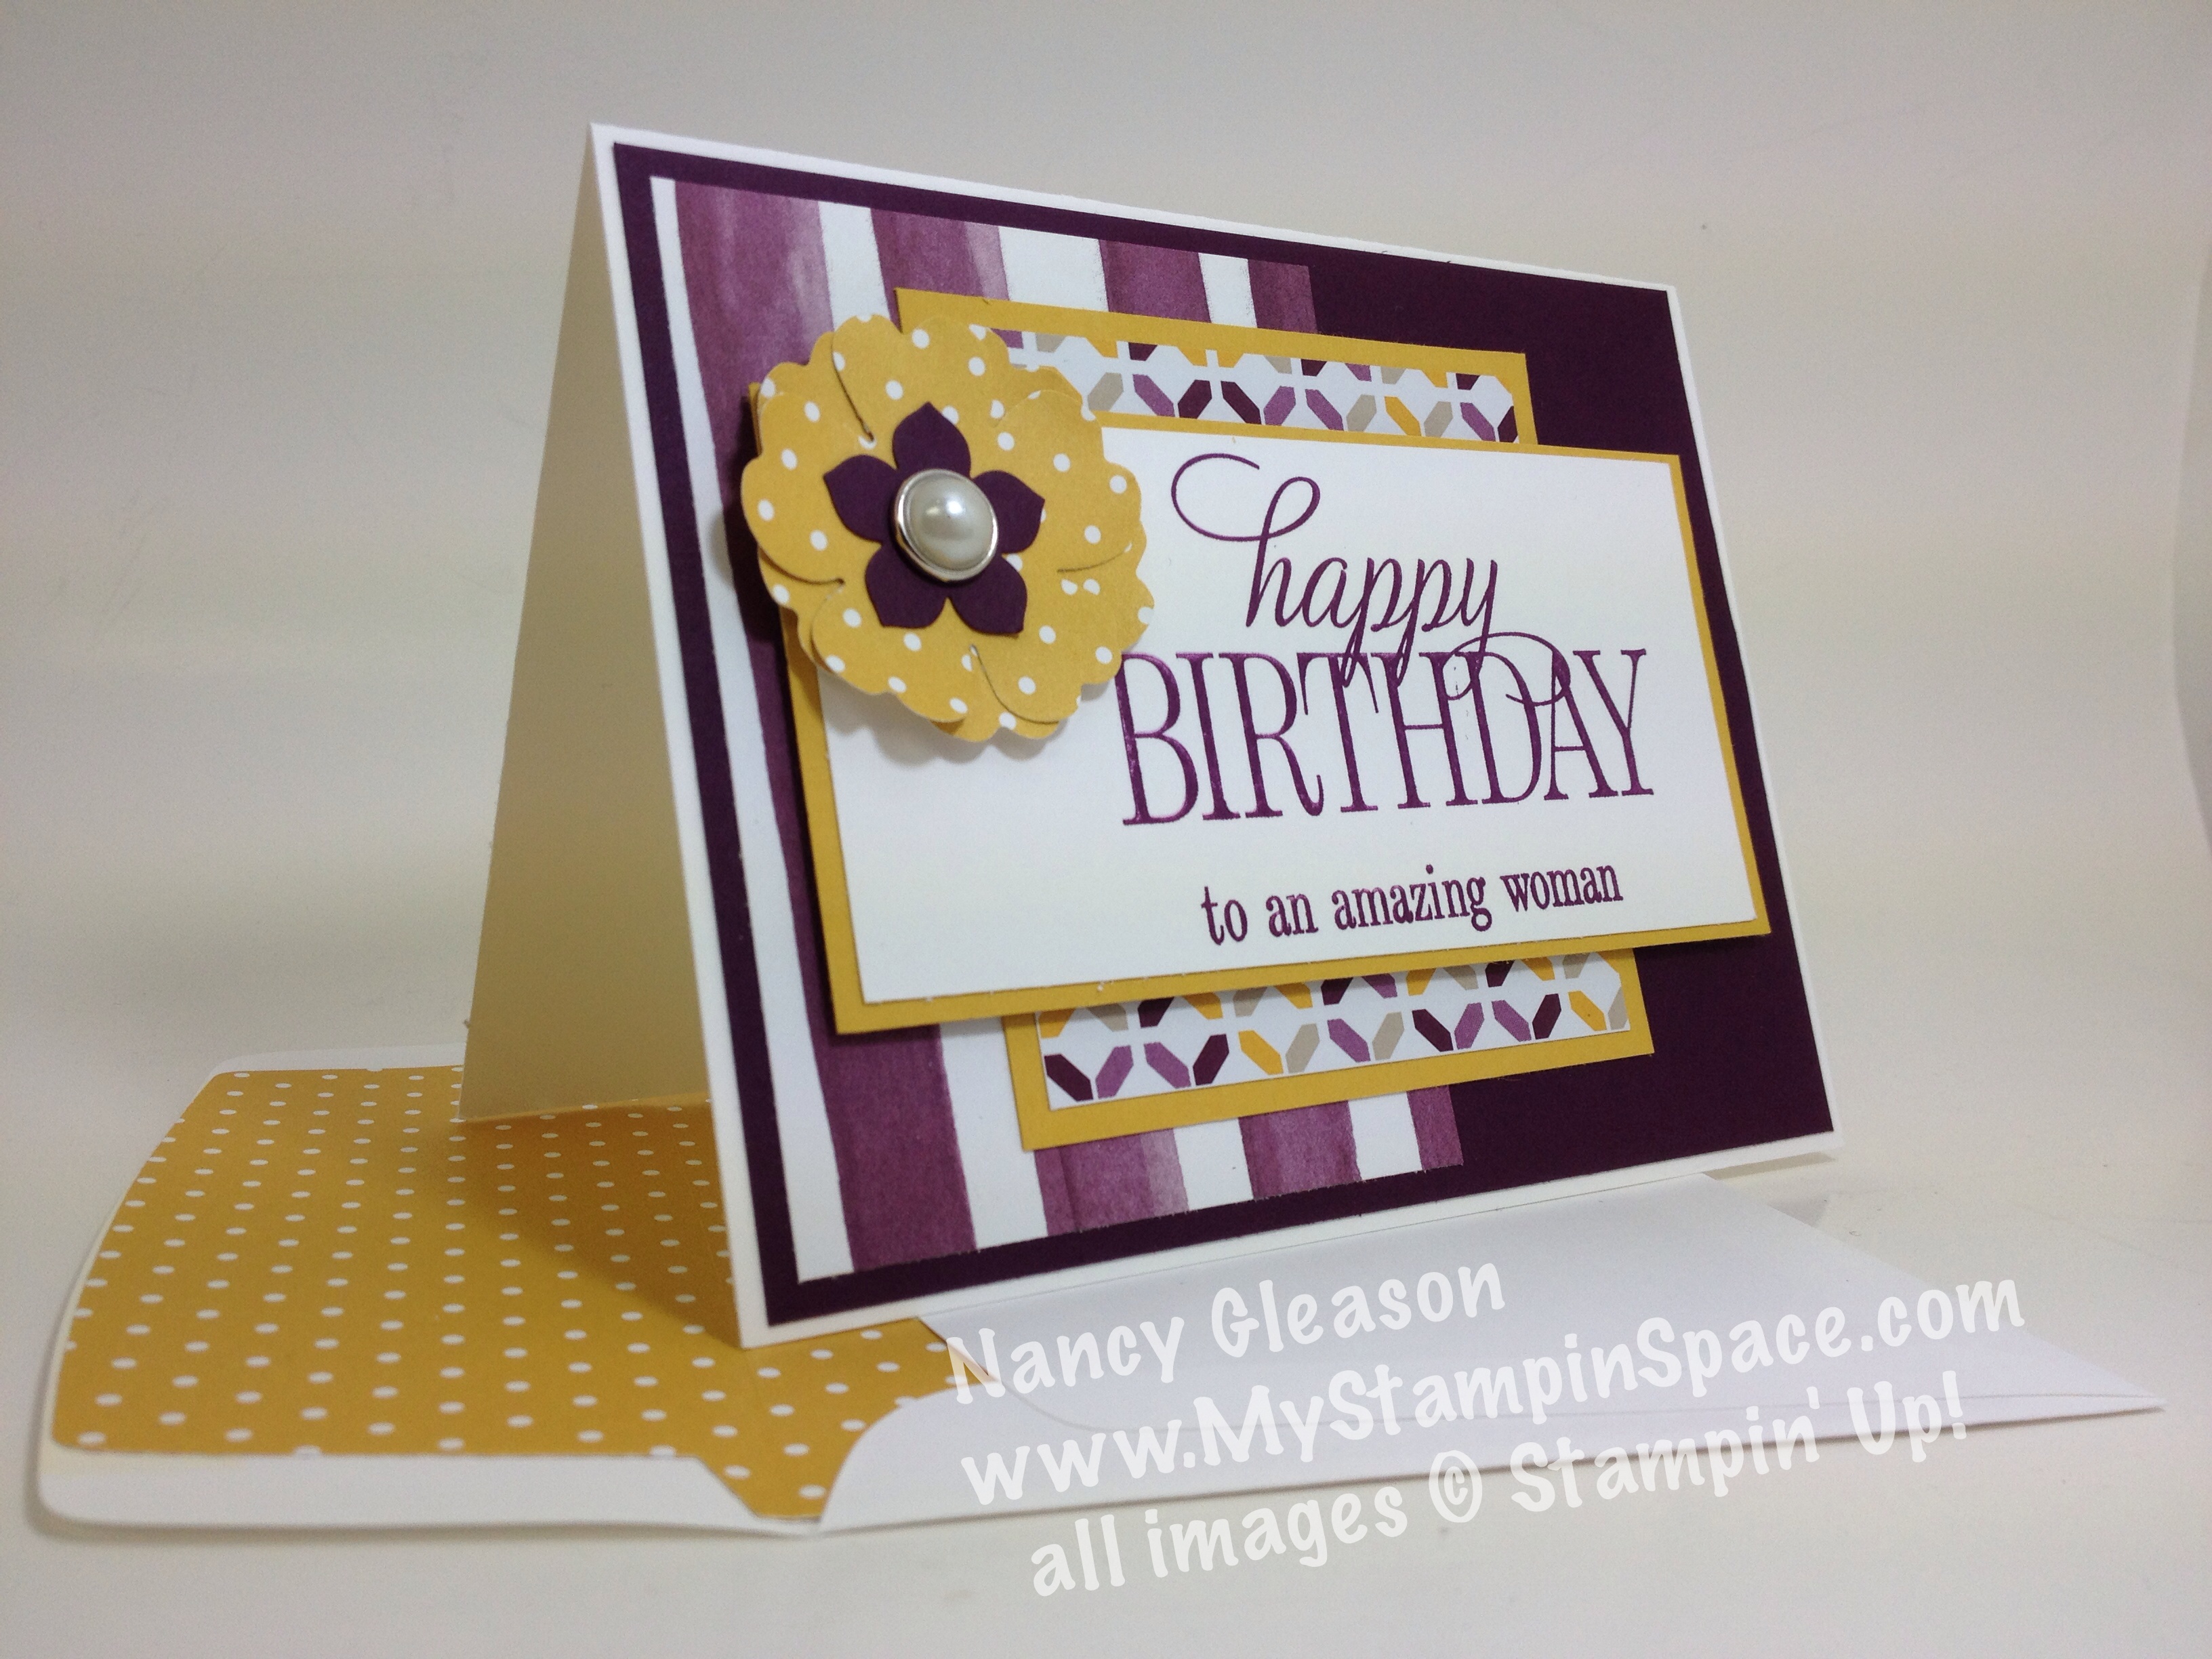
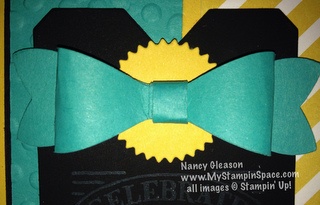
A belly band holds the flap closed.  Just slip it off and here it is open:

money holder open

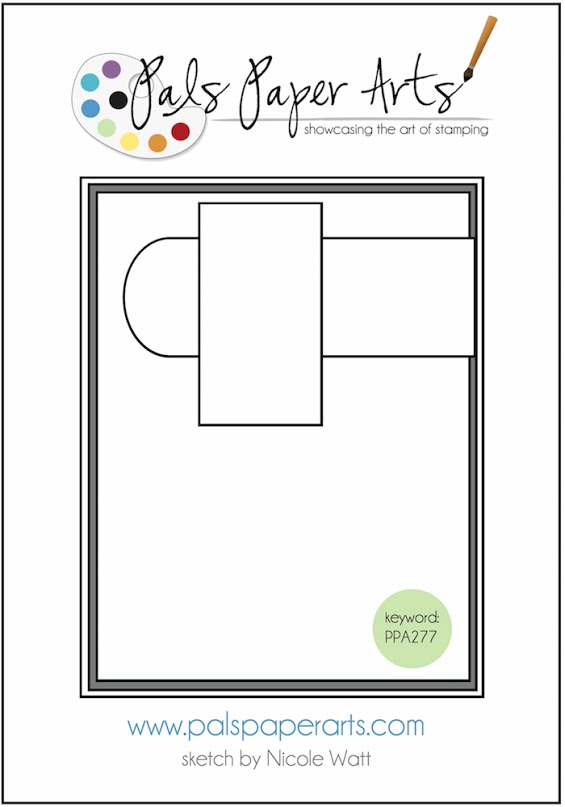
Well, I promised I would share a step-by-step tutorial and here it is: (Keep in mind that this pattern can be adapted for any occasion you want to give a gift of cash – any color, any patterned paper, any embellishment YOU want to customize it to the occasion and the recipient.  Just keep the same measurements.)

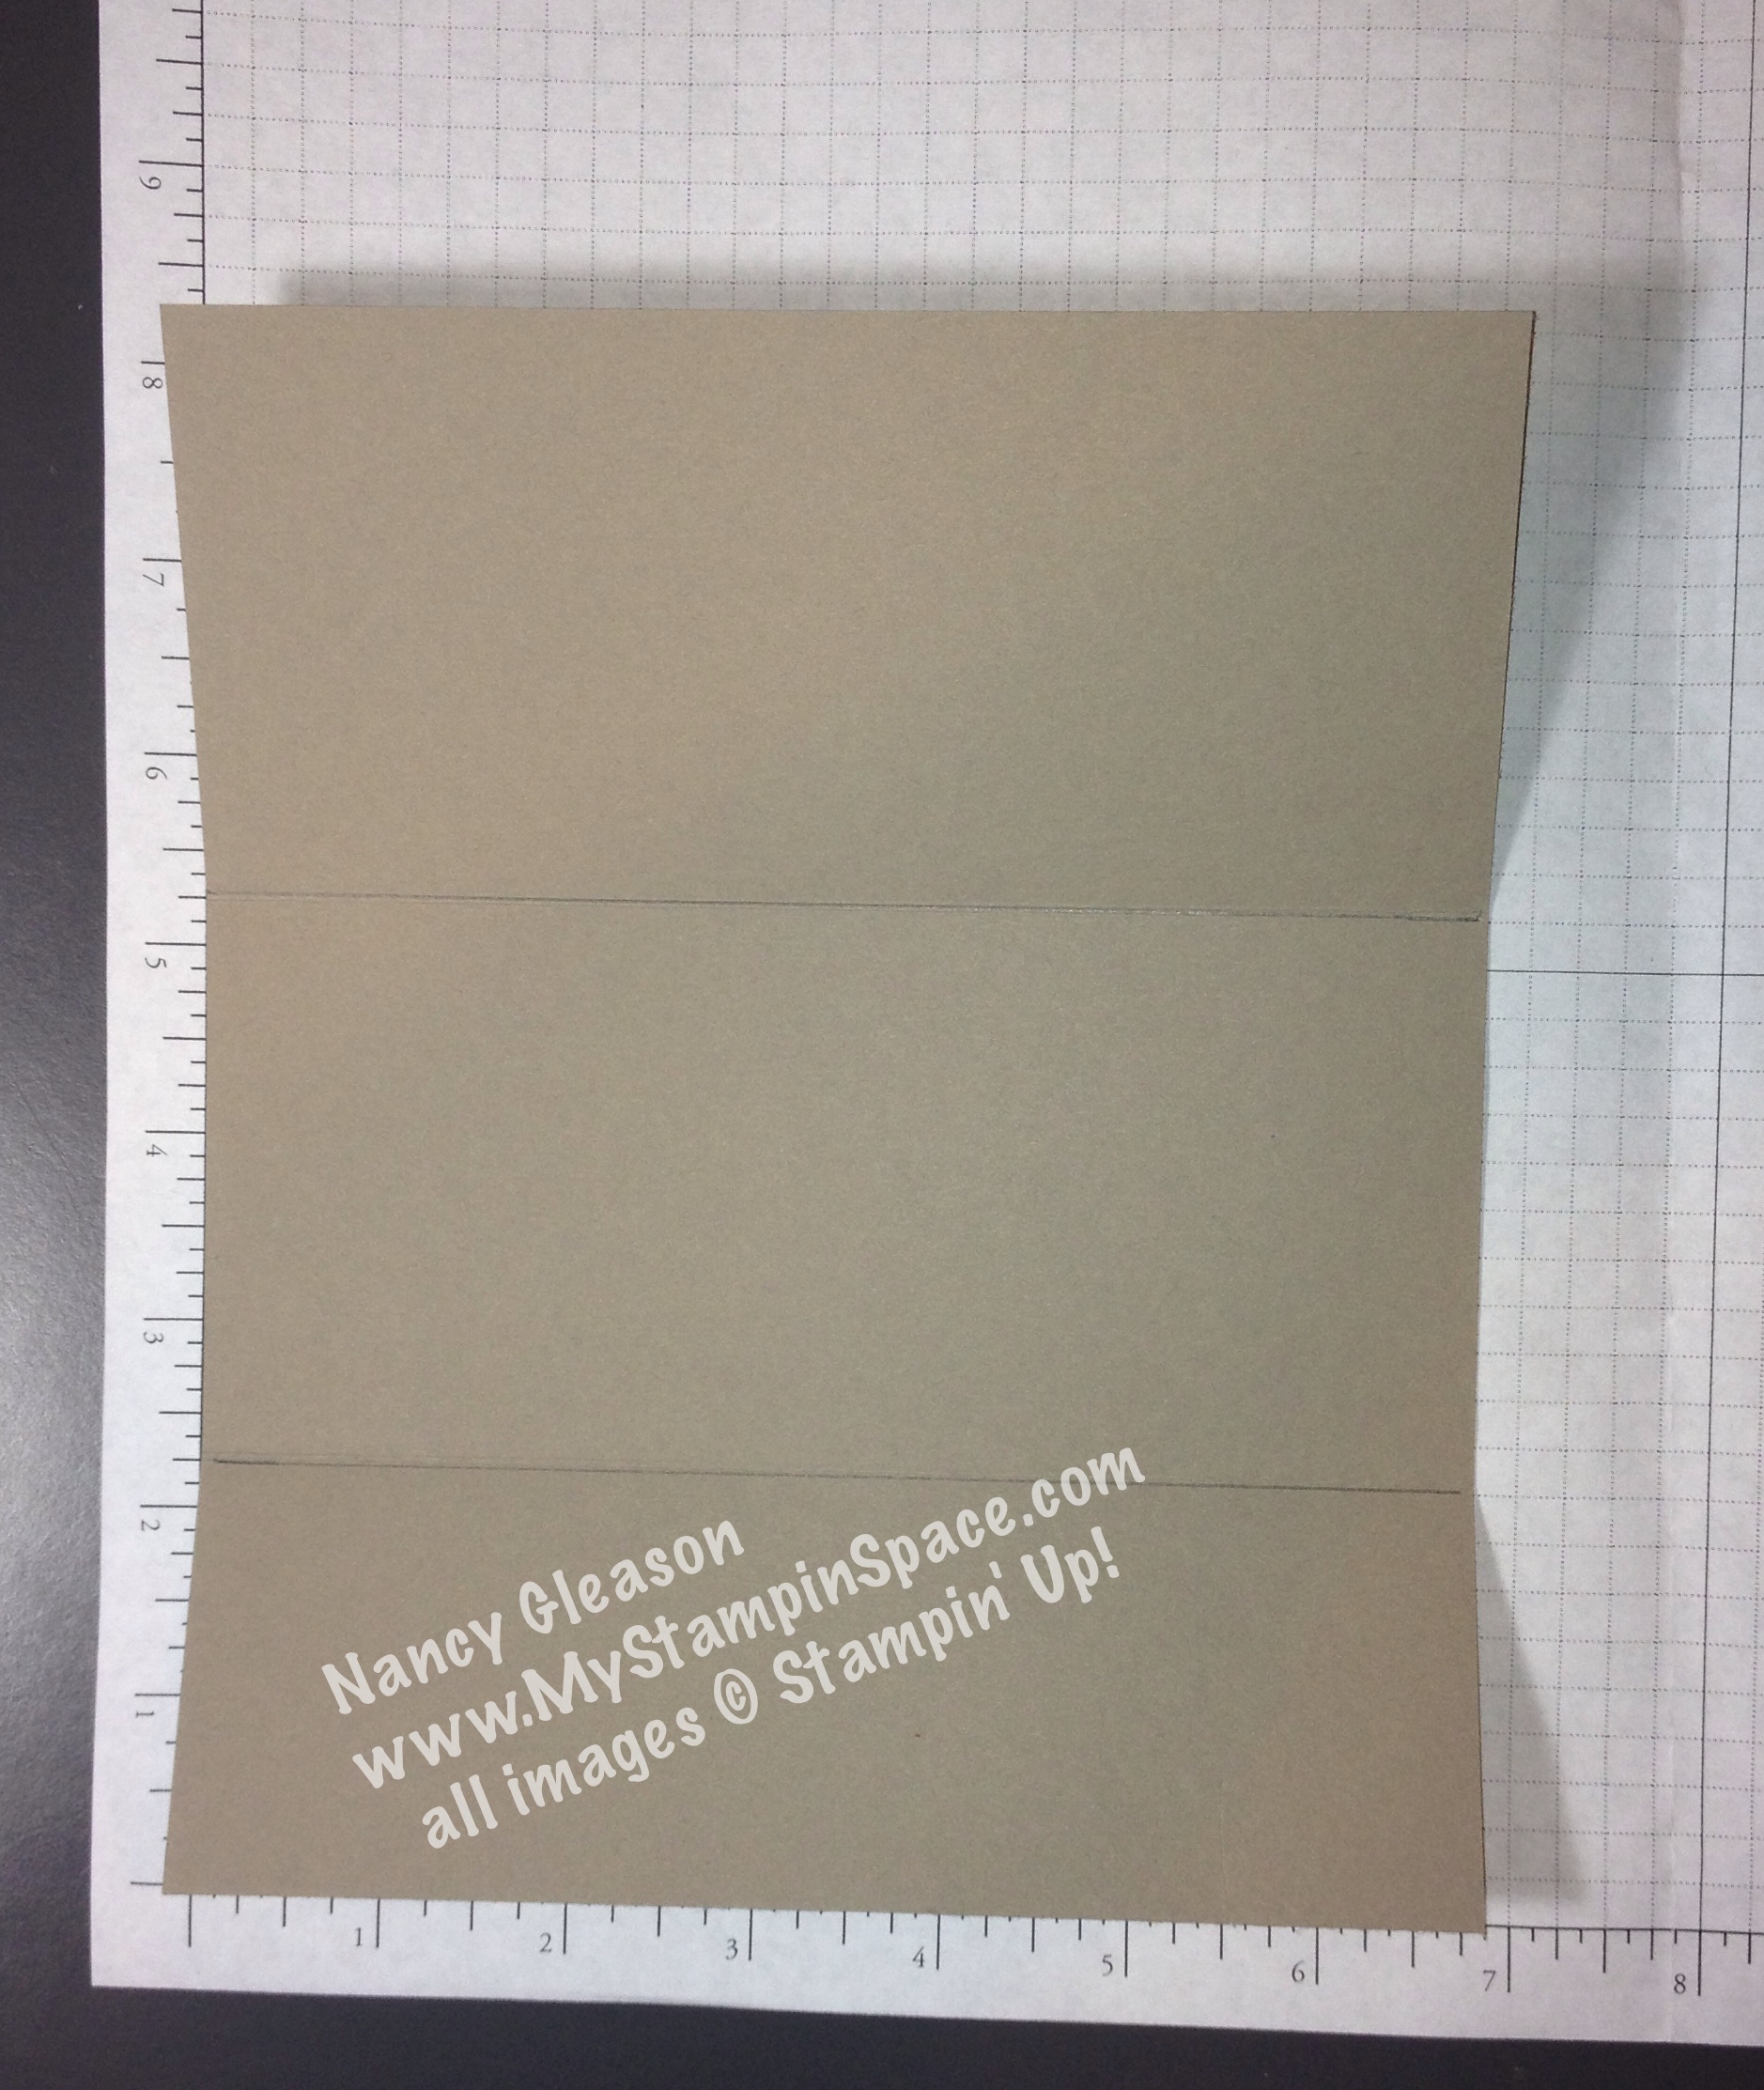
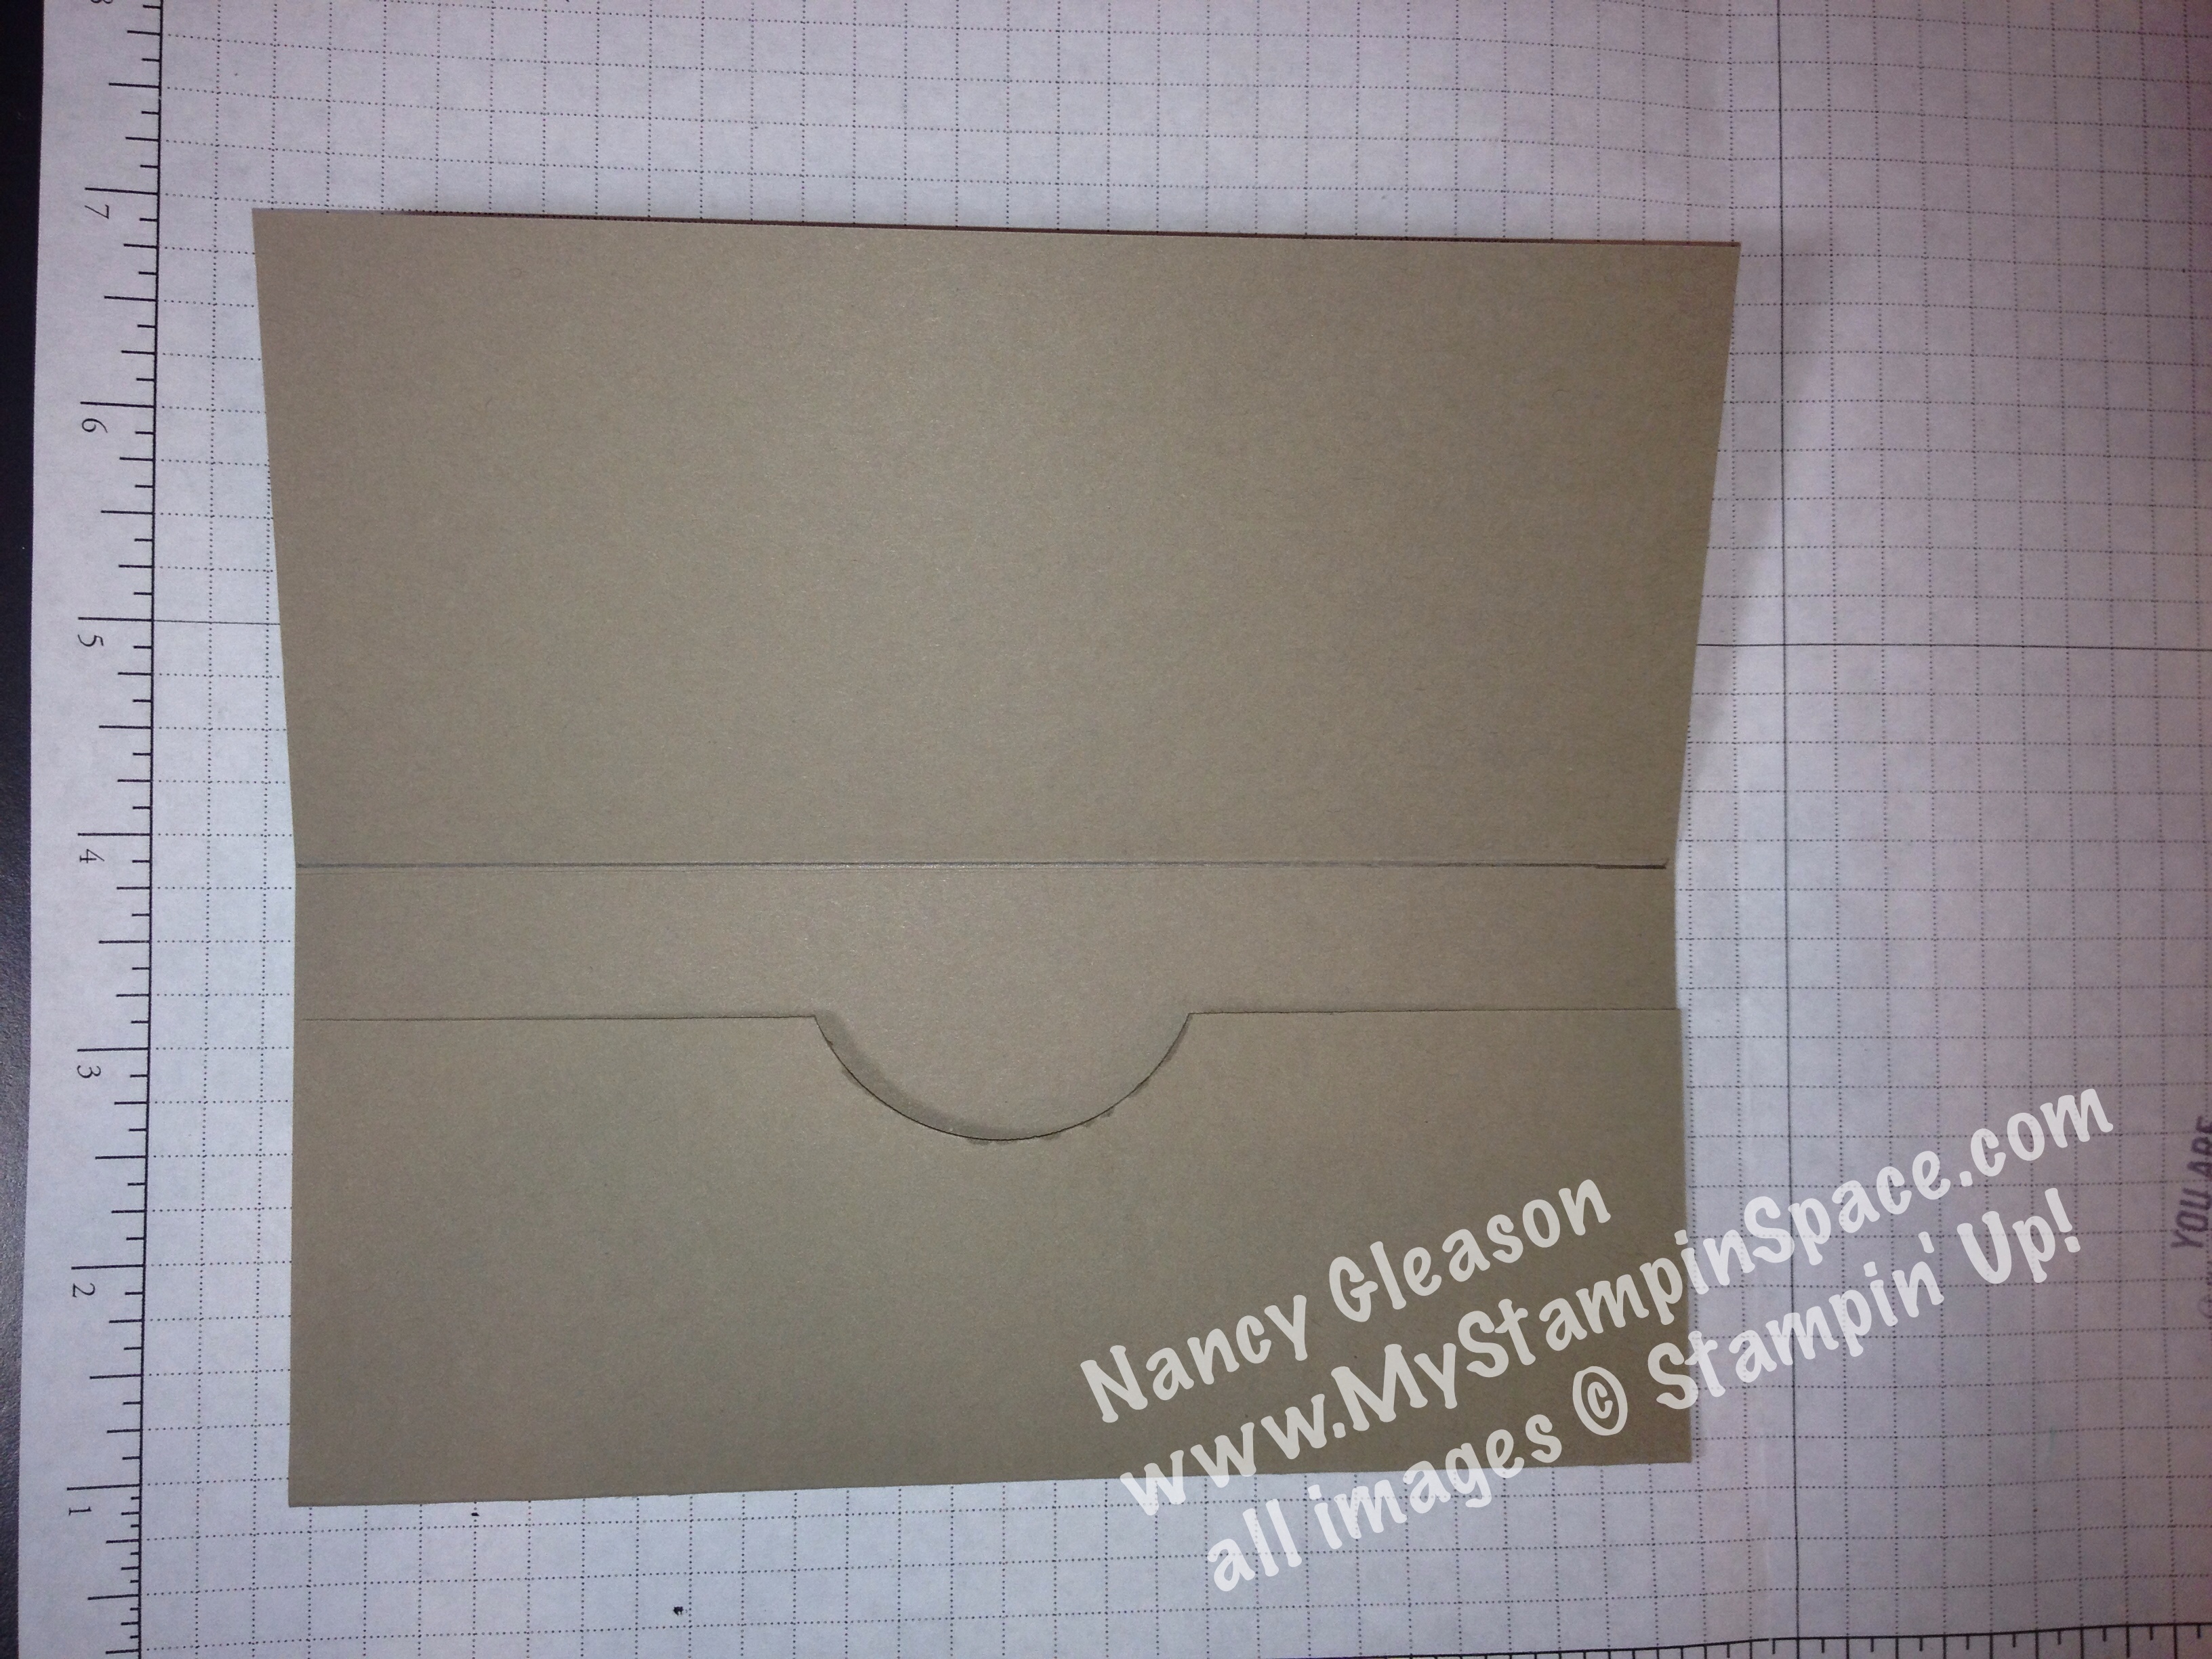
I started with a piece of Tip Top Taupe cardstock cut to 6-3/4″ wide x 8-1/4″ tall.

money holder cut cardstock

I scored the paper 2-1/4″ from the bottom edge, and at 5-1/4″.   (I love that I can cut and score on my Stampin’ Trimmer!)money holder score

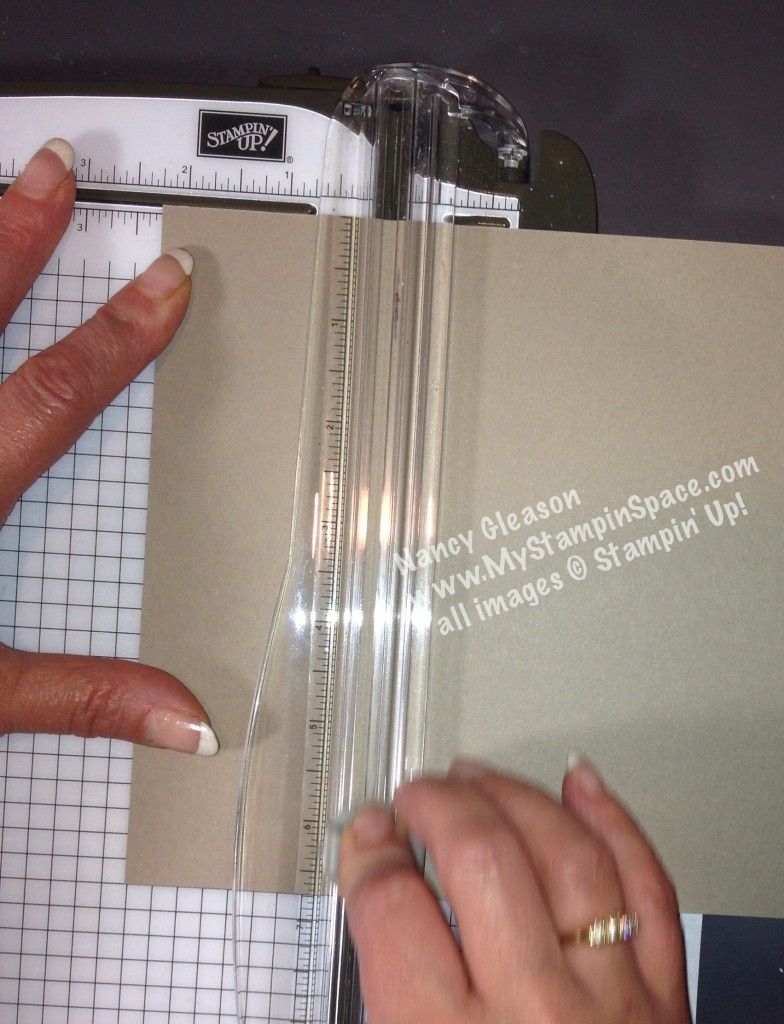
Here is the paper scored in 2 places: money holder scored

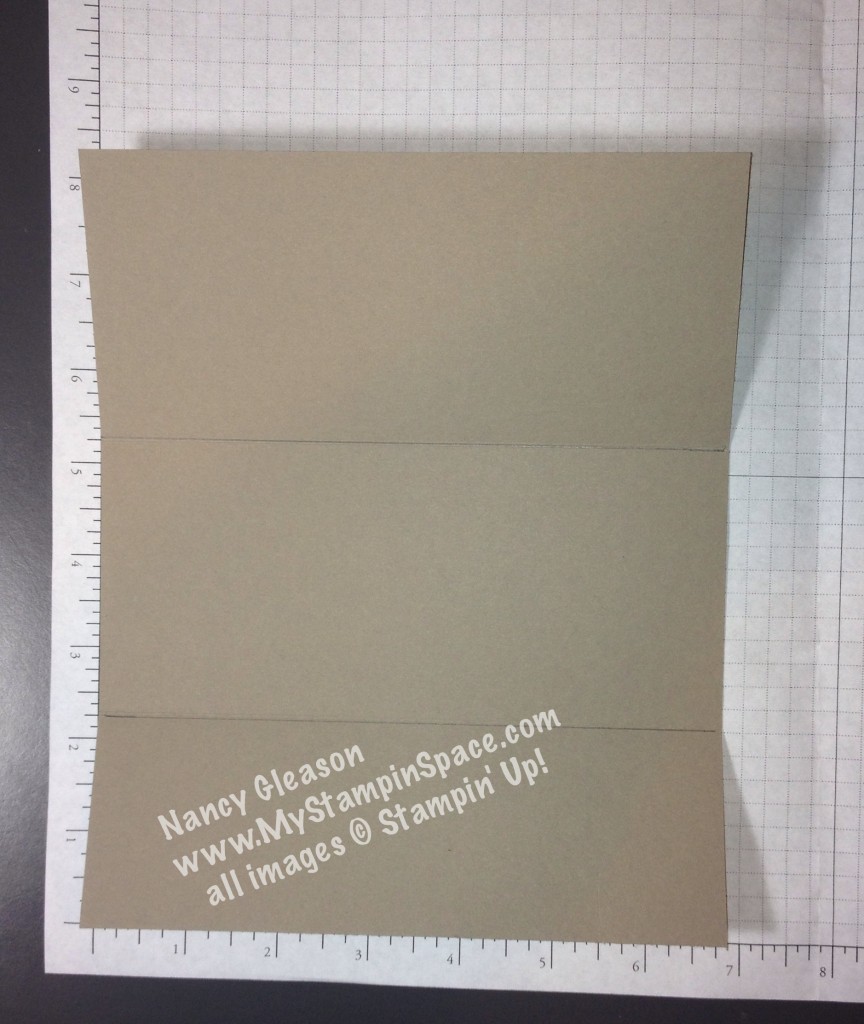
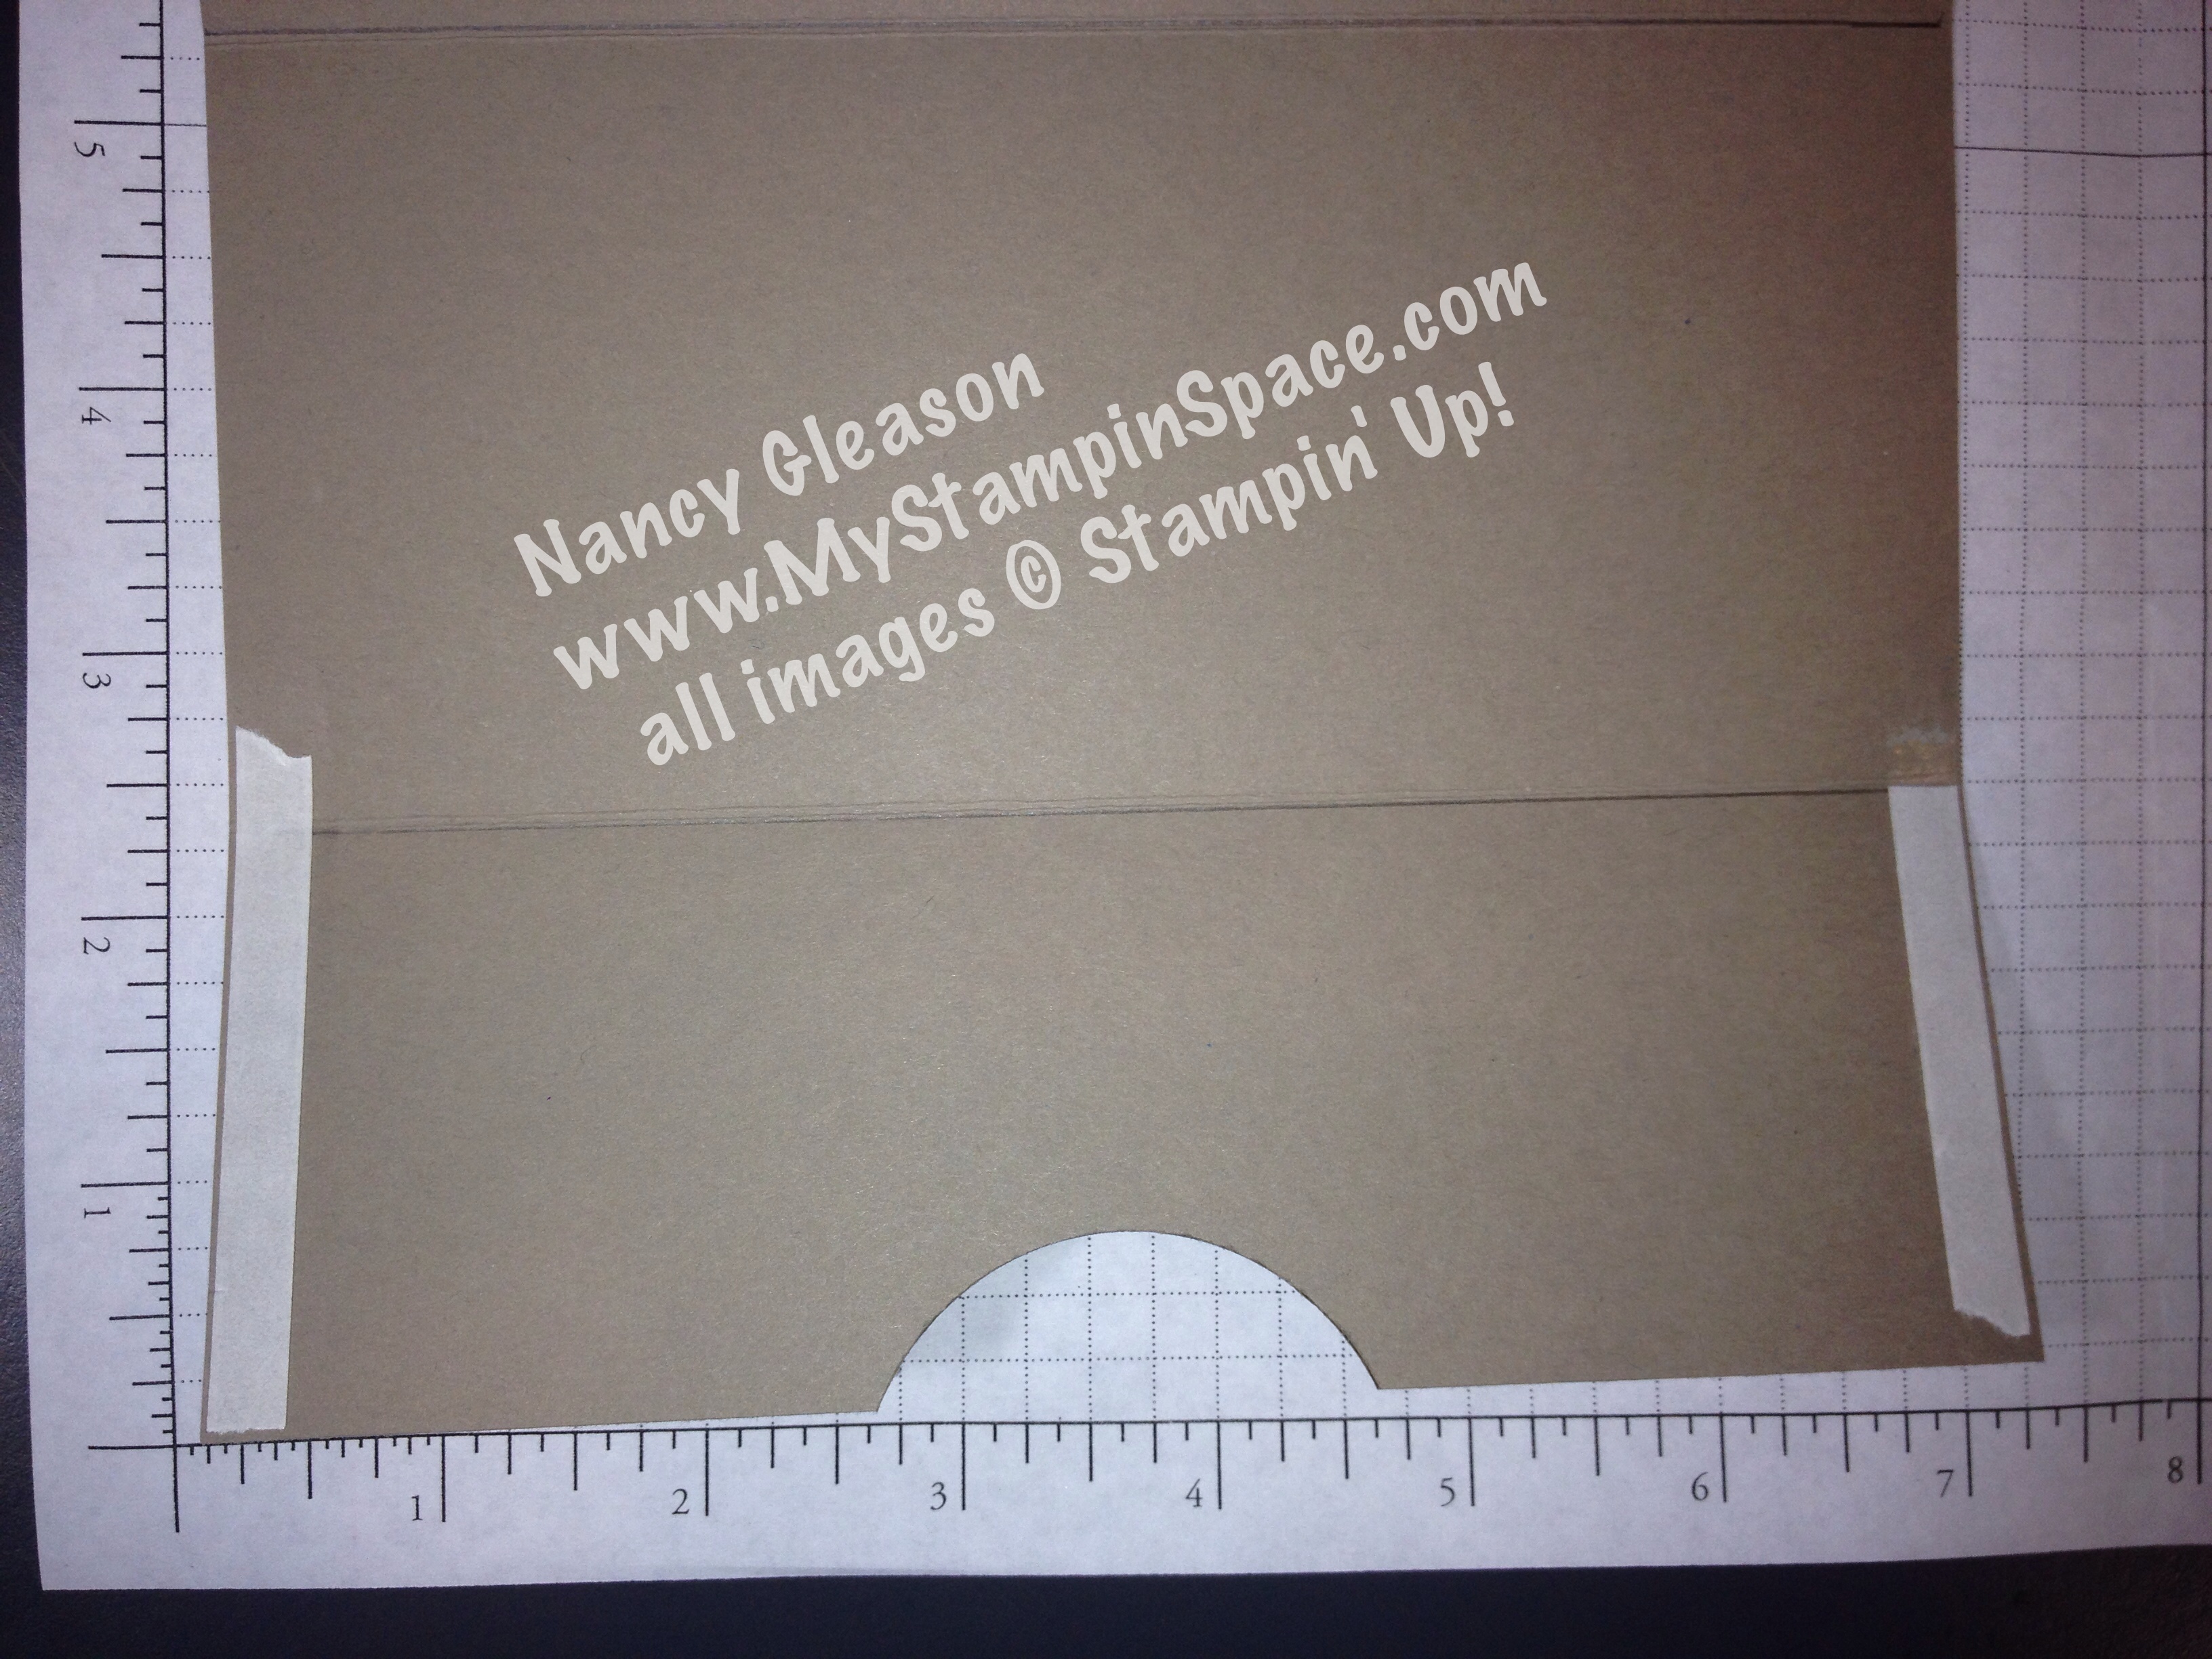
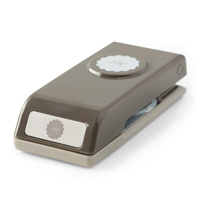
To create the thumb notch for the dollar bill, I used a 2″ circle punch to partially  punch creating the notch.  I centered this left to right at 3-3/8″.  money holder punch notch

I then applied strips of Tear & Tape adhesive along the outer edges of the lower portion.  (Have I mentioned that I LOVE this new Tear & Tape adhesive? – This project was the first time I used this adhesive, and it is far superior to the old ‘red’ tape; both in terms of stickiness AND ease of use!  No more red pieces of plastic stuck to your hands, clothes, etc.)  money holder tear & tape

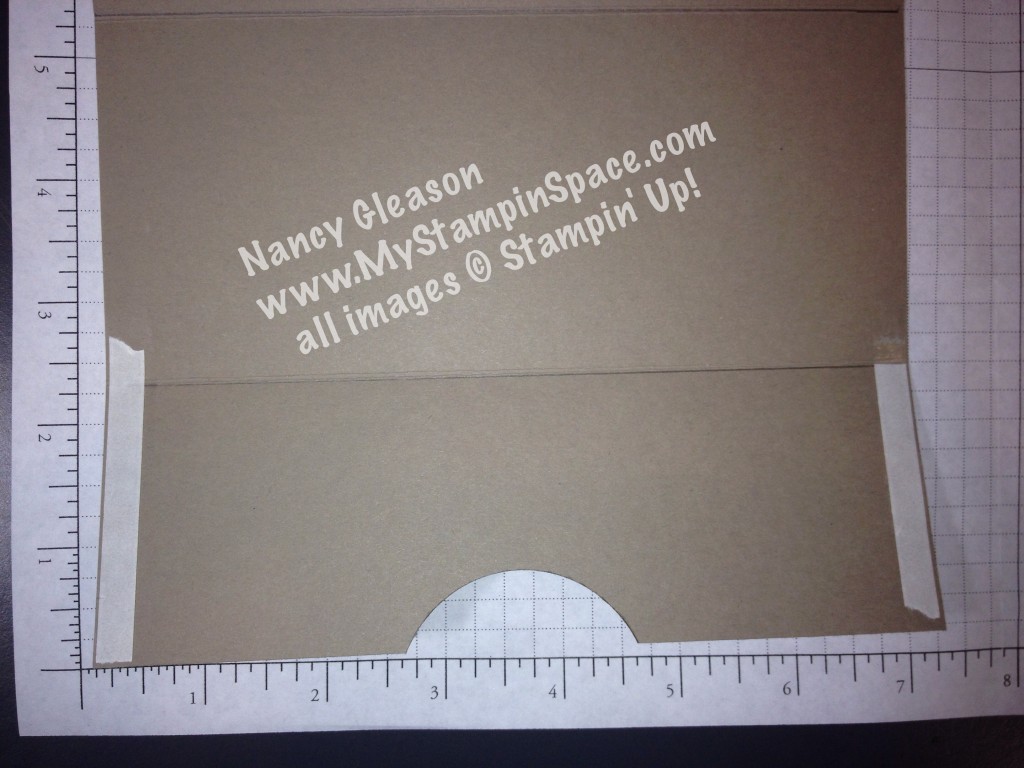
Fold up the bottom portion, and you’ve just created the perfect pocket to fit a dollar bill.  Any denomination will fit!  (Make mine 50’s or 100’s, please!) money holder assembled

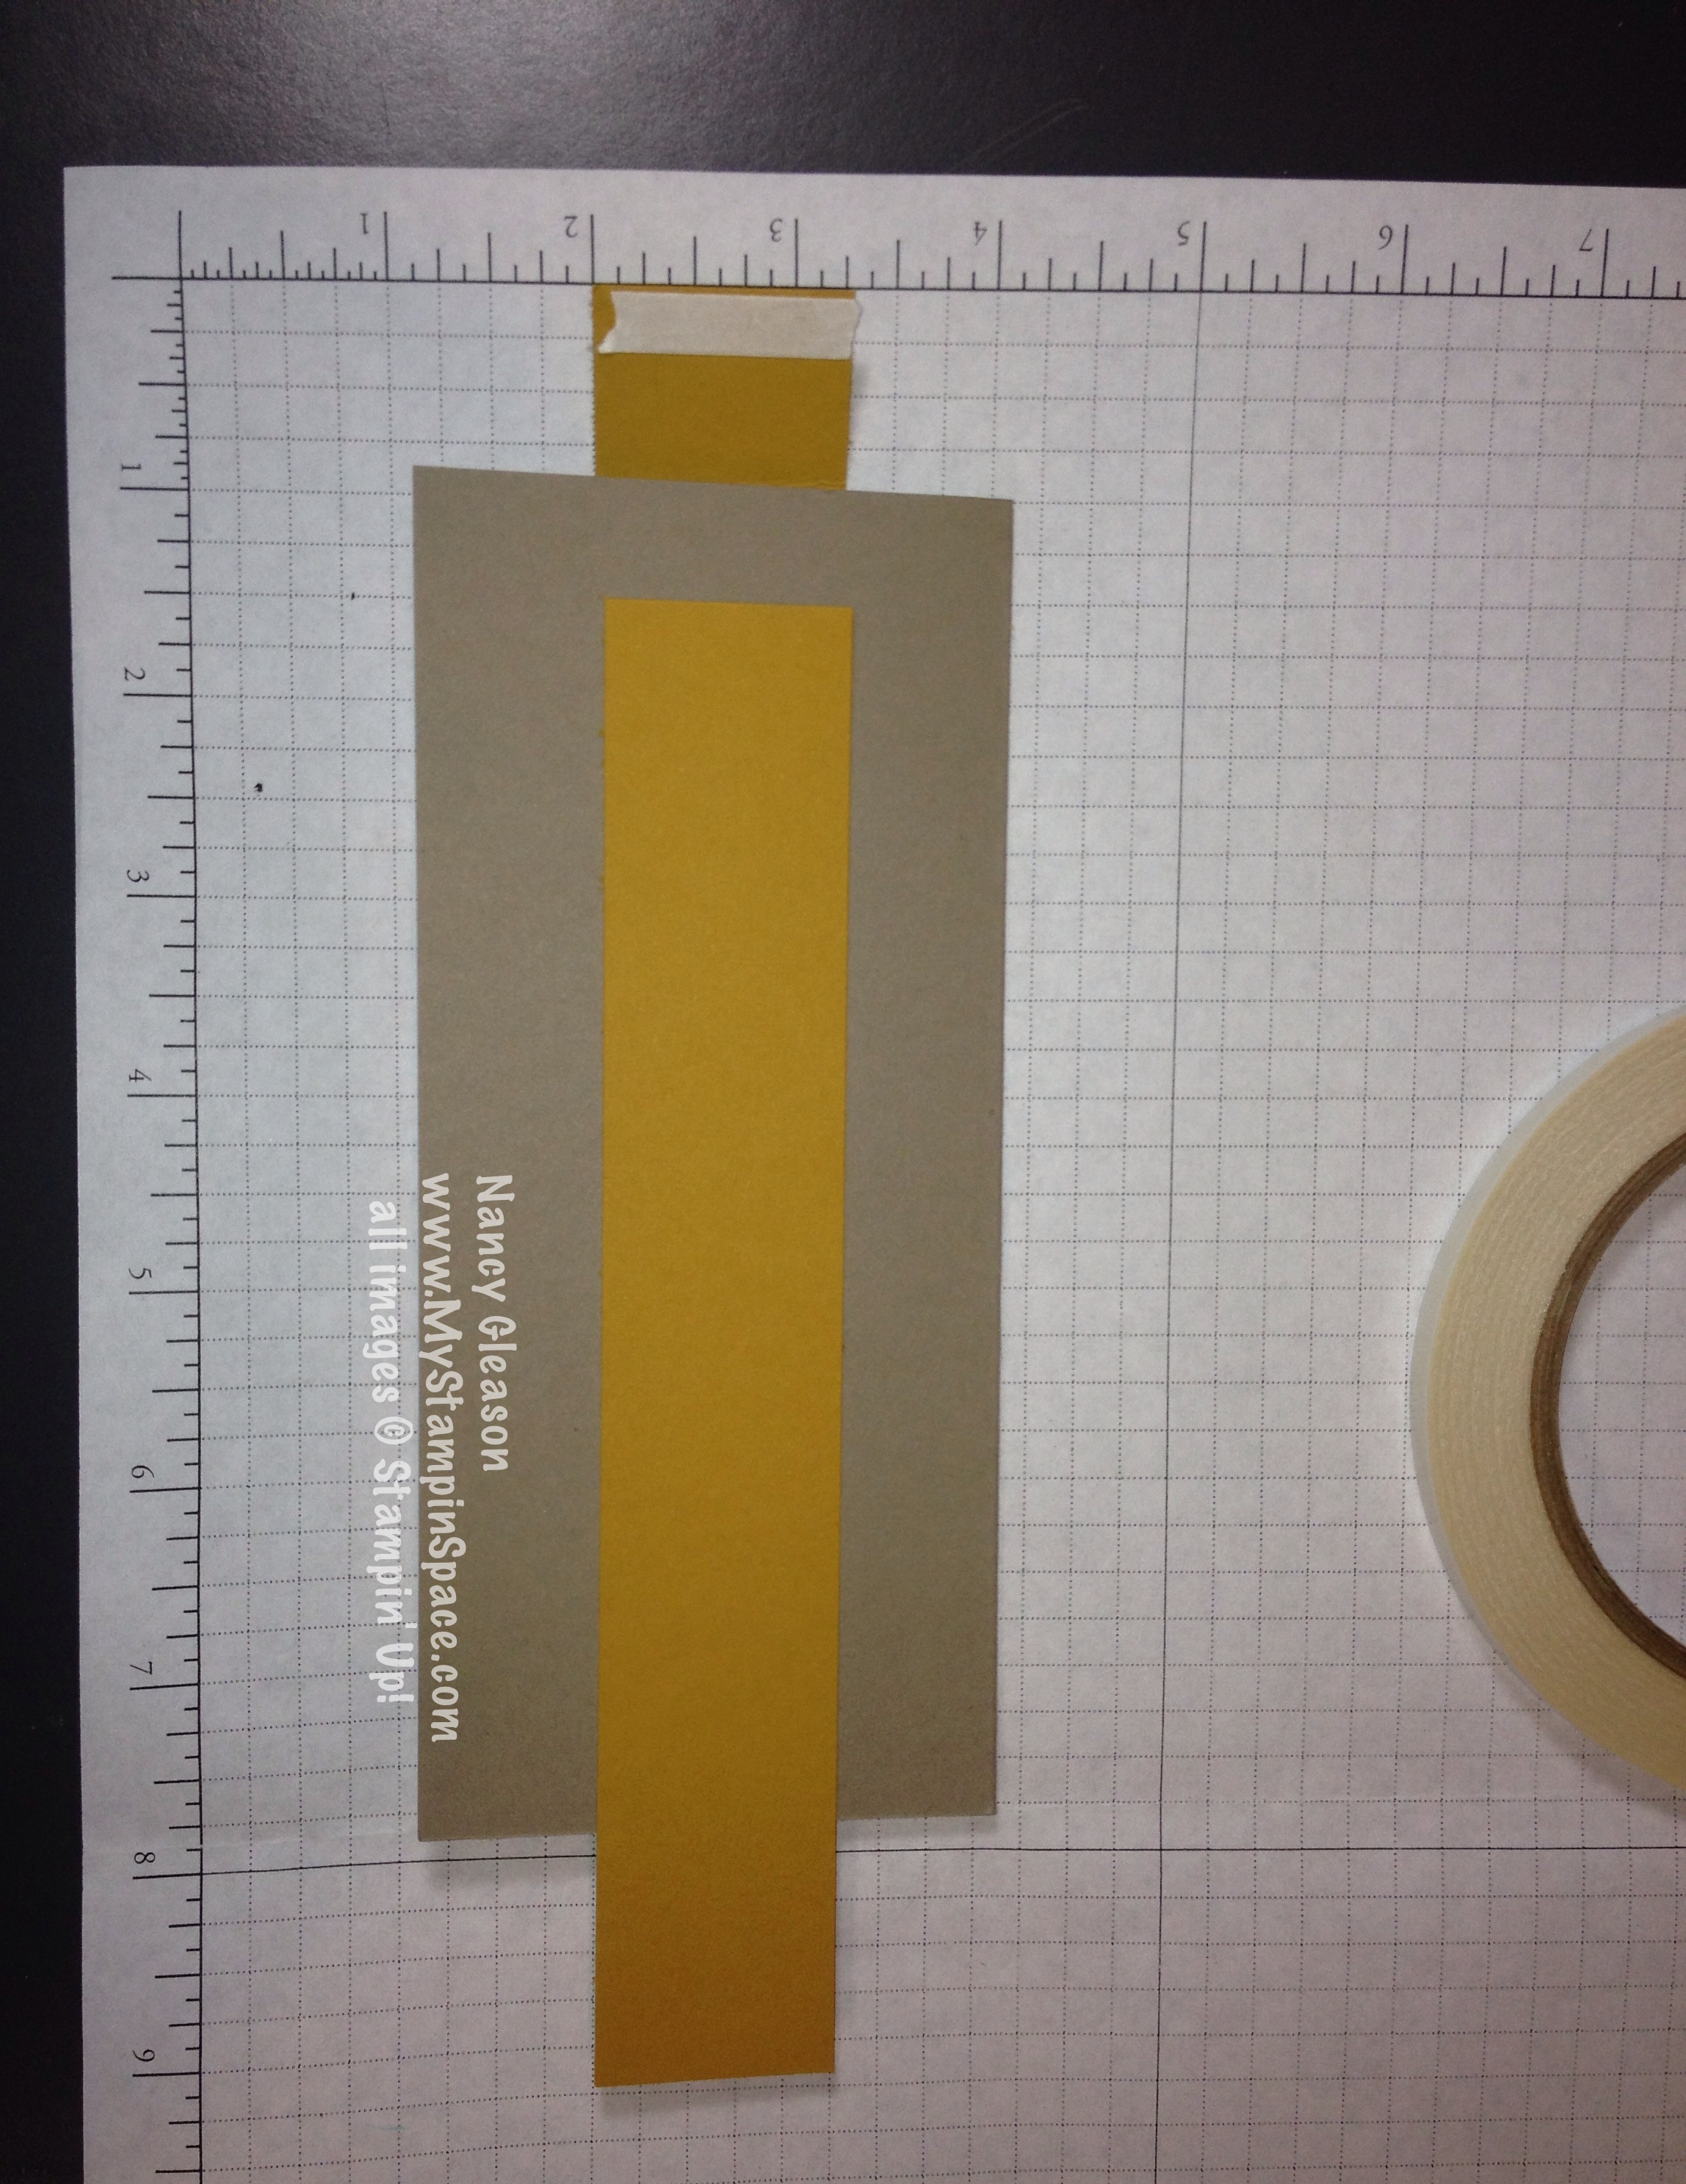
Now for the belly band.  You can create a belly band that wraps around the money holder vertically or horizontally.   I used a 1-1/4″ wide x 7-1/2″ strip of cardstock and another piece of Tear & Tape adhesive and just wrapped it around the money holder.  (TIP:  Don’t wrap it too tight; leave enough room for the belly band to slip on & off with ease!). money holder vertical band

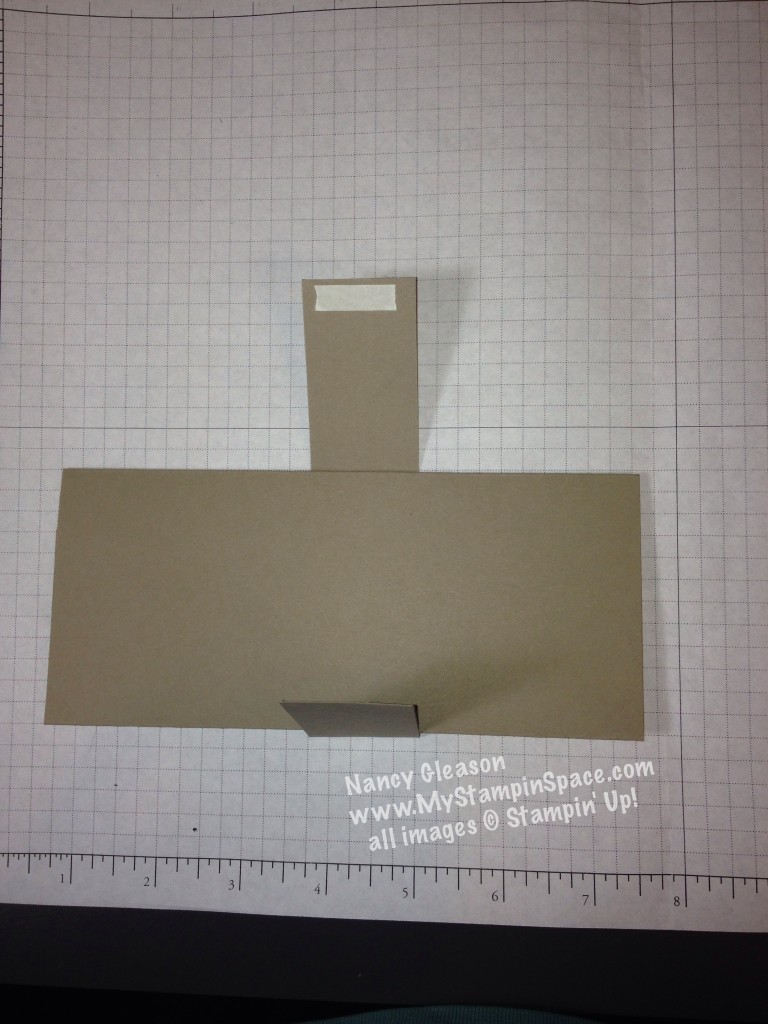
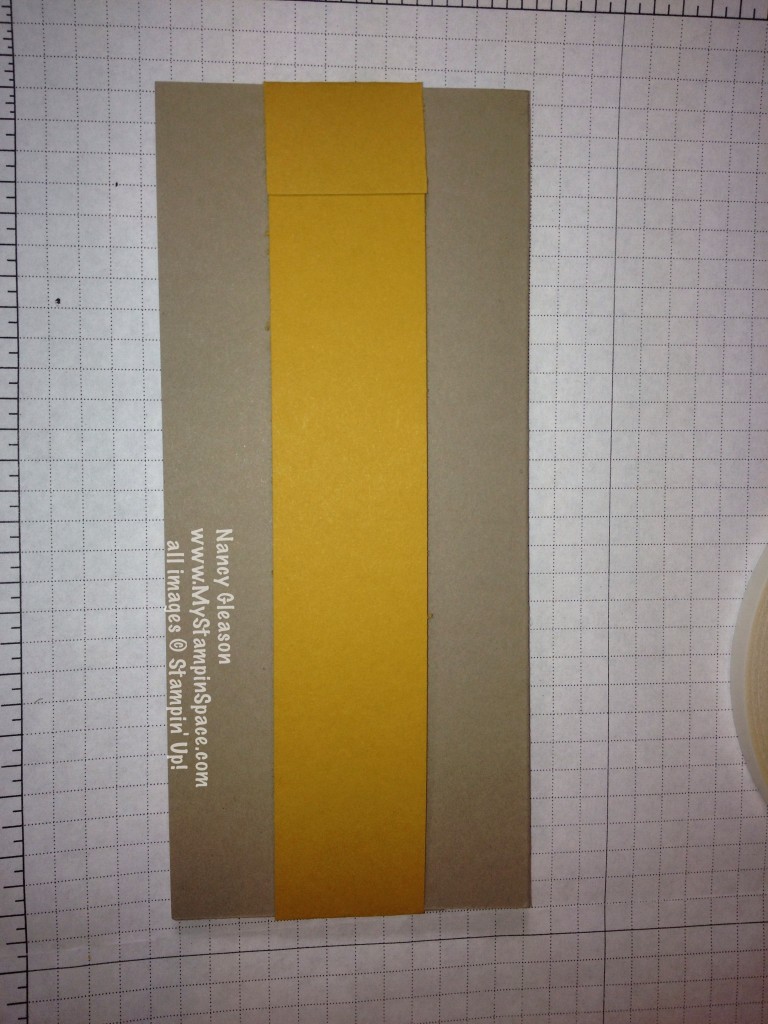
To wrap horizontally, you will need to adhere 2 strips together to get a strip long enough to wrap around the width of the card.  I strategically placed the butt joints in the least conspicuous places; behind the flower and at the back edge of the money holder.  (I am using a contrasting piece of cardstock so you can see the two pieces better).

money holder horiz band

money holder with belly band

Now for the fun part!  You can decorate your money holder any way you wish!

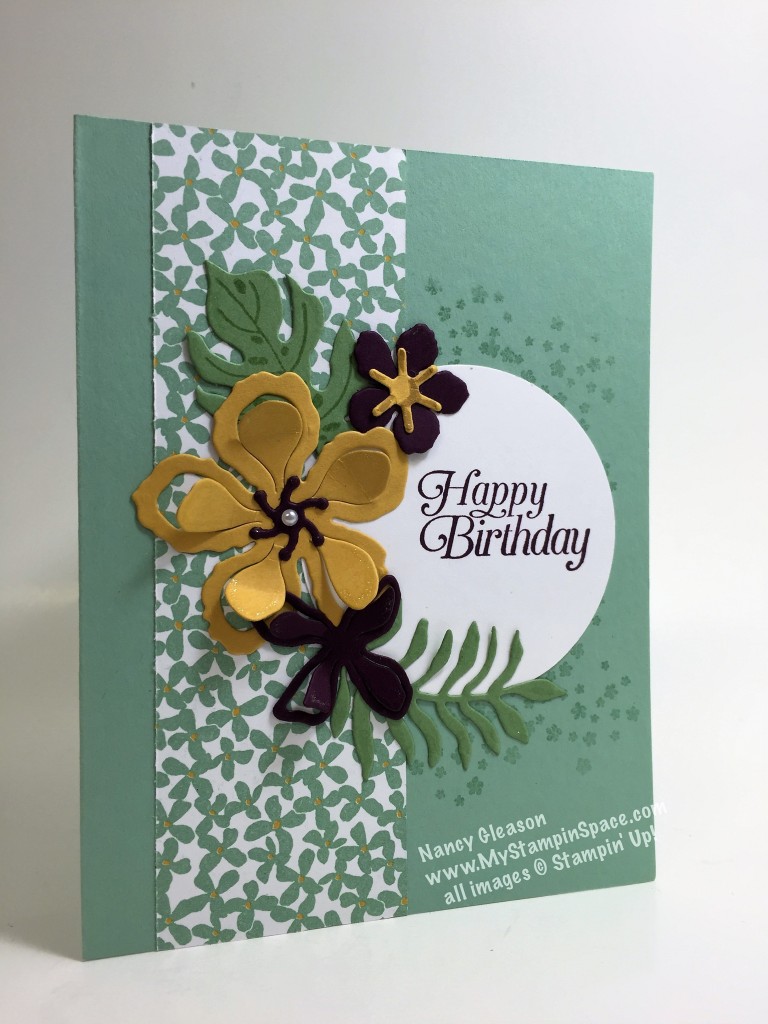
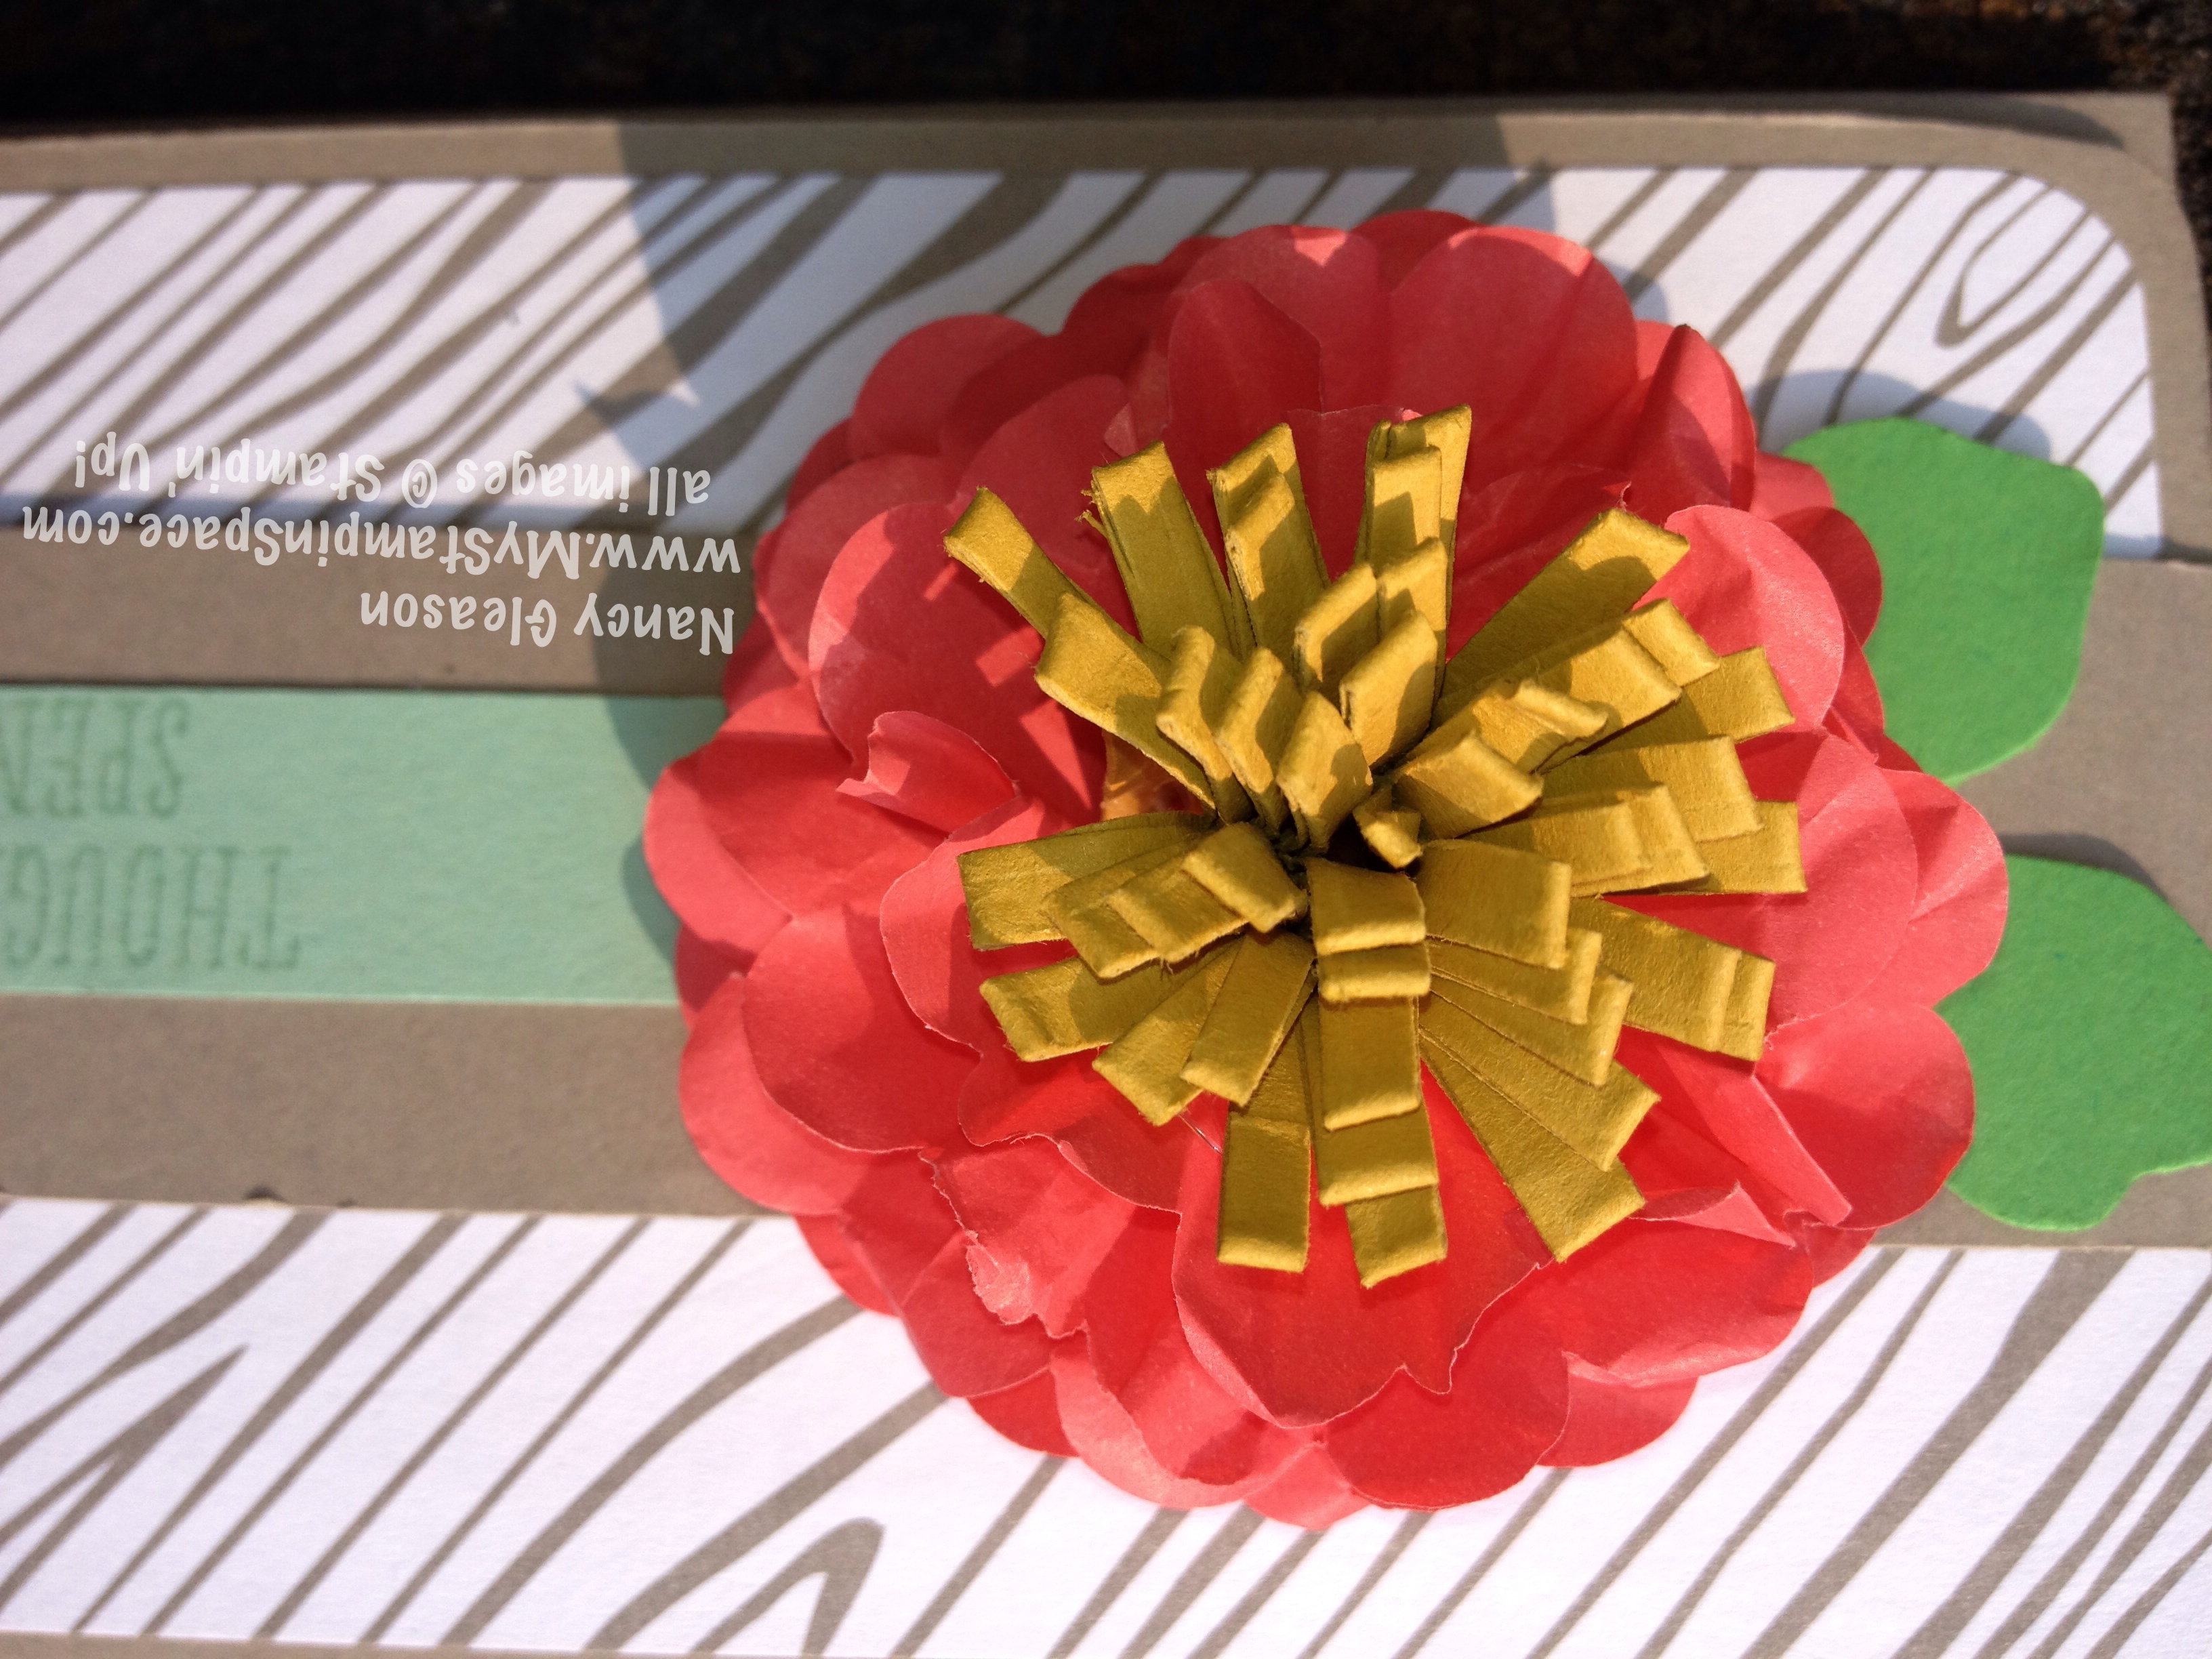
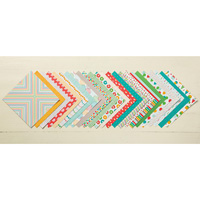
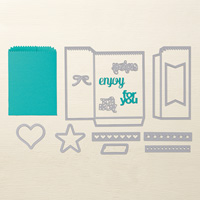
On my project,  I used the Corner Rounder Punch to punch the two bottom corners of the face.  I cut the new Envelope Paper in the woodgrain pattern in Tip Top Taupe to 6-1/2″ x 2-3/4″ and corner rounded the bottom two corners.  I adhered this layer on the face of the closed money holder.

In Color Money Holder
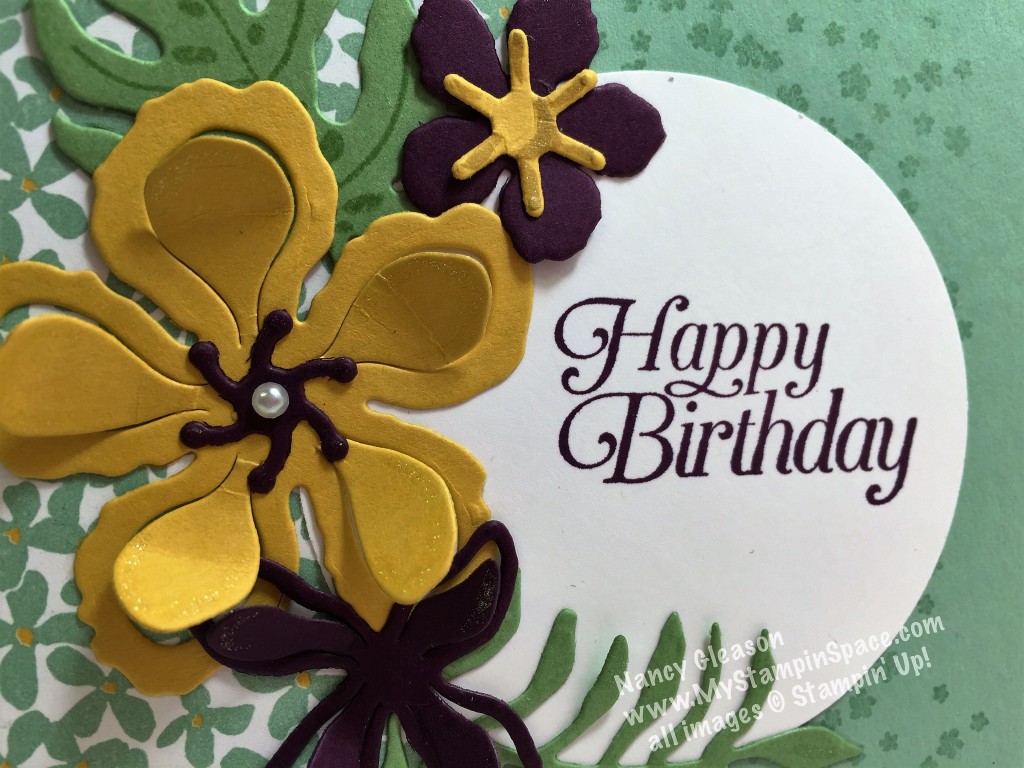
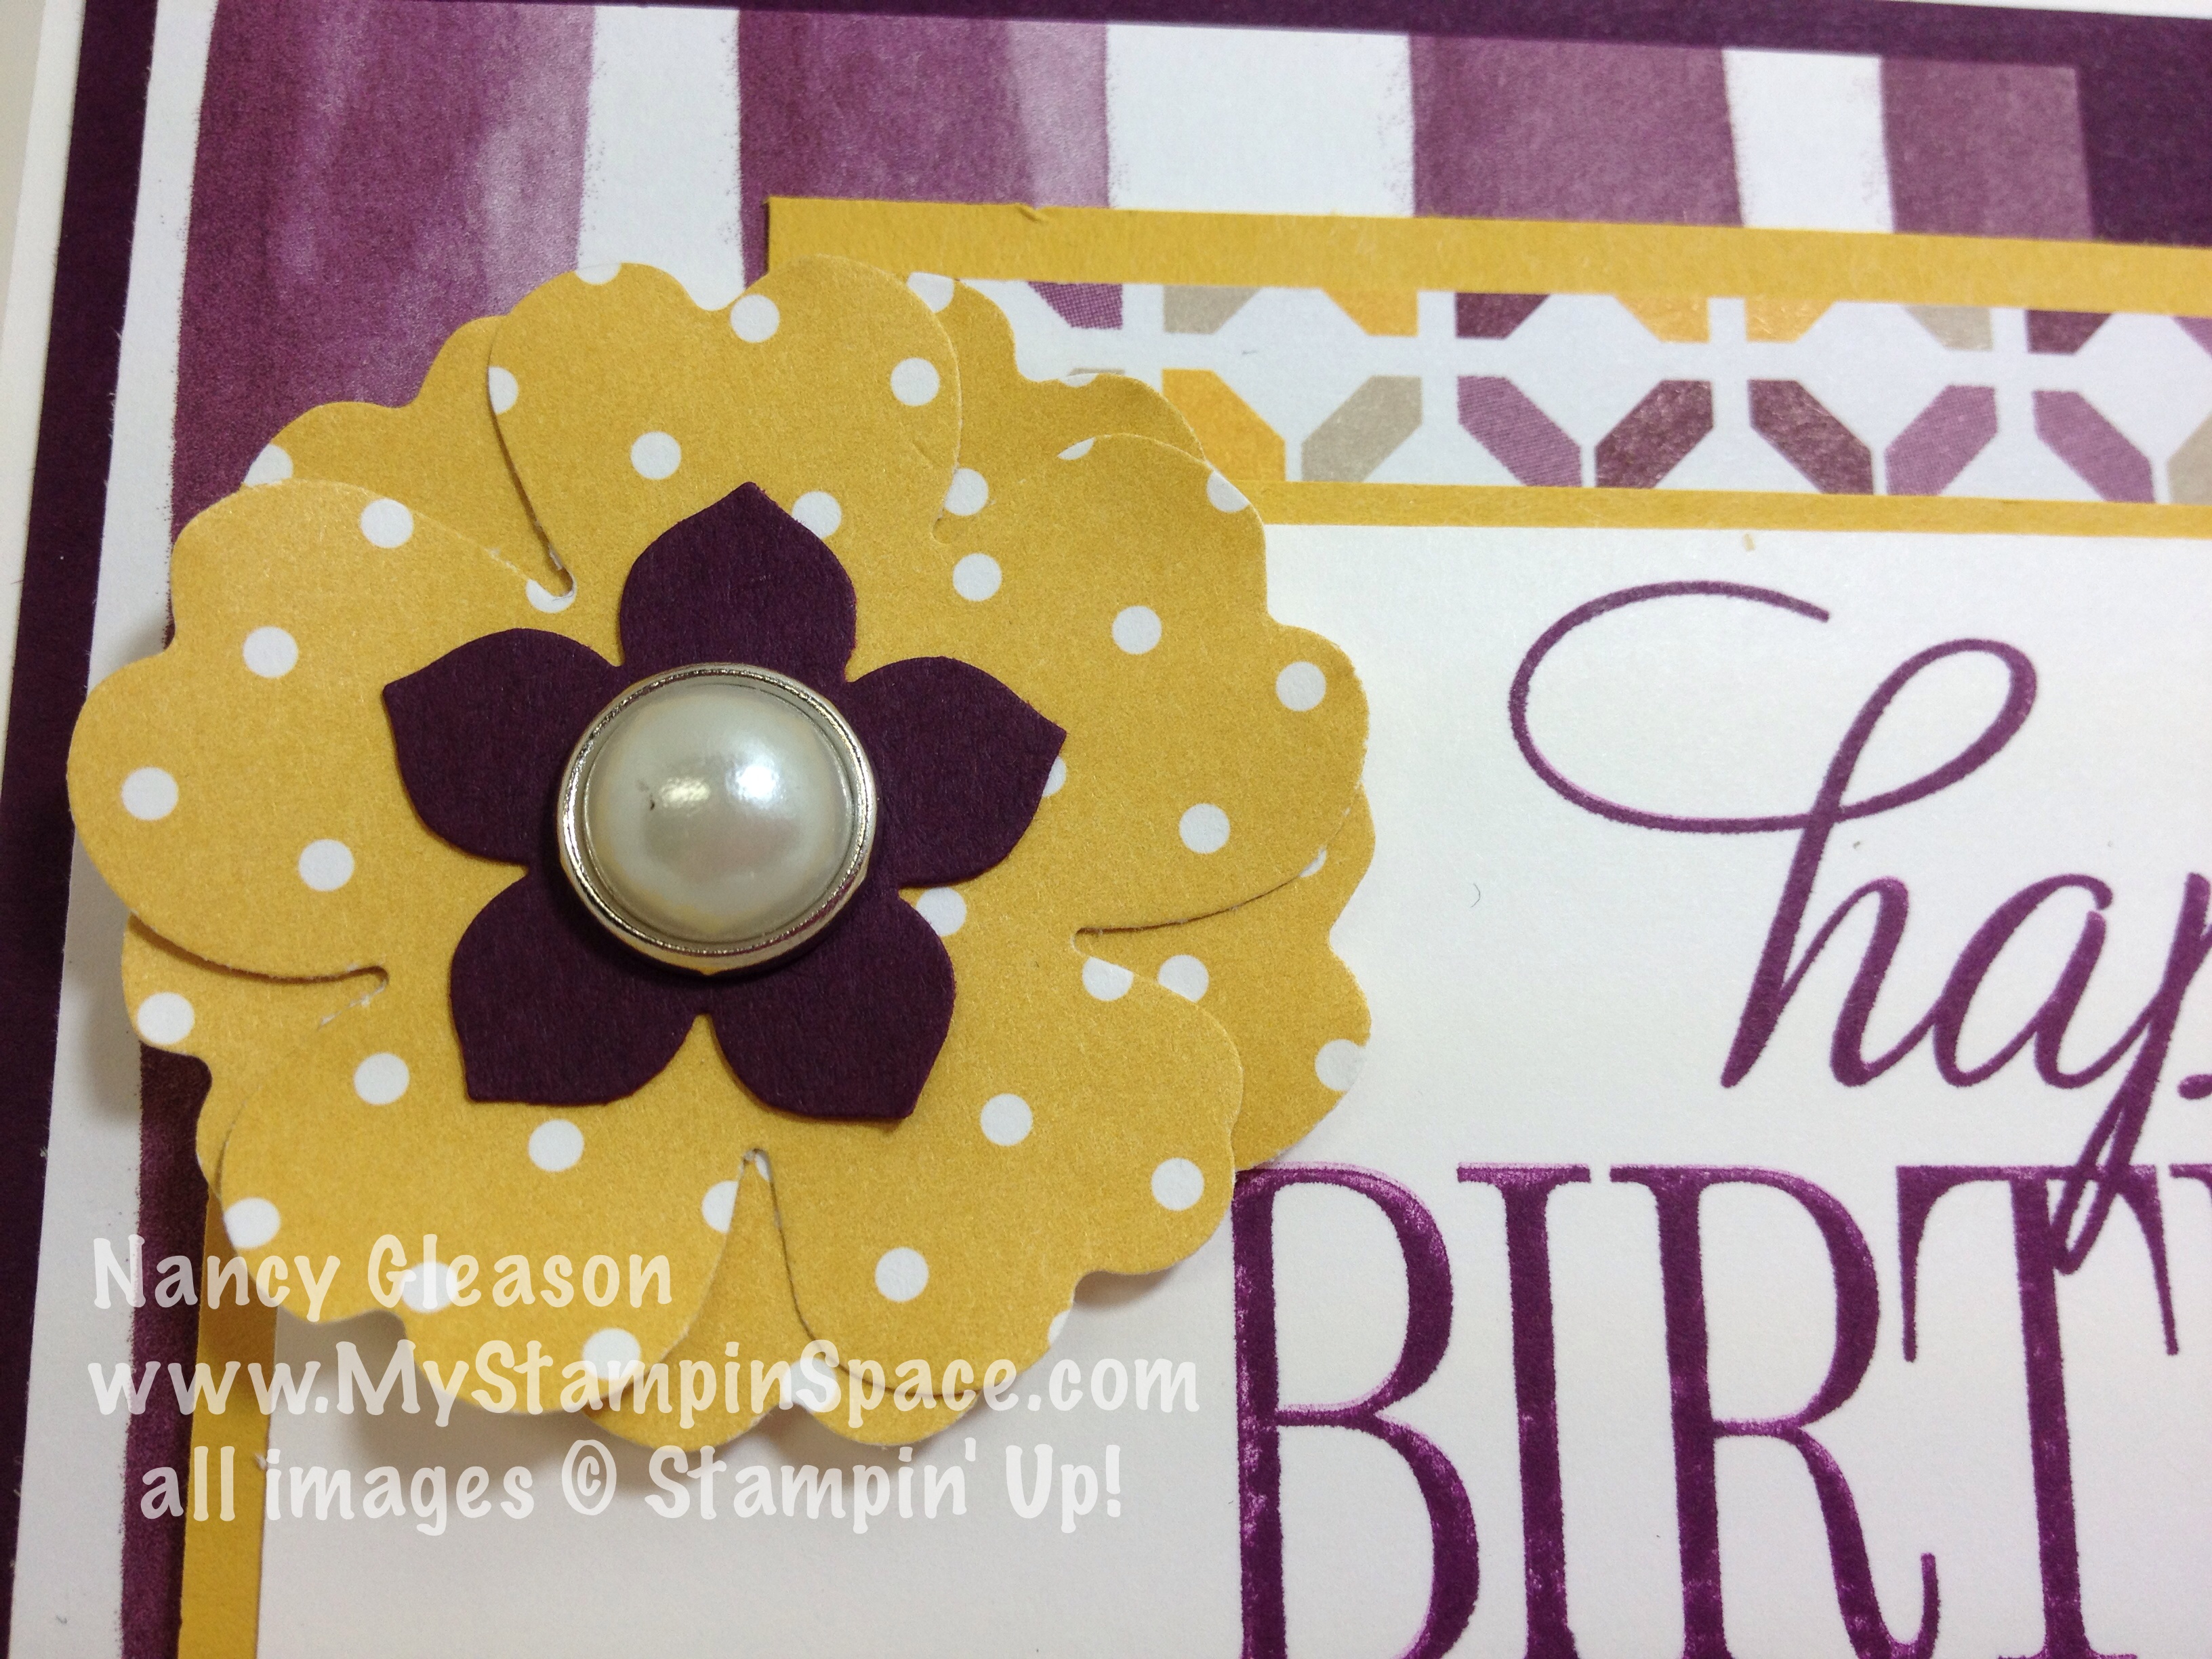
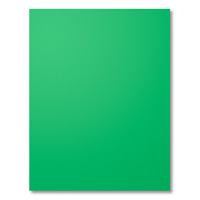
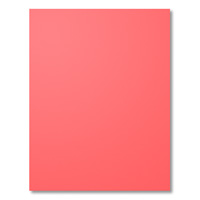
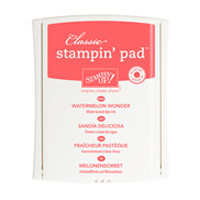
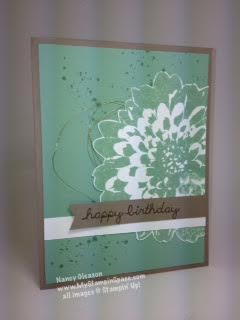
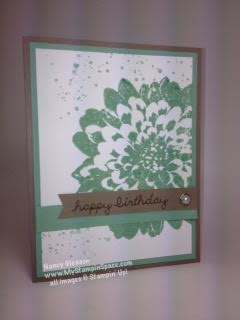
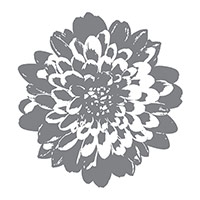
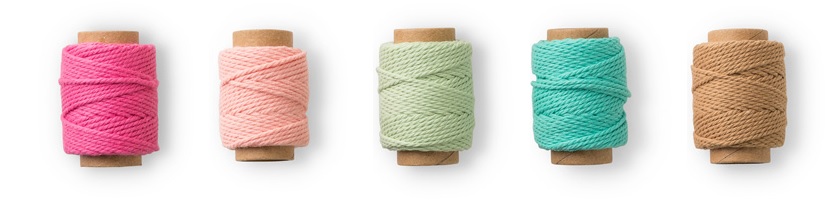
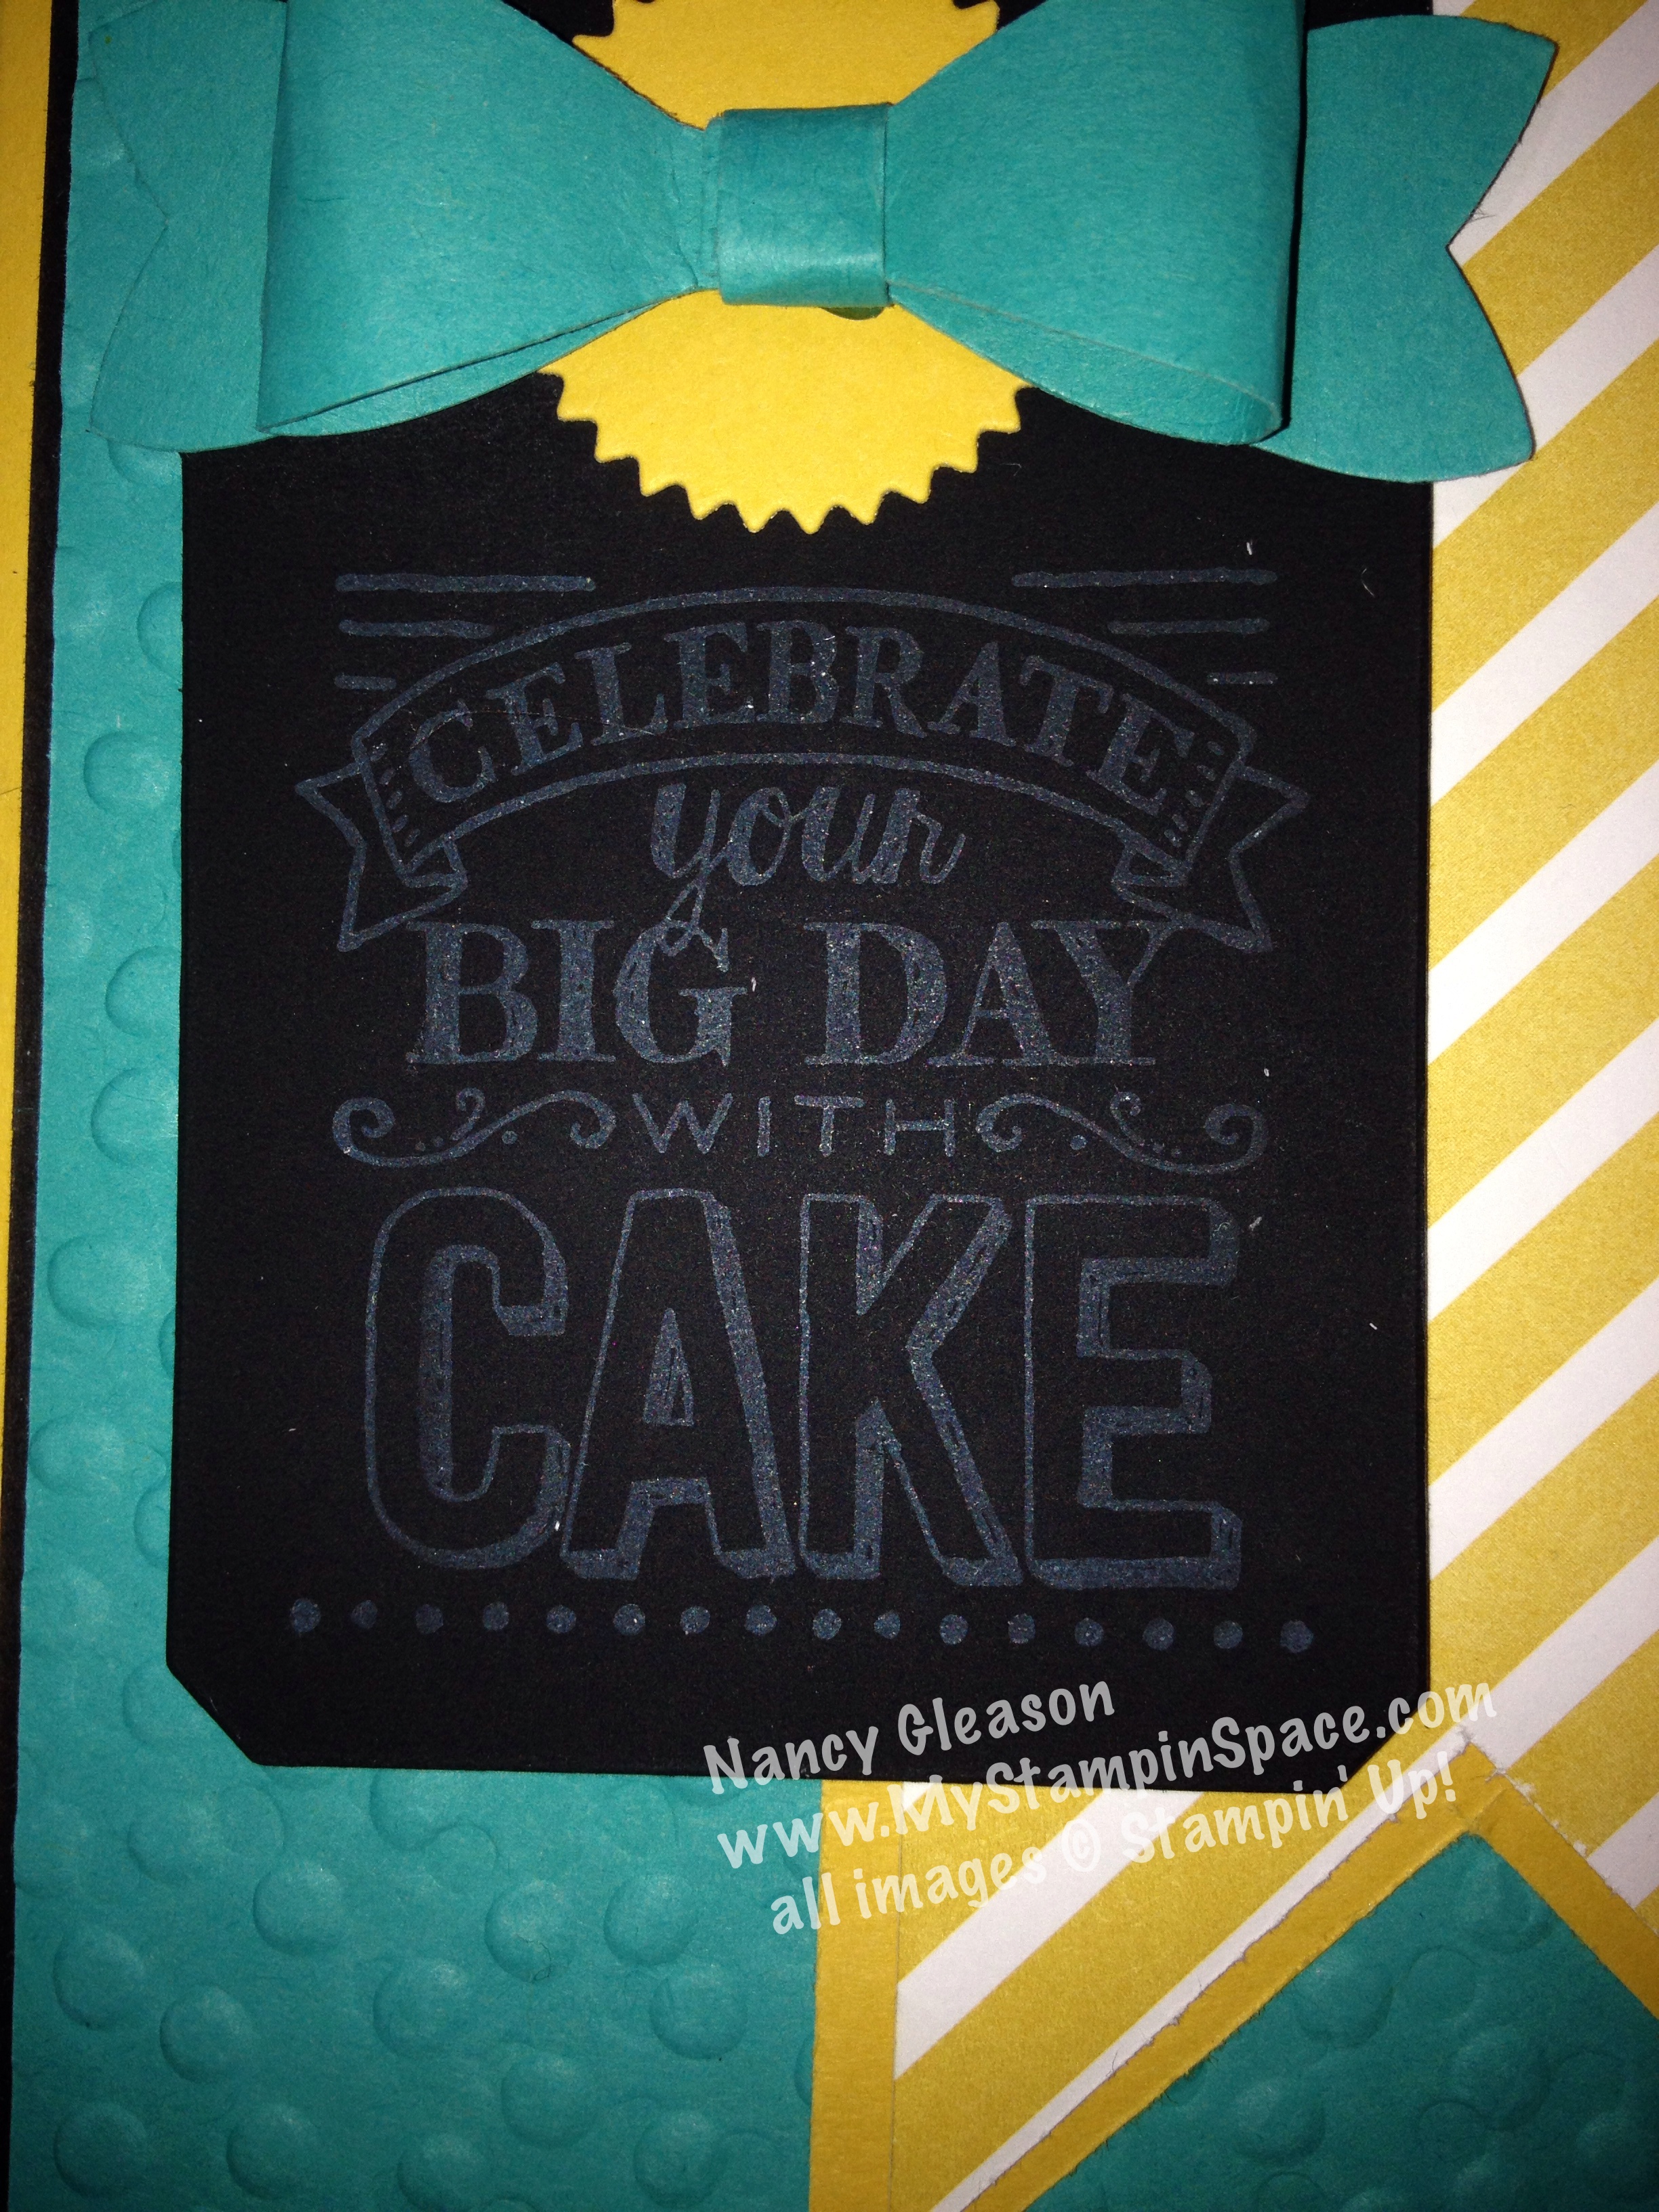
I chose to create this gorgeous flower using the new Cotton Paper in Watermelon Wonder.  The flower center is created from Delightful Dijon and fringe scissors!  The leaves are Cucumber Crush card stock using the Fun Flower punch.  A little flagged end banner in Mint Macaron  says: “Thought you’d like to spend your day spending….” from the B.Y.O.P. stamp set.  The inside sentiment simply says:  “SPENDING”

I will be making a video showing just how to make this flower, and some tips on how to work with this new Cotton Paper.  Watch for that next week.

If you want to grab some of these supplies to add to your stash so you can create this at home, simply click here to go to my online store.  Or just click on any of the items in the supply list below.

I hope that you try to make this;  please let me know if you do.  This is a project tutorial that you’ll want to keep close by;  it will come in handy whenever you are giving cash as a gift.

Be sure to LIKE my Facebook page so you’ll be the first to know when I share my video.  You can also subscribe to my YouTube channel so you won’t miss out any of my tutorial videos.

Please give me feedback on my tutorial.  I need your help to know if I am giving enough details, or not, for you to be successful in recreating this project for yourself.  Thanks for your constructive input!  Thanks for stoppin’ by My Stampin’ Space.  Come back and stamp with me soon.

Nancy

Built for Free Using: My Stampin Blog


Don’t forget to shop our WEEKLY DEALS!
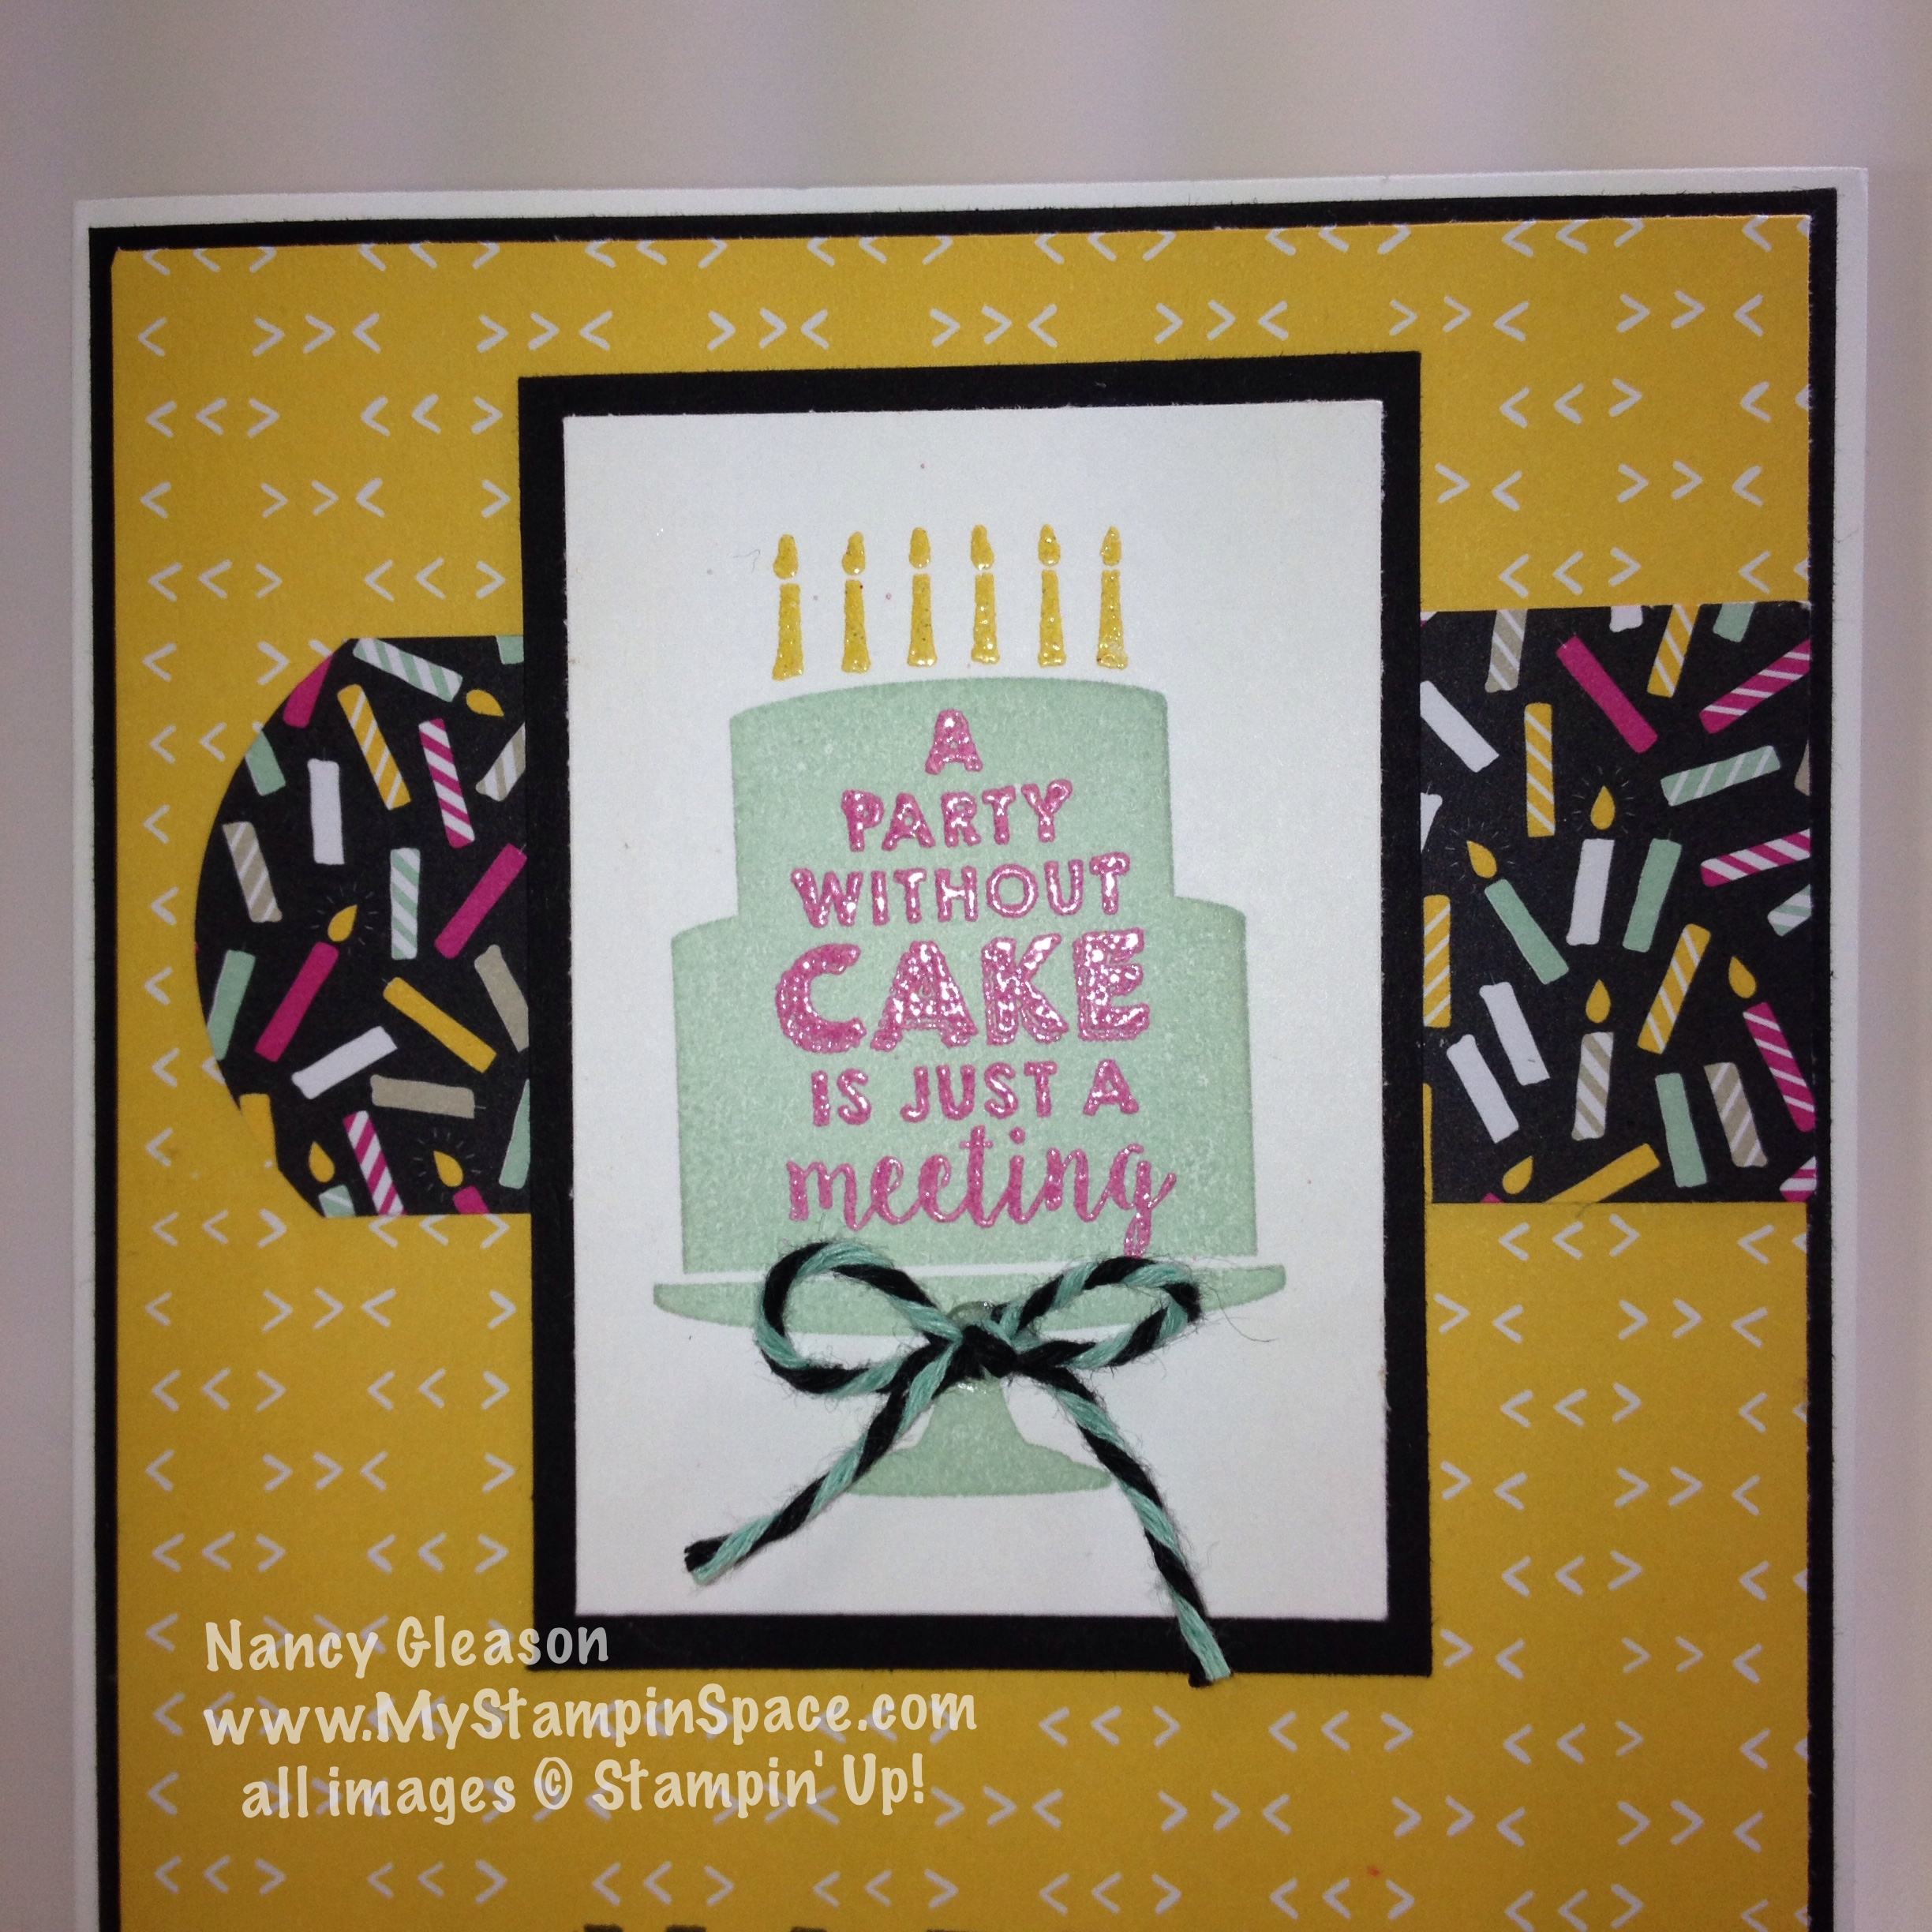
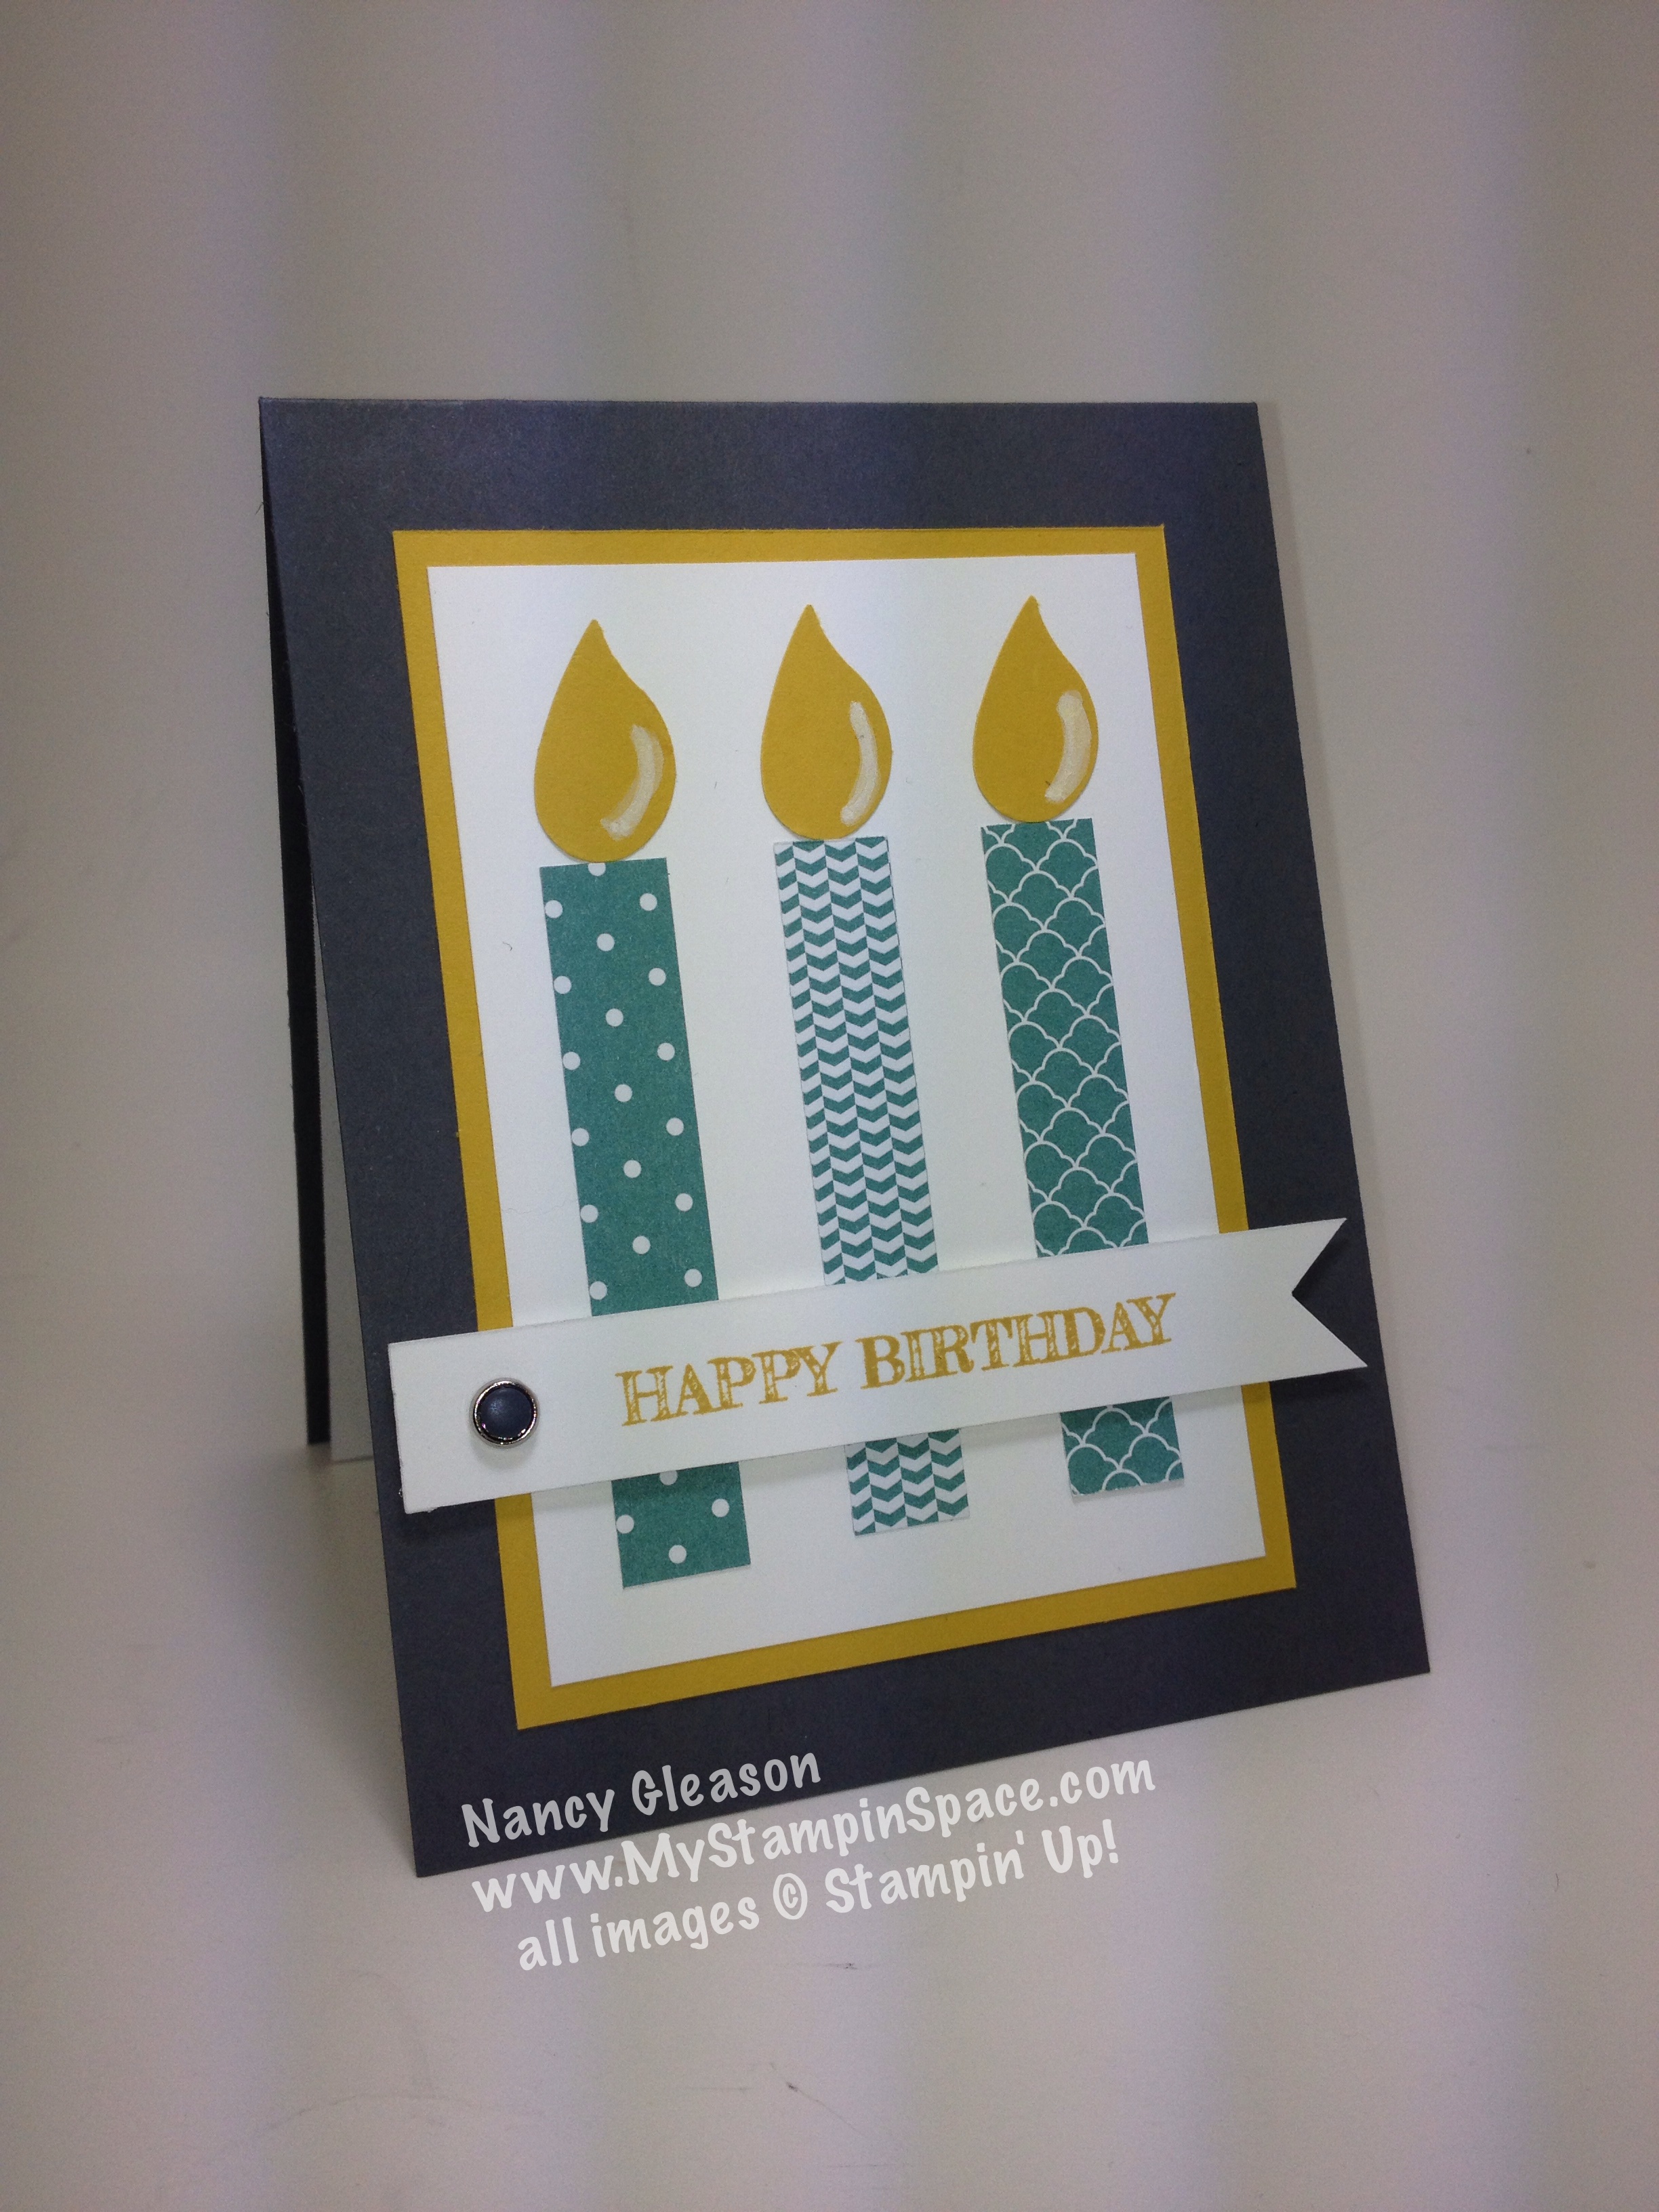
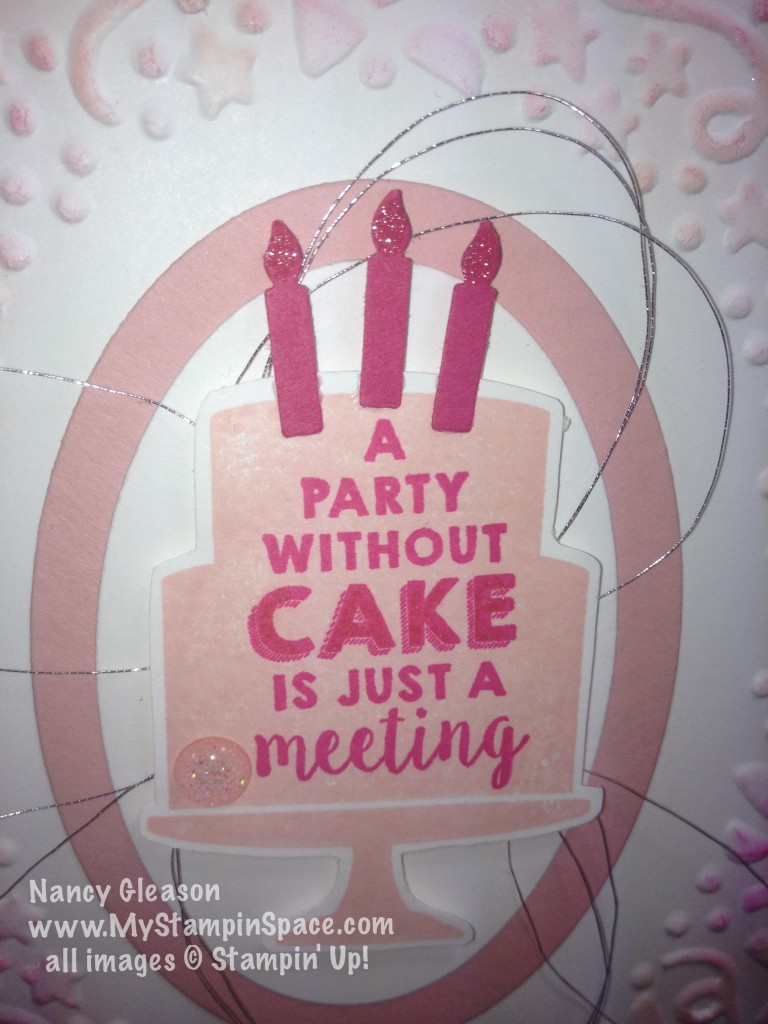
Built for Free Using: My Stampin Blog


New Hues Review – July Pals Blog Hop

july blog hop badge

Welcome to the Pals Blog Hop for July.  This month we are excited to show off the new 2015 – 2017 Stampin’ Up! In Colors, namely, Cucumber Crush, Delightful Dijon, Mint Macaron, Tip Top Taupe and Watermelon Wonder. The In Color products include card stock, designer series paper, ribbon and other embellishments.  We hope you find great inspiration from the projects.

You may just be starting the blog hop or may have come from Susan Itell at Simple Stampin, number 9 on the Pals Hop.  If you get off track at any time, the full lineup below will help you move along from blog to blog so you see all the projects.

I have to confess that every year when the new In Colors are introduced, I get a little anxious wondering what they be like.  There is a courting period, if you will, when I take the time to get the know the new colors.  What colors pair well with other colors, do the colors stand alone, or do they need to be used in combination with other colors?  Where do they stand in our color palette in relation to the other existing colors?  I really feel like I need to spend some time with each of these colors to truly appreciate each one.  Does that sound weird?  Or do you do the same thing?

Well, for this blog hop, I was determined to make a project that used ALL 5 of the new In Colors.

In Color Money HolderSo what do you think?  Did I pull off a project that uses all of these colors well together?   I really think this color combo is a winner!  These colors are GREAT, aren’t they?

I wanted to make a project that was a little special too.  I think the money holder fits the bill (and the bills fit inside the money holder too!)  Too many times presents consist of gift cards, but sometimes cold, hard cash is king!  So  I adapted a gift card holder that I love to make, to hold cash.

money holder openI used Tip Top Taupe cardstock for the money holder base, and the brand new Envelope Paper also in Tip Top Taupe for the snazzy woodgrain patterned paper on the face.  The star of the show really is the new Cotton Paper in Watermelon Wonder for the flower.  This is the first time I’ve used the Cotton Paper, and I LOVE IT!   I see many more flowers in my future!   The flower center is created from Delightful Dijon.  The leaves are cropped from Cucumber Crush cardstock using the Fun Flower punch.  Finally, the little flag featuring the sentiment is cropped from Mint Macaron cardstock.

cotton paper flowerSo, now that you’ve gotten to meet the new colors, and get to know them, which of the new In Colors color is your favorite?  Want to know which one is my favorite?  All of them!

Tomorrow I’ll have all the details on how to make this money holder, including measurements and step-by-step directions, so be sure to stop back. Sign up for my newsletter, and you’ll also get my blog posts delivered to your inbox so you won’t miss a thing.

The next stop is Kalyn Shubnell at The Stamping Chronicles, number 12 on the Pals Blog Hop!  Thanks for visiting; I hope to see you on next month’s Pals Hop!

  1. Jane Knudsen at see jane stamp
  2. Katy McGloin at Just Fun Stamping
  3. Jackie Diediker at Stampin’ Jackie
  4. Beth Beard at My little craft blog
  5. Nicole Watt at Pixel Maven’s Retreat
  6. Debra Simonis at Deb’s Stampin’ Grounds
  7. Brian King at Stamp with Brian
  8. Beth McCullough at Stamping Mom
  9. Susan Itell at Simple Stampin
  10. Nancy Gleason at My Stampin Space —YOU ARE HERE —
  11. Kalyn Shubnell at The Stamping Chronicles
  12. Sherrie Gross at Stampin’ Sunshine
  13. Candy Ford at Stamp Candy
  14. Dawn Tidd at Tiddbits from Dawn
  15. Wendy Klein at Doggone Delightful Stampin’
  16. Karen Hallam at Karen’s Stampin’ Habit!
  17. Amy Whelan at Amy’s Inklings
  18. Natalie Bradley at Natalie Bradley Events
  19. Maggie Mata at Maggie Made Cards
  20. Mary Fish at Stampin’ Pretty
  21. Peggy Noe at Pretty Paper Cards
  22. Debbie Mageed at Secret Stamper
  23. Lynn Kolcun at Stamping With Avery’s Owlery
  24. Kimberly Sparks at Stampin’ Daisy
  25. Becky Volpp at InkBlossomwithBecky
  26. Shawn de Oliveira at Shawn Stamps
  27. Denise Hoepfner at The Mountain Magpie

Thanks for stopping by, come back again and hang out at My Stampin Space.  See you soon!

Nancy

Happy Birthday with Sprinkles on Top

Today’s Mojo Monday sketch was the perfect layout for me to ink up my new Sprinkles on Top stamp set and show off the coordinating Cherry on Top Designer Series Paper stack.

Here’s the sketch:

And here’s my card:  Sprinkles on TopI love that this sketch allows for a large piece of the pretty patterned paper to take center stage!  All of the layers allow for the many colors in here to play a part, without overwhelming the overall effect.

The Happy Birthday sentiment from Sprinkles on Top is designed on one line; but I easily inked up just one word at time to create a 2-line sentiment to fit into the circle shape.  Sweet!

My lighting situation is less than ideal so my apologies for the poor quality photo.  I hope to remedy that soon. In the meantime, trust me that color combination of Crushed Curry, Bermuda Bay, Cucumber Crush and Watermelon Wonder is a winner!  Bright, bold, and cheery.color combo jpeg-001

If you would like to have any of the products I used to create this card, then hop over to my online store and shop securely, or click on the item below.

Stop back on Wednesday where the Stampin’ Pretty Pals will show off the new 2015-17 In Colors with our  monthly blog hop.  Thanks for hanging out in My Stampin Space with me.  See you soon.

Nancy


Rescued by the Paper Players!

So I had a vague idea of what I wanted to do for my class Monday night, but every time I sat down to put that idea to paper, I just was blank!  I  knew what stamp I wanted to use, and the colors, but nothing else.  My mojo was gone!  So Friday came and went, nothing.  Saturday came and went, nothing.  Sunday afternoon, nothing.  Now I was panicking; my class is right after work on Monday, need to get my act together, NOW!

Take a break, make dinner.  Casually check my email (a stall  tactic because I still didn’t know what to do!)  An email with the following sketch challenge from the Paper Players,  and it all came together!

Thank God for the Paper Players!  Right sketch, just in the nick of time.  I ran back downstairs to My Stampin’ Space, and pulled together not one, but two cards in no time!  Thank you Nance and the Paper Players.

Definitely Dahlia
For both cards I used Tip Top Taupe for the card base and a Mint Macaron layer.  In the top card, I stamped some ink spots from Gorgeous Grunge in Mint Macaron directly on the Mint Macaron layer.  I stamped the Definitely Dahlia flower onto Whisper White cardstock with Mint  Macaron ink and fussy-cut the flower out.  A few strands of Gold Metallic thread peek out from behind the flower.

PP251On the second card, I added a Whisper White layer and stamped both the ink spots and flower directly onto this layer.  The Mint Macaron strip and Tip Top Taupe banner are adorned with a metal rimmed pearl (my new fav embellishment from the new catalog!)  The Happy Birthday sentiment is from Sprinkles on Top stamp set stamped in Tip Top Taupe ink on the same color cardstock.

I quickly picked a favorite and that’s what we will be making in class tomorrow.  Which one is your favorite?   You’ll have to check my facebook page Monday night to see which card we make in class.  Until then, leave me a comment and tell me your choice.

Thanks for stopping by My Stampin Space.  If you want to order any of the products I used to make these cards, just click on the product below or click here to go directly to my store.


My Gift for You!

This is my second blog post for today. If you missed my earlier post, please click here.

At my class Monday night, we made gift card holders.  As I was prepping for class, I snapped a pic of the various parts – cut and layed out.  I posted that pic on my Facebook page and asked people to guess what I was making.  I decided I would give the finished project to the first person to correctly guess.  RayAnn guessed correctly, and she won the completed gift card holder (and I tucked a gift card to Dunkin Donuts inside!).  (To make sure YOU don’t miss out – Like my facebook page, www.facebook.com/mystampinspace).

Well, here is one the 2 different styles of gift card holders we made.

IMG_5140

IMG_5141The gift card holders were made with card stock (Crushed Curry or Cucumber Crush) and then decorated with paper from the new paper stack A Cherry on Top.  A Bermuda Blue belly band was embellished using the Celebrate Today stamp die and matching balloons framelits dies.  A quick & easy gift card holder that could be made in any color, for any occasion.  Timeless, right?

Would you like to make this gift card holder yourself?  Well, RayAnn may have won the finished project, but my gift to you is the step-by-step directions so you can make them yourself.  I only ask that you leave a comment for me in this blog post and tell me what you think.  The ladies in my class all LOVED them.  I hope you will too 🙂

GIFT CARD HOLDER TUTORIAL – PDF

Tell me what occasion you have to give a gift card for, and how you decorated.  If you send me a photo of your finished project using my tutorial, I’ll even post it on my blog!

Thanks for stopping by.  If you want to order any card stock, designer series paper, stamps or punches, you can order safely & securely from my online store.  I do appreciate your orders.  And I really appreciate you taking the time to hang out in My Stampin’ Space with me!  Come back again – I’ll be sharing the other gift card holder we made too!

Nancy

Three Cheers for the Pals Paper Arts!

The Pals are a great group of talented Stampin’ Up! demos under the guidance and leadership of Mary Fish, of Stampin’ Pretty.  Pals Paper Arts is a public forum to showcase & challenge your papercrafting skills.  With sketch & color challenges, you can play along with the Pals as often as you wish.  This week, the Pals Paper Arts features a sketch challenge:

PPA252kwb

I immediately thought of a card I taught to a class last month showing a good way to use up scraps of DSP.  If you are like me, you just can’t throw away your scraps of DSP, not matter how small!  Hoarder!  Yes, you are – but you don’t have to be any longer!  You can turn those little strips of DSP into something beautiful.  Let me show you how:candlesThis idea was one I actually learned from our fearless leader, Mary.  She showcased this card on her blog quite a while ago, and I immediately tucked away the idea for using my scraps.

3/4″ wide strips of DSP, and a flame which is actually the wing from the Bird Builder Punch and you’ve got a quick & easy birthday card.  I used my white chalk marker to add a little hi-light the flame and layers for my card base.  A little banner cropped from another scrap strip of whisper white punched with the flag banner punch is just right for the sentiment.

And I found it is actually LIBERATING to use those scraps, not just collect them.  It helps to de-clutter my stash area, and I’m sure those scraps would rather be turned into something beautiful to bring delight to a special someone on their birthday, than to just sit in a scrap pile.  So pull out those scraps, and your build-a-bird builder punch and make candles.

Your scraps will thank you.  Your friends will thank you when they receive your beautiful card.  Your clean & organized craft area will thank you.

If you want to see what the other talented Pals did with this sketch, head over the Pals Paper Arts gallery.

Remember, if you’d like to order any Stampin’ Up! products from me, you can access my online store here.    If you place an order with me before May 30th, and it is less than $150 before shipping & tax, please use host code 4HCRZHHC.  Any order of $50 or more will qualify for a FREE embellishment from me from the new catalog!  (If your order is over $150, don’t use the code but rather redeem your own rewards.)  The items on the RETIRED LIST are only available for a few more days so don’t delay.

I hope you found this tip useful for using your scraps of DSP.  If you did, please leave me a comment and let me know.  I love to hear your feedback to my projects.  Thanks.

Happy Stampin’,

Nancy

Build A Birthday with Sneak Peek Products

Well, my package arrived filled with all my new goodies from the soon-to-be released 2015 Stampin’ Up! catalog.  Here is what I got:  New catalog in my handsYes, I got my new catalog!    You know what I’ll be doing.  I’ve seen the entire catalog on line, but there’s nothing like having it in your hands!  I mark my catalog with everything I have, and form a wish list.  I’ll be busy this weekend!

IMG_5024[1]

This is what was in my box; come on, let’s take a closer look!  Let me introduce the new 2015-17 In Colors to you, if you haven’t met them already.  Mint Macaron, Tip Top Taupe, Watermelon Wonder, Cucumber Crush & Delightful Dijon.  I will be taking my time to get to know each one better in the coming days.

2015-17 InColorsNew stamp sets, new paper, new embellishments.  My husband’s birthday is this week, so the first stamp set I grabbed was a new set called “Build a Birthday” to make this card.Build A BirthdayThis set is so versatile; with the cake stand, and flag topper, you can ‘build’ your birthday cake with strips of Washi Tape, like I did with Cherry on Top Washi tape, or with stamps included in the set.

Are you loving the striped paper I used in the background?  Me too, it’s from a new Paper Stack called Cherry on Top (and it coordinates perfectly with the Washi Tape of the same name!).  The starburst circle layer is made with the new Watermelon Wonder cardstock; I’m really  diggin’ this color.  It’s helping me get over losing Strawberry Slush!

Because I made this card in a custom size (5-1/2″ x 5-1/2″)  I needed a custom envelope.  You know how great the Envelope Punch  Board is for this; but now, we have Envelope Weight Paper, printed on 2 sides, to make our envelopes!   Woot-Woot!  This will definately take your envelope making to new levels!IMG_5033[1]How Beautiful is this?  Solid color on one side, printed on the other.  Just perfect – lighter weight than cardstock, heavier than standard DSP.  What a nice presentation – a coordinated envelope & card.

card & envie

This color is Delightful Dijon.  It might be my least favorite color of the new In-Colors but it has lots of promise & possibilities.  It is a color that I think will definitely grow on me.  I do like how it contrasts with Bermuda Bay.  Did you notice that little embellishment?  Here’s a close-up:

In Color Blossom Accents

Meet the new 2015-17 In-Color Blossom Accents!  Aren’t they adorable?  I love these!

Just perfect to wish my hubby a Happy Birthday!  This paper stack has such cute patterns, I can’t wait to share more with you in the coming days.

Thanks for stopping by My Stampin Space today.  Bookmark this page and check back every few days to see what’s new.  Don’t forget to like me on Facebook too.  And if you like this project, please Pin it on Pinterest!  Thanks for sharing!

blog_header_su_5-2015Right now, NEW Paper Pumpkin subscribers can skip to the fun for less! Get 50% off your first two months of Paper Pumpkin when you sign up by June 10. Go to PaperPumpkin.com and use promo code: SAVE50. (Please choose me as your demonstrator – thanks!)

After your first two months, keep the creativity coming for just $19.95 + tax per month (shipping included). Each month a fully designed project kit will arrive at your door with stamps, ink, and paper—everything cut and ready to go.

It’s commitment-free! You can suspend your membership at any time. So, go on, sign up for Paper Pumpkin. You’ll love it—we guarantee it!

(For new subscribers only, not valid on prepaid subscriptions. Discount applied to one kit per month for the first two months of a new subscription. Offer ends June 10, 2015 at 11:50 pm (MT).)

Sign up at PaperPumpkin.com by June 10 with promo code SAVE50!  See what all the fuss is about at https://www.youtube.com/user/paperpumpkinvideo

Happy Stampin,

Nancy

A Perfect Birthday Wrap

Today is my sisters’ birthday; my OLDER sisters’ birthday.  I just had to throw that in there.  I’m sure she won’t mind!

I made the perfect  gift wrap for her present.  A mini treat bag created from the Stampin’ Up! Mini Treat Bag Thinlit die.

mini treat bagIt was the PERFECT size to tuck the gift I bought her inside.  I can’t reveal what the gift is:  due to the snow, I never made it to the post office so the package is still en route.

Strawberry Slush is one of the soon to be retired 2013-2015 In Colors.  I’m going to miss it.  What color is your favorite from this collection?  Which color are you going to miss the most?

2013-15 In Colors Bakers TwineFor me, the answer is obvious:  ALL OF THEM!   My advice – start stocking up on these colors (cardstock, ink pads, ink refills, DSP, markers, baker’s twine) NOW.  Last year the In-Color collection was virtually SOLD OUT within hours of the retired list going public.  Don’t let that happen to you with this collection.  Many colors of the cardstock are already on back order, but any order placed now is guaranteed to be filled.  Once an item is on the retired list, supplies are limited to stock on hand so once it sells out, it’s gone for good.   Click here to shop now.

If you are interested in making this treat bag, I’ve listed all of the supplies I used below.  Just click on any item to go right to that item in my store.

First Pals Blog Hop of 2015

Welcome to the first Pals Blog Hop of 2015!  We hope your new year is off to a great creative start. To celebrate the start of a new Stampin’ Up! year, we are showcasing products from our newest catalog this month – the Occasions catalog. You may also see new Sale-a-bration products too. If you don’t know how to earn free Sale-a-bration products – contact your Stampin’ Up! demonstrator to learn more.

You may just be starting the blog hop or may have come from Becky Volpp at InkBlossomwithBecky. Use the full lineup below to move along from blog to blog so you see all of the new projects.

When I first saw the 2015 Occasions catalog, and Sale-A-Bration catalog, several items went straight to the top of my Must-Have List!  One product suite that really caught my eye was the Chalkboard Paper and Colored Chalk Ink pads on page 25.  The chalkboard technique and fonts are really hot & trendy right now and this just fit that trend.  (If you don’t believe me, just spend 3 minutes n Pinterest!)  The FREE stamp set, Big Day, was the perfect font style & images for the chalkboard technique so it’s kind of like a marriage made in heaven!

I must say that the color isn’t as deep as I hoped it would be, but using a trusty stamp-a-ma-jig, it is possible to double ink to achieve a darker color.  It also doesn’t photograph too well!  It does look much better in person.

Big Day and Chalkboard paperHere’s a closer up view of just the chalkboard portion:

IMG_4539 See what I mean about the images/font being just perfect for the Chalkboard technique?

139109G Big DayAnother item that I knew I just had to have was the Bow Builder Punch.  This is like a mini version of the  Gift Bow Bigz Die.

IMG_4540How adorable is this bow?  It adds just the right finishing touch.  I’ve been making lots of bows lately – you’ll be seeing them on several of the Valentines’ Day cards I have in the works as well as birthday cards.

IMG_4538If you need any of the items I used to create this card, just click on the item name to see it in my online store.  Remember, for every $50 of products that you order, you can choose one Sale-A-Bration item for FREE!  Maybe you’ll choose the Big Day stamp set.

The next stop is Jane Knudsen at www.seejanestamp.com on the Pals Blog Hop! Thanks for visiting and I’ll see you next month.

2015janhop_next2015janhop_back


  1. Amy Whelan at Amy’s Inklings
  2. Maggie Mata at Maggie Made Cards
  3. Becky Gifford at The Social Stamper
  4. Kerry Willard Bray at Peonies and Paper Chains
  5. Debbie Crowley at expressivelydeb…
  6. Amy Williams at Stamps and Spice
  7. Rae Harper at WildWestPaperArts.com
  8. Sherrie Gross at Stampin’ Sunshine
  9. Wendy Klein at Doggone Delightful Stampin’
  10. Becky Volpp at InkBlossomwithBecky
  11. Nancy Gleason at My Stampin Space — YOU ARE HERE—
  12. Jane Knudsen at www.seejanestamp.com
  13. Debbie Mageed at Secret Stamper
  14. Michelle Quinno at Shell’s Life
  15. Susan Lankford at Stamp and Create With Susan
  16. Karen Hallam at Karen’s Blog
  17. Kelly DeTommaso at Kelly’s Creative Corner
  18. Mary Fish at Stampin’ Pretty
  19. Laurie Chilton at Stampin’ Ink
  20. Brian King at Stamp with Brian
  21. Peggy Noe at prettypapercards.com
  22. Martie Pollard at The Crafty Bandit
  23. Kim Jolley at Stampin’ Artfully
  24. Beth Beard at My little craft blog
  25. Michelle Gleeson at StampinMojo
  26. Sue Becker at RnR Stamping
  27. Jackie Diediker at Stampin’ Jackie
  28. Natalie Bradley at Natalie Bradley Events
  29. Lisa Ann Bernard at Queen B Creations
  30. Candy Ford at Stamp Candy
  31. Dawn Tidd at Tiddbits From Dawn
  32. Angie Valle-Peters at Paperluxuries
  33. Amy Hoptay at Inking of You!
  34. Lynn Kolcun at Stamping with Avery’s Owlery
  35. Shannon K Jaramillo at Shannon Kay Paperie
  36. Liz Gautreaux at Kind Deeds Stampin
  37. Beth McCullough at Stamping Mom
  38. Nicole Watt at Pixel Maven’s Retreat
  39. Pamela Sadller at Stampin Pink Rose
  40. Jennifer Michalski at Stamping Serenity
  41. Shannon Hokanson at Paper Works by Shannon

Freshly Made for Laura’s birthday

I love the sketch challenge this week from Freshly Made Sketches.  I knew I wanted to use this sketch, possibly  over & over again, and I had several stamp sets and designs come to mind.

See your mind is already creating something with this awesome sketch, isn’t it?  You are already envisioning your favorite DSP for the 2 strips in the mid-ground and you are debating which image to use in the foreground, aren’t you?

Well, I needed a birthday card, and was inspired by a color combination I saw elsewhere and this is what I came up with:

IMG_3694[1]The card base is Sahara Sand and the strips are from the Moonlight DSP layered on top of Lost Lagoon card stock. The main panel is Whisper White cardstock layered on Lost Lagoon cardstock.  The background stamp is from Work of Art and it creates that beautiful watercolor look.  The flower image & sentiment, are from Bloom with Hope, a hostess set.  I think you’ll agree that this is quite a versatile sketch.  Why don’t you try your hand at this sketch and see what you come up with?  Then click on the sketch and head over the Freshly Made Sketch blog to see what others have done with this sketch.

Now you’re probably wondering which 2 colors of blue I used, aren’t you?  Well, I only used one color – Lost Lagoon.  I inked up and stamped right in the middle of the panel first.  Then, without re-inking, I stamped again on the top of the page.   It gives a lighter version of the same color.  Pretty neat, huh?  Sahara Sand ink was used for the lower image.  Tuxedo Black was used for the flower & sentiment.

So simple to put together.  I love the Work of Art stamp set; it is proving to be one of the most versatile stamp sets I own, and one that works for so many occasions.   If you don’t already follow me on Facebook, head on over to my Facebook page to see some other cards made with that set.  While you’re there, please ‘LIKE’ my page so you won’t miss out on other cards.

If you’d like to order any of the products used on this card, my supply list is below.  Just click on item to go right to my online store.

Thanks for hanging out in My Stampin’ Space with me for a little bit; I love having you here. Come back again soon!
Nancy